Finding the Seah Im Bunker, Keppel Hill Reservoir & Mount Faber
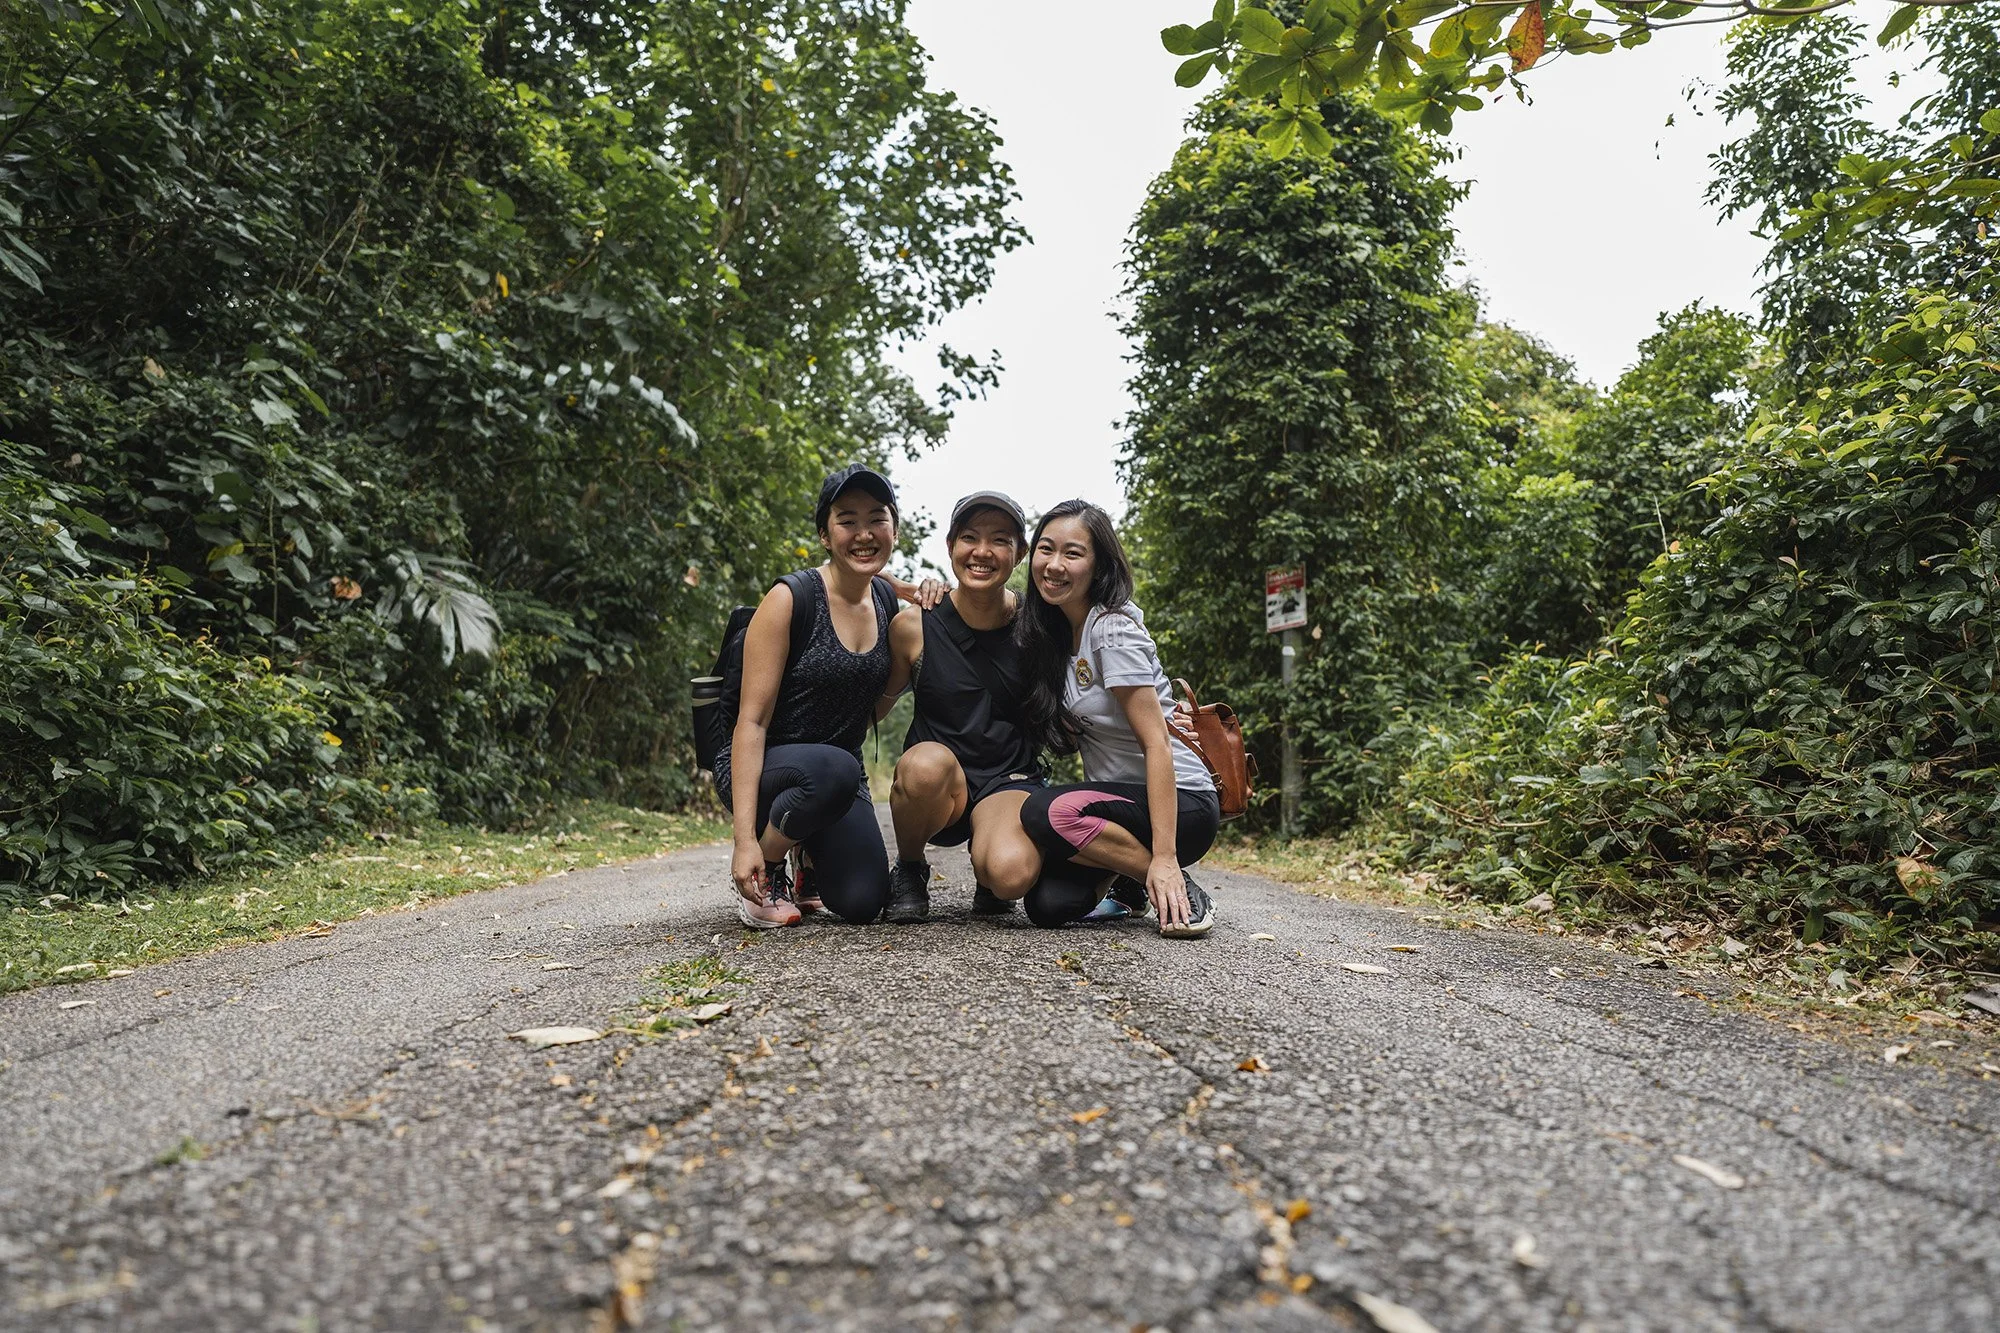
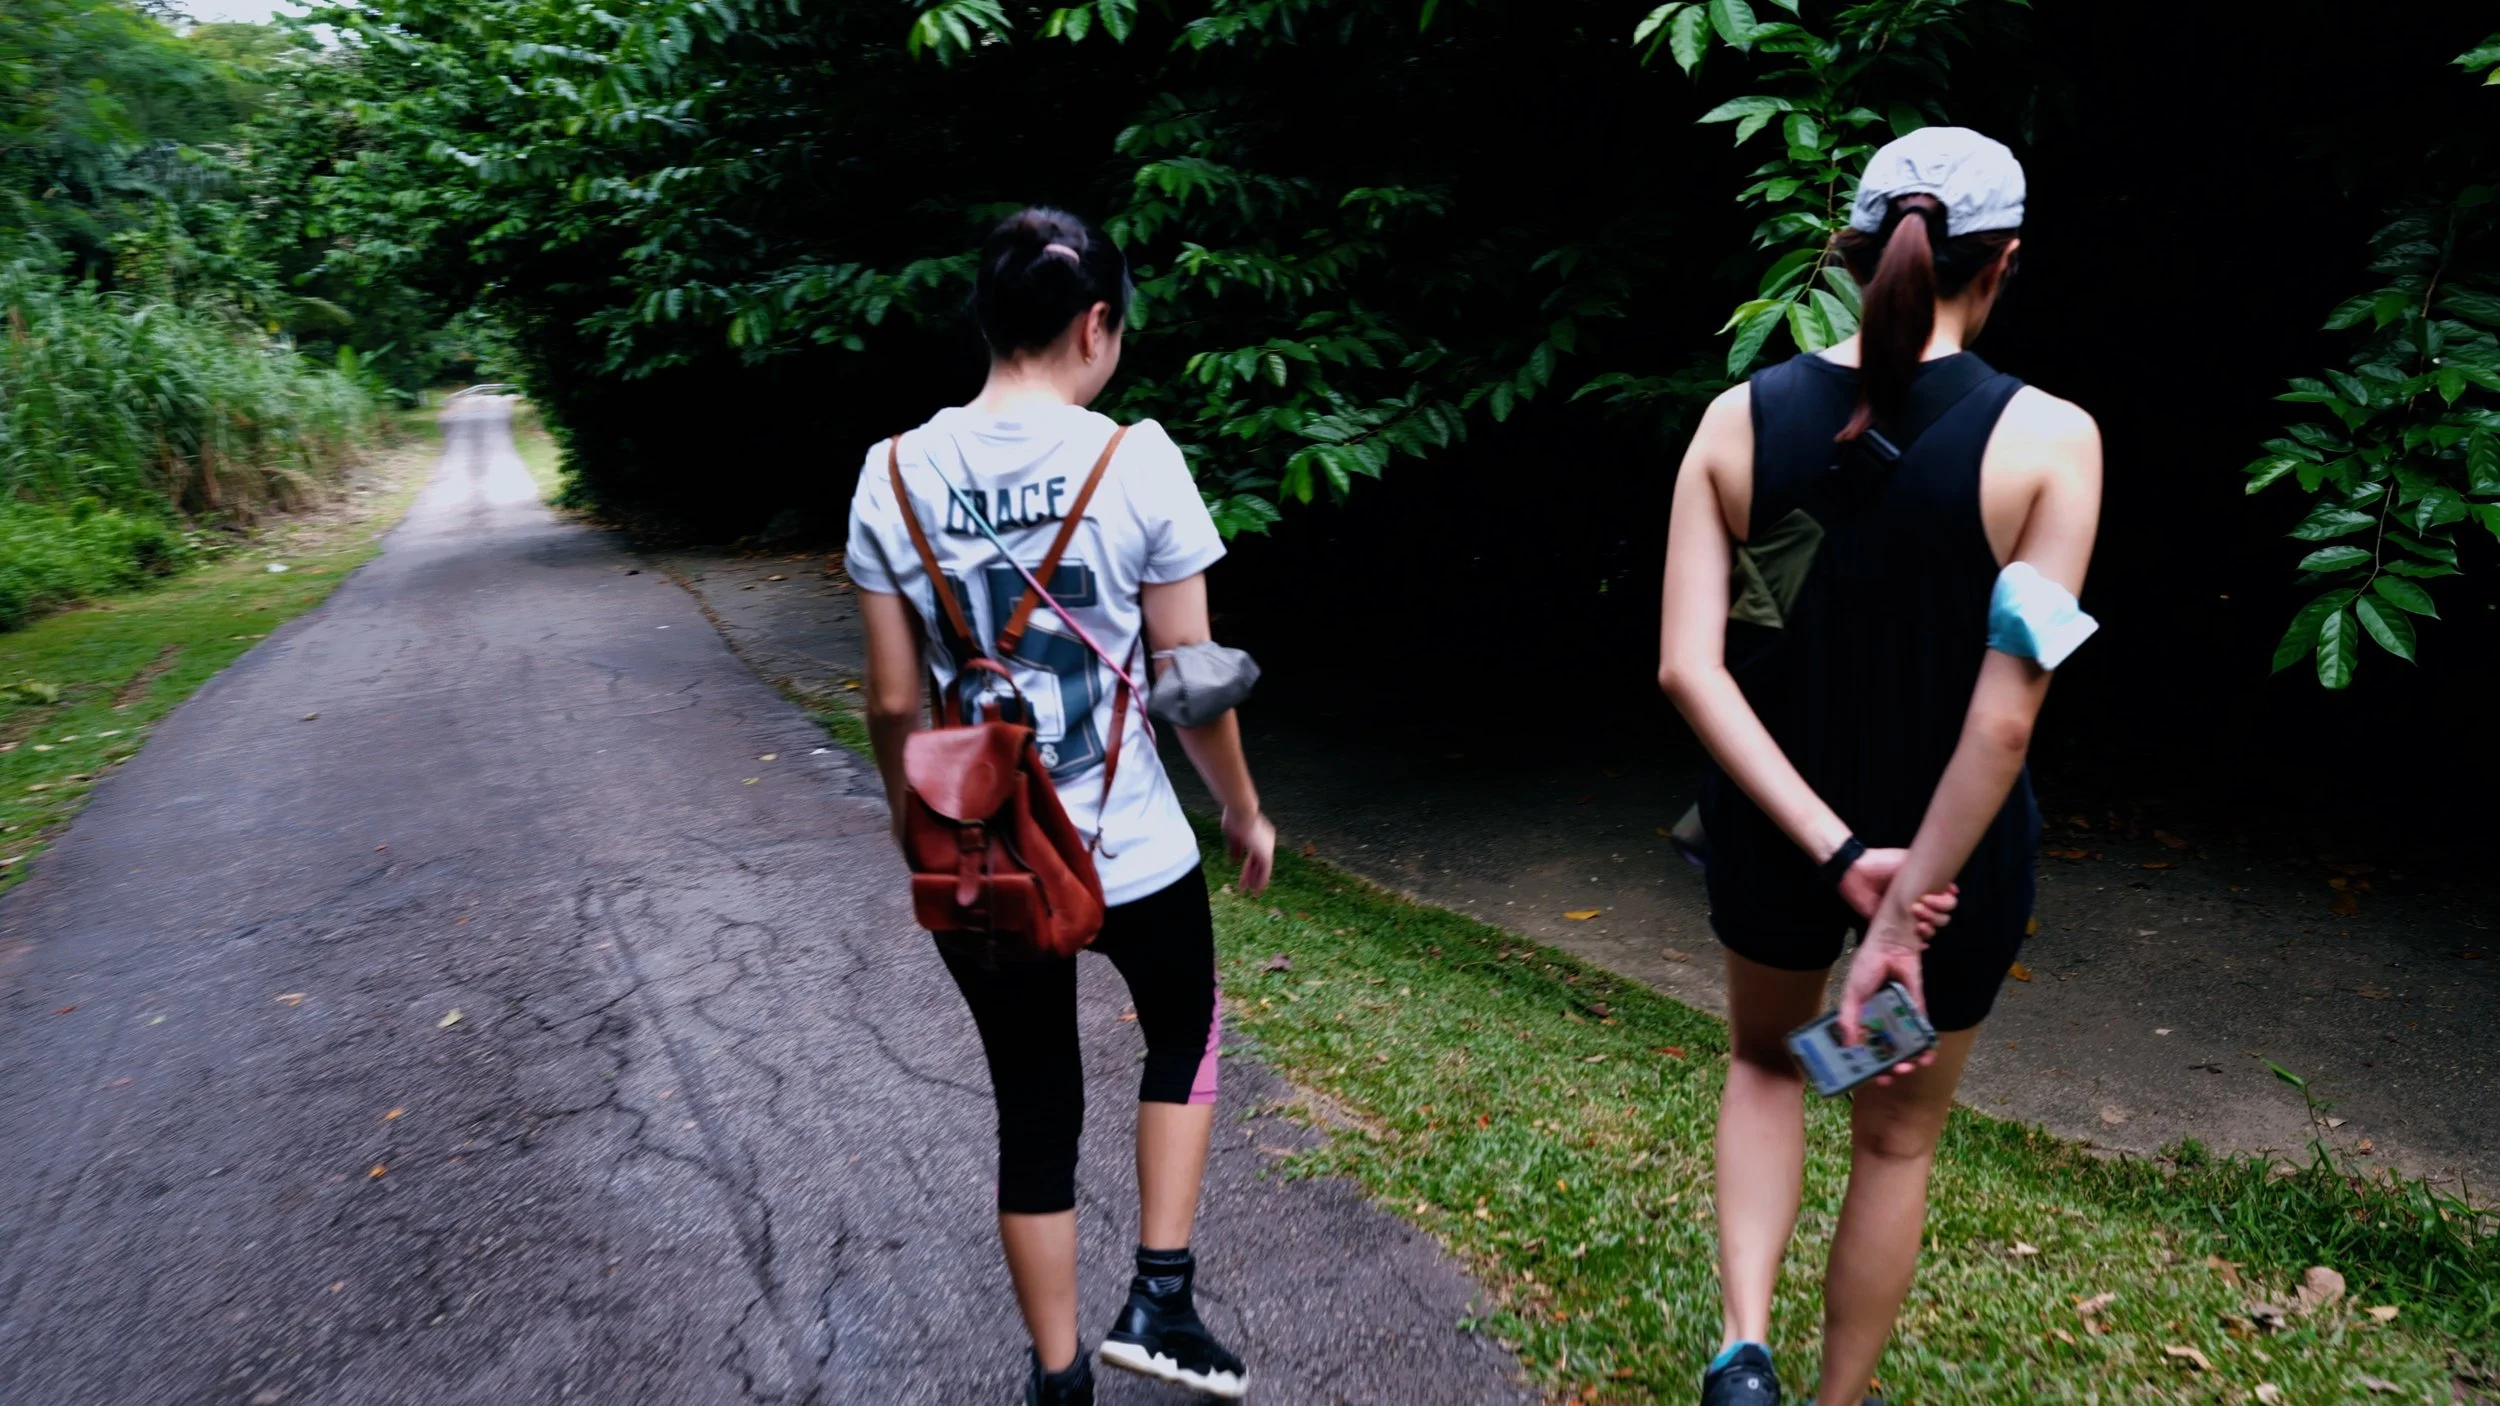
Hey guys! I am back with another post! This time, my friends and I explore and adventure around the mount faber area! I have included the #shorts and full version of my vlog below if you want to check out our exploration but I will also write a little bit on how to get around to begin your adventure there!
Before heading on your adventure, I recommend bringing a good sized water bottle and mosquito/insect repellent. I used a natural citronella spray as well as a commercial mozzie patch that I stuck onto the tank top that I was wearing. I also recommend wearing comfortable walking shoes with a good grip on the soles as the area is rather hilly.
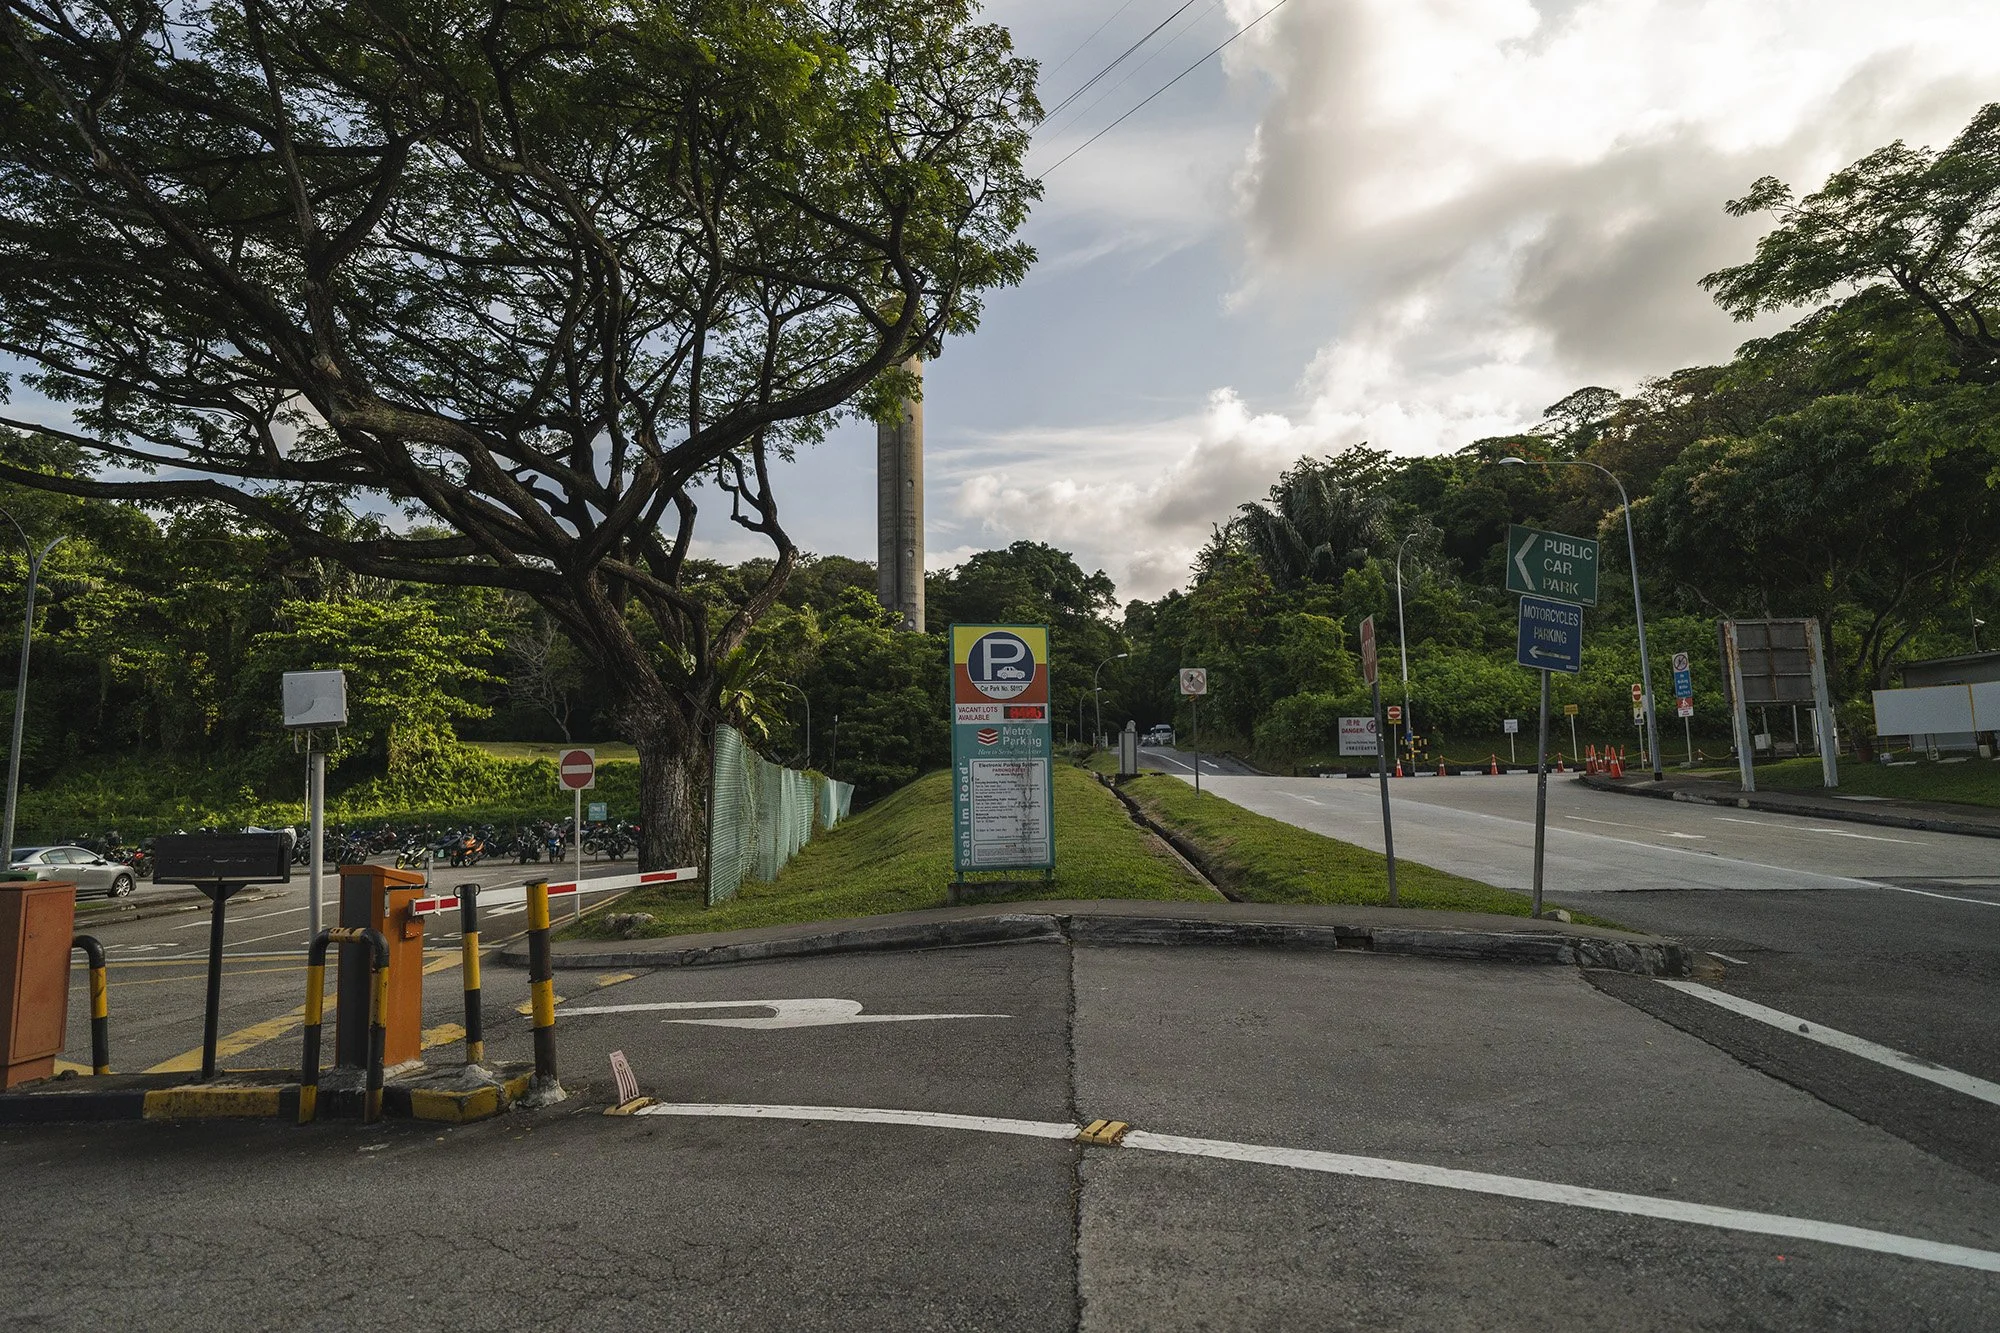
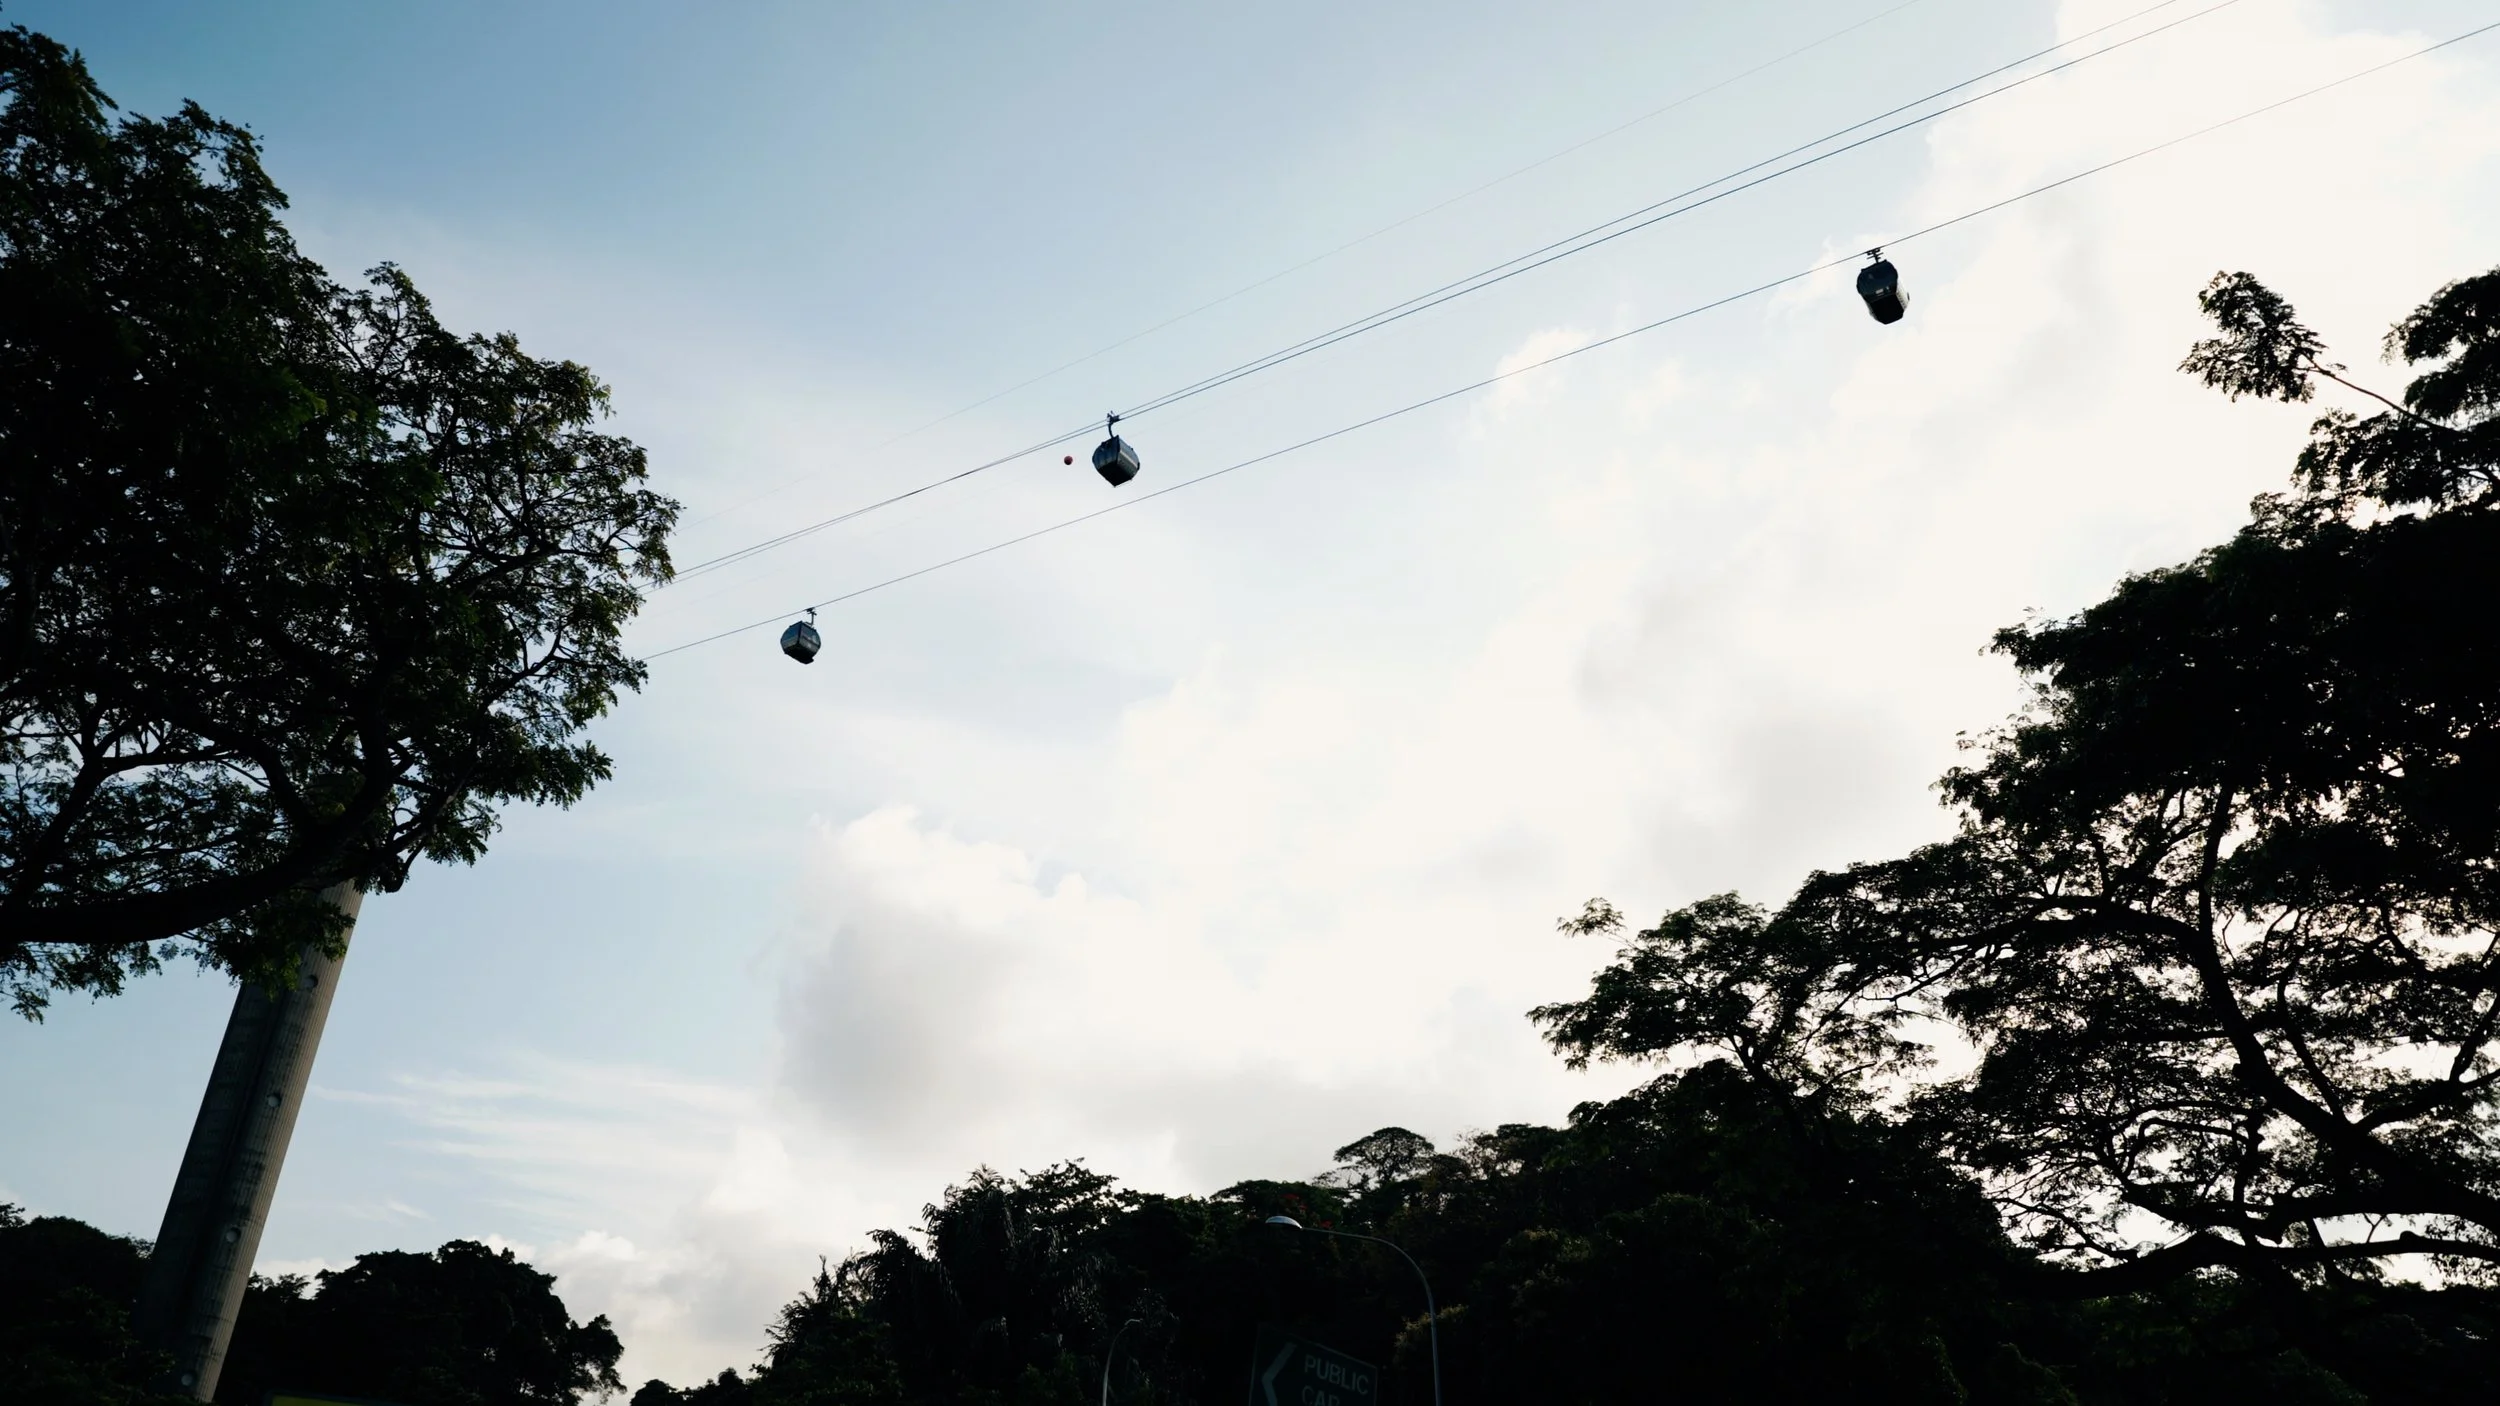
It’s quite easy getting to the Seah Im bunker by public or personal transport (just google maps it!). It’s located at the Seah Im carpark. There’s a bus stop directly in front of the carpark but I took the mrt (Singapore’s train system) and alighted at Harbourfront station (exit A). It was about a 5 minute walk to the carpark, past the Seah Im food centre. You will notice cable cars above too!
Seah Im carpark entrance
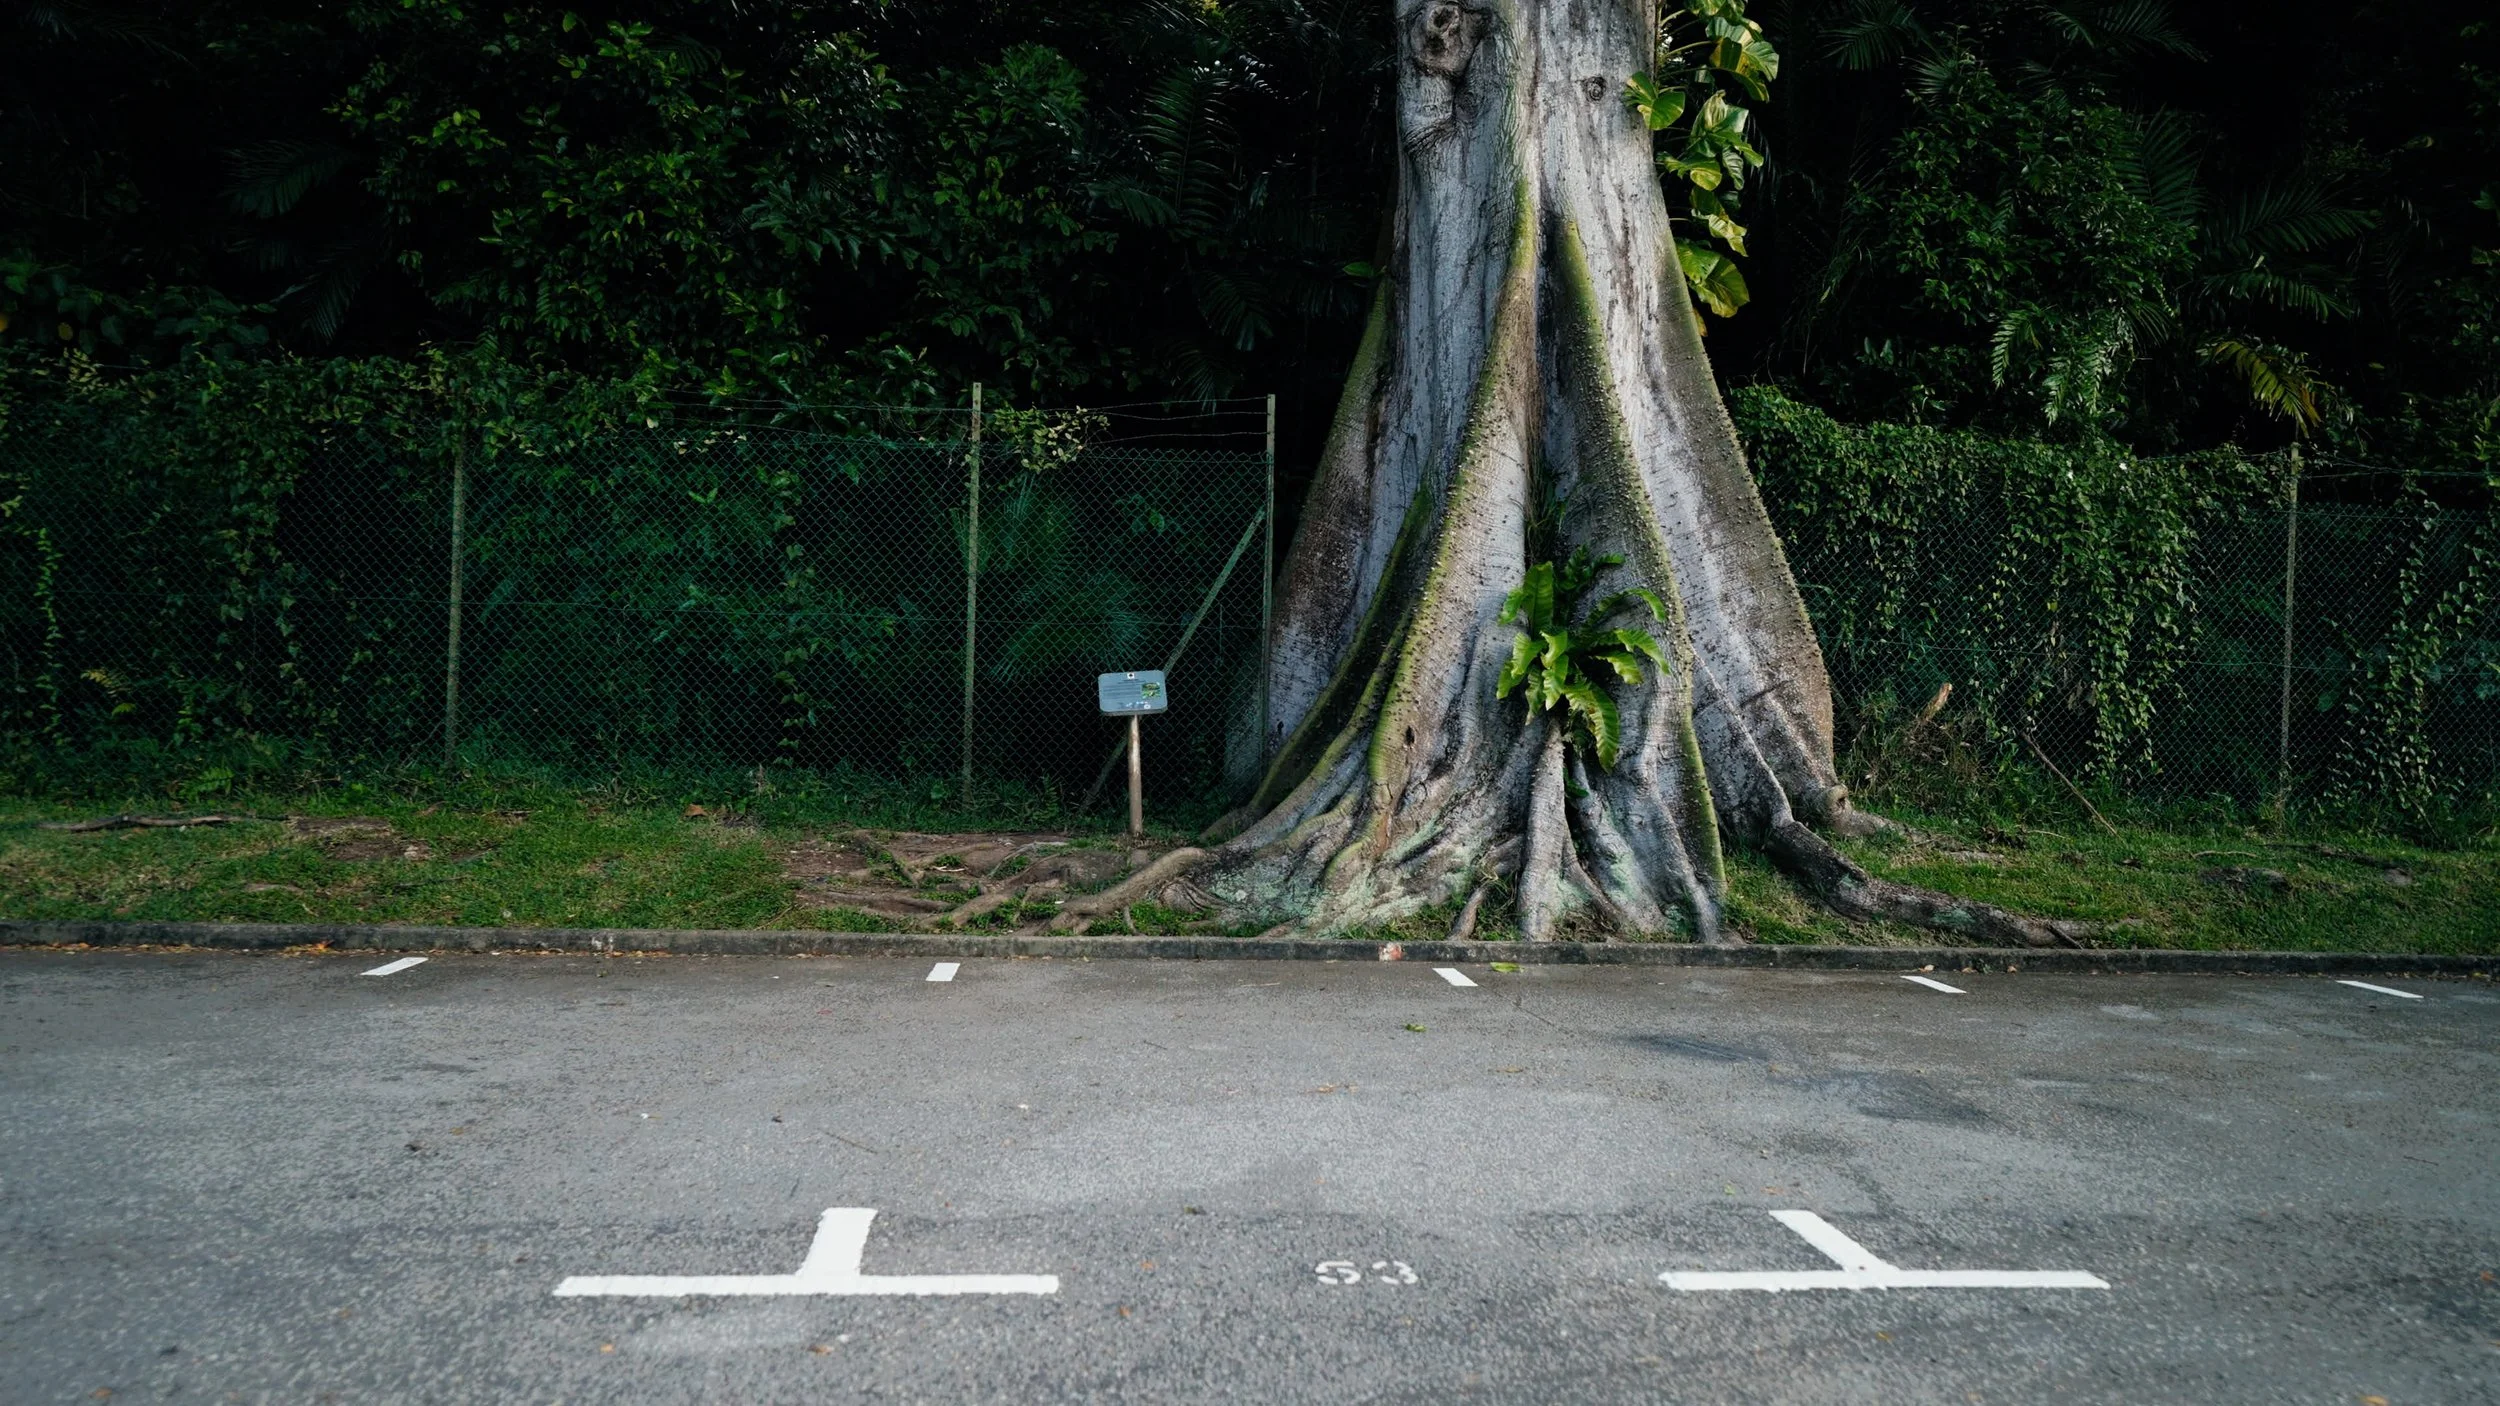
Head towards the far left end of the carpark and you will notice this really big tree. There is also a sign post right beside it. I didn’t read what the excerpt was about but I think it’s a short write up about the tree or bunker.
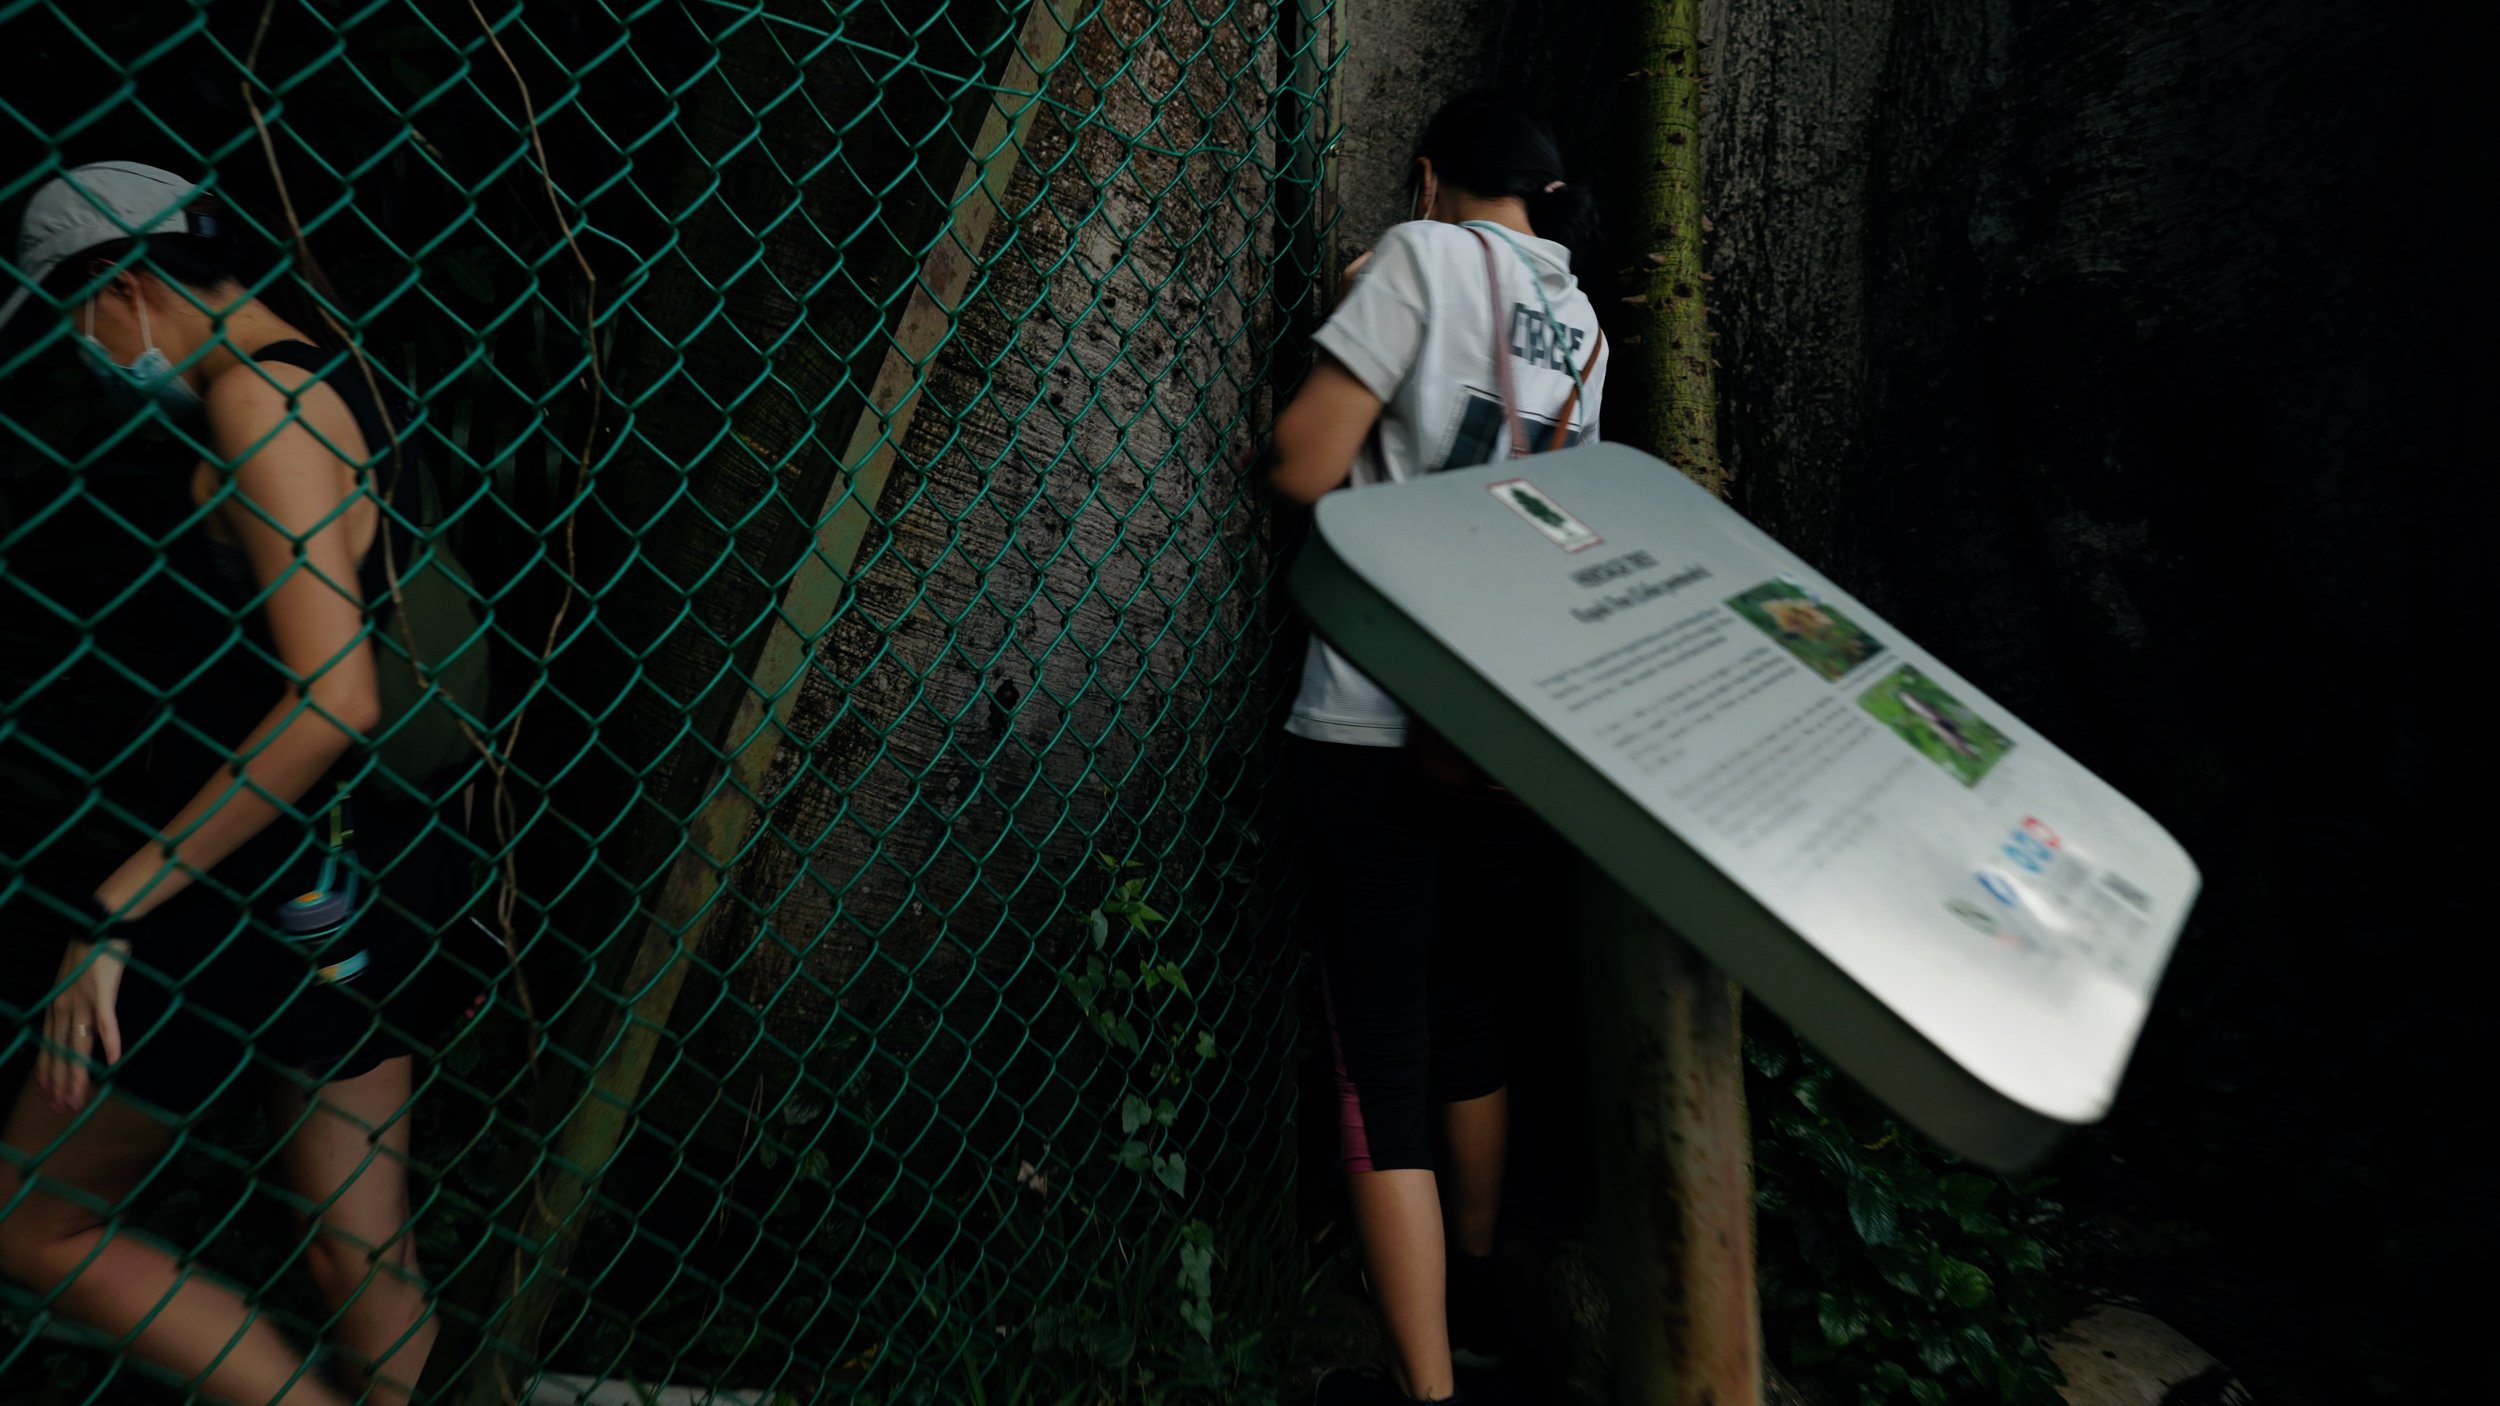
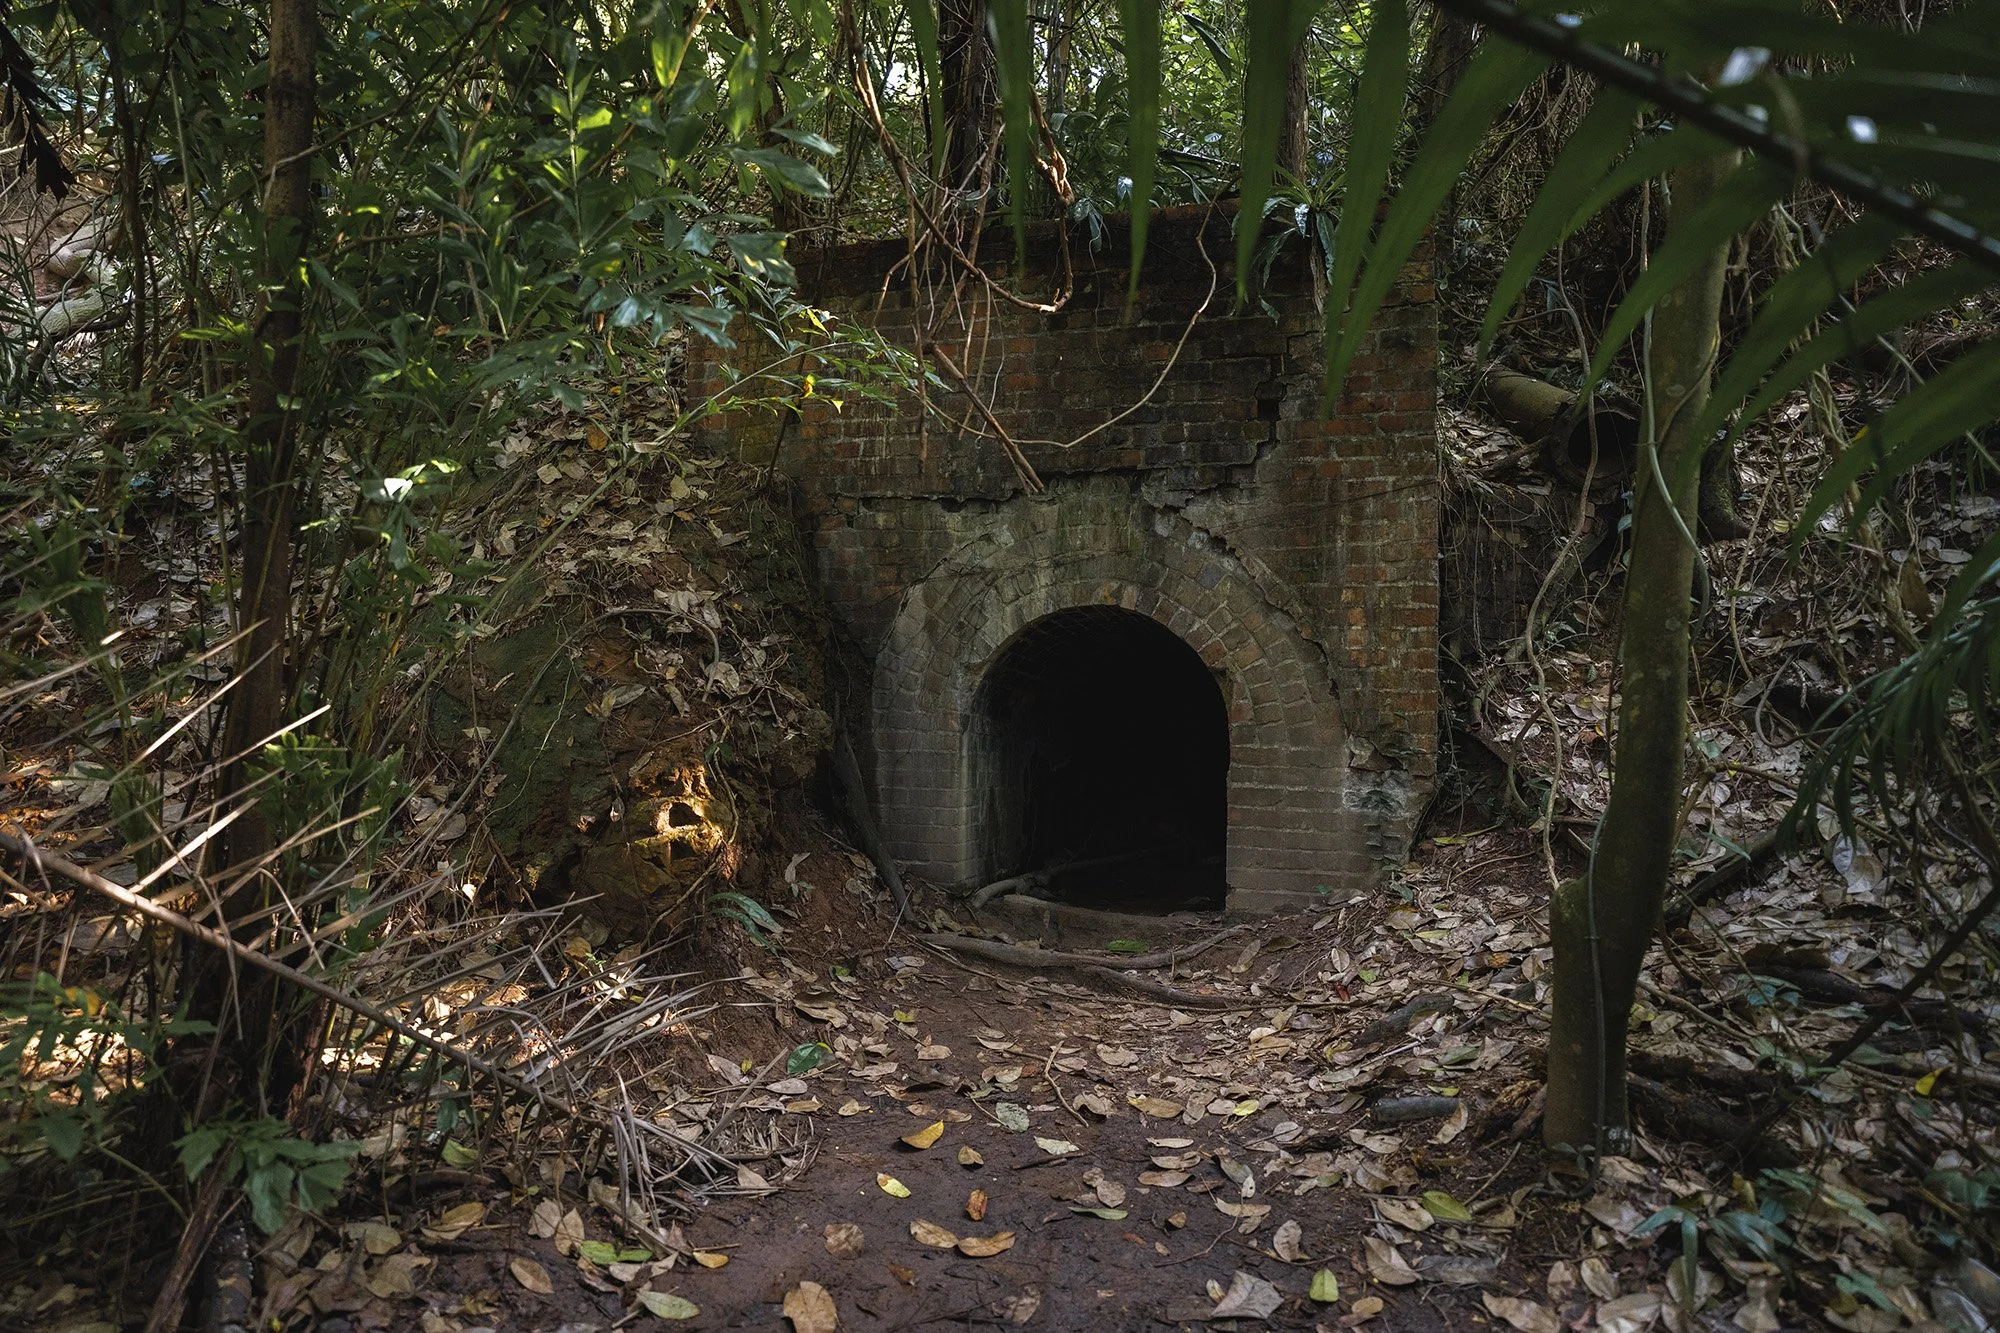
There is quite a bit of clearance to make your way around the fence. Follow the beaten path into the forest and you will be greeted by the hidden Seah Im bunker! Although it is very shallow in depth, it is still really fascinating.
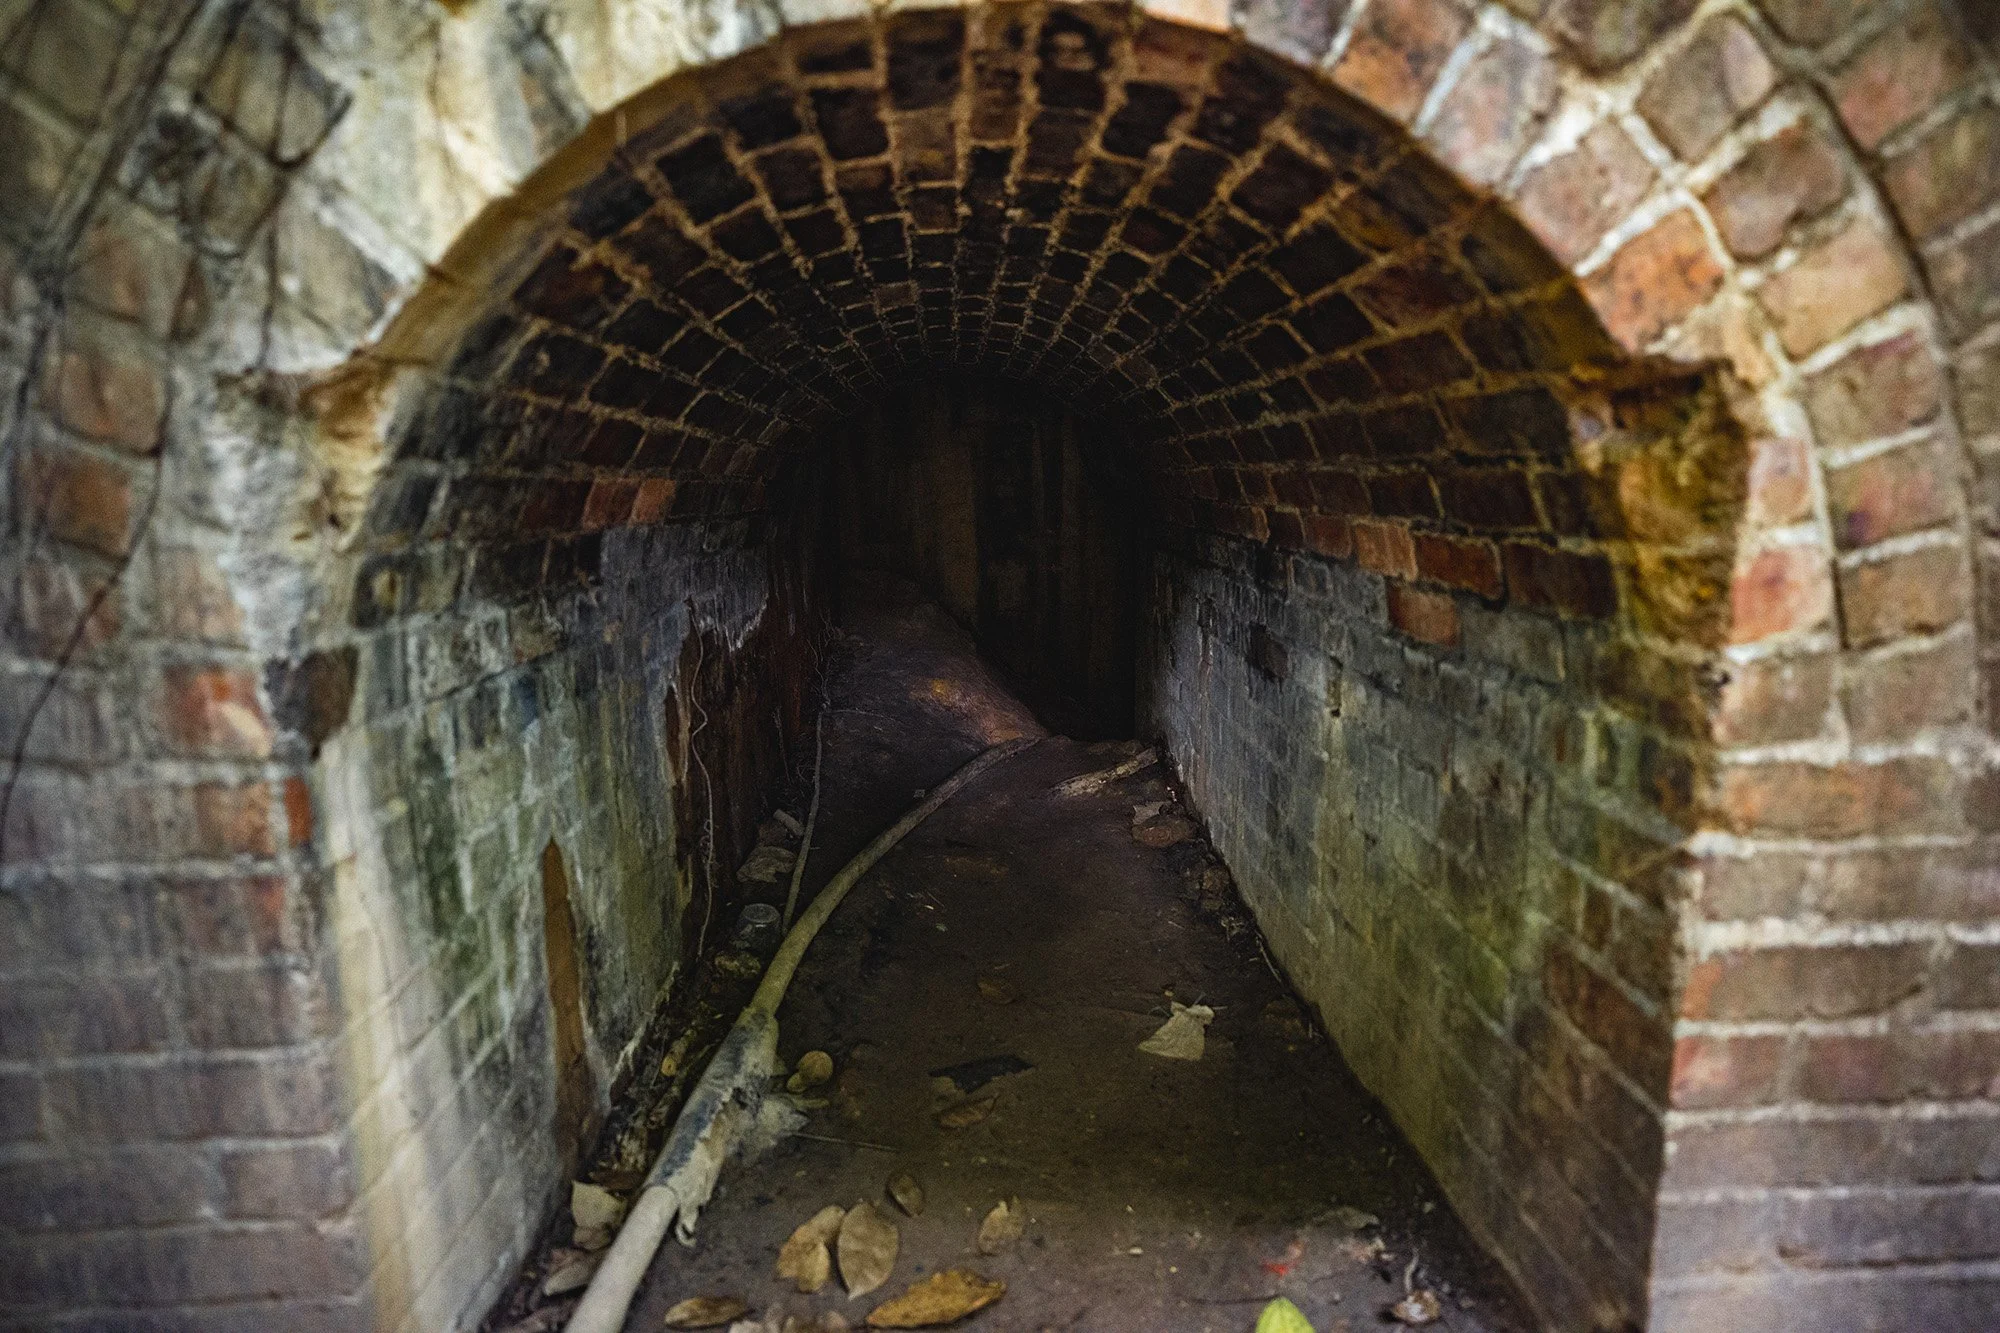
It was really dark inside the bunker! My headlamp and the flash lights on our iPhones weren’t powerful enough to light up the inside of the bunker. What you see above is a digital enhancing of the exposure within the bunker. In reality, it was pitch black peering into the bunker. You couldn’t stare at it for long before you start imagining things. It was creepy yet intriguing!
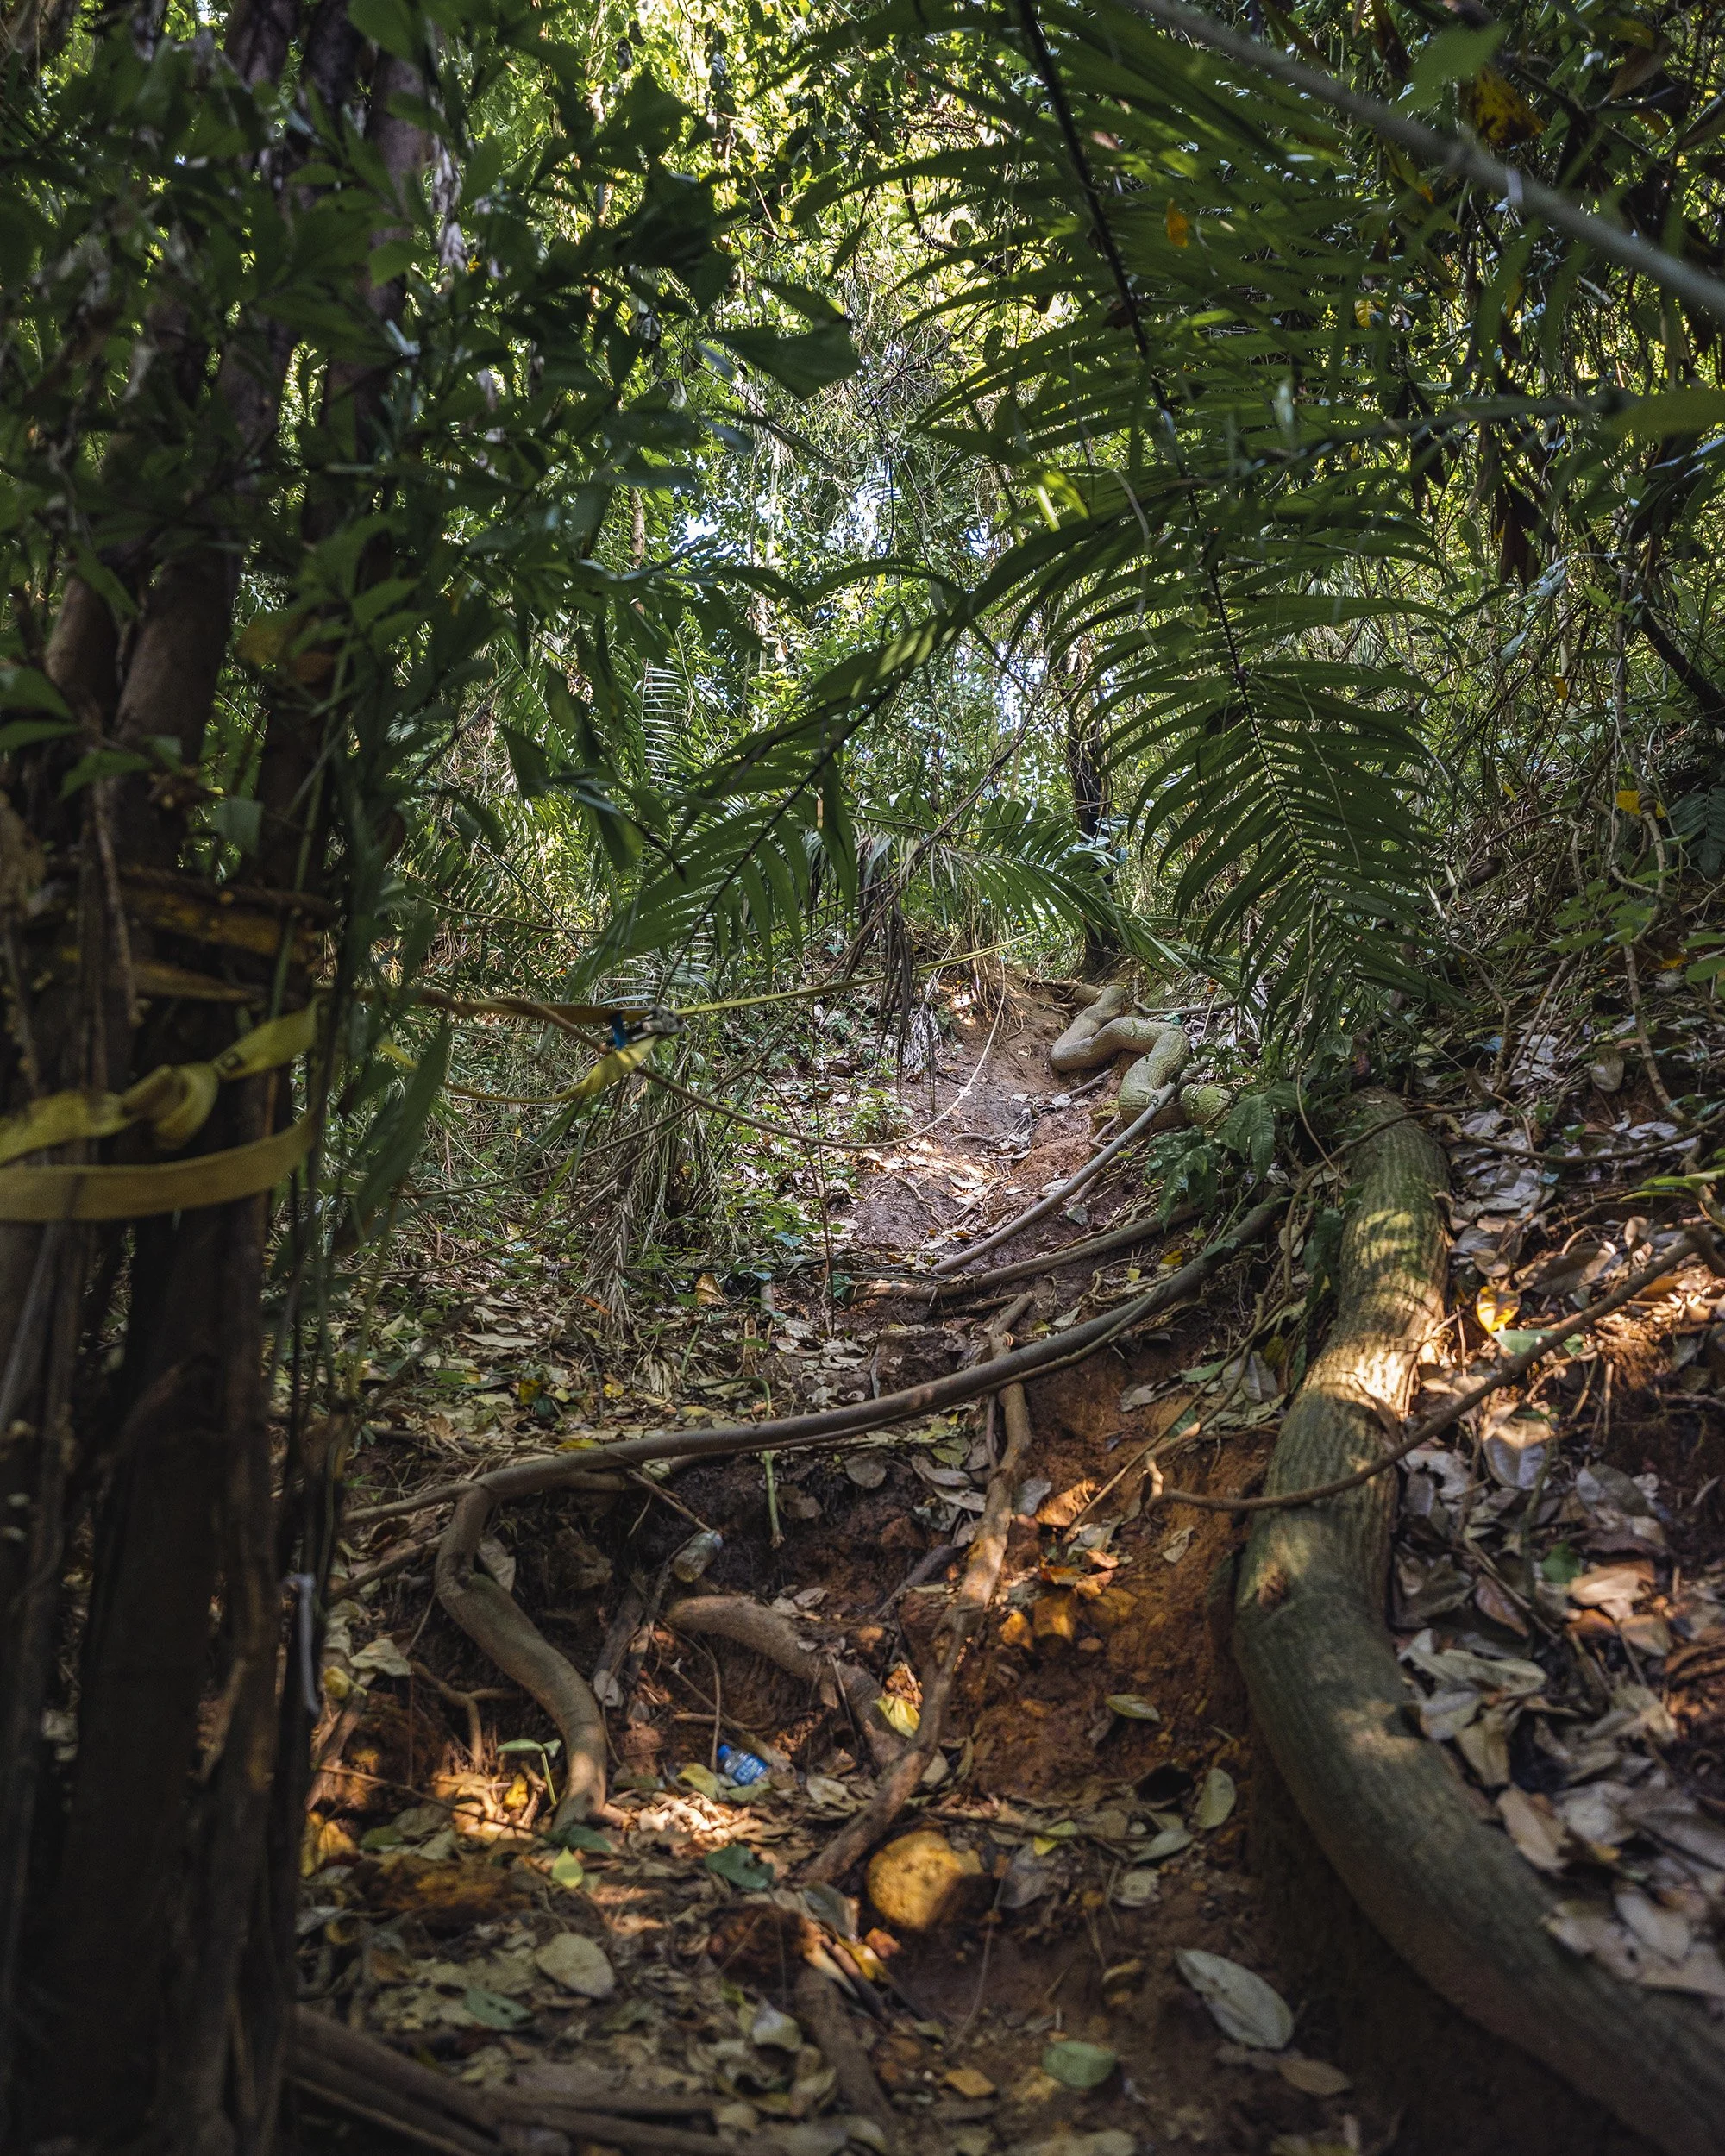
To the left of the bunker (as you face it), you will notice a steep incline with a yellow rope which will help you with your ascent!
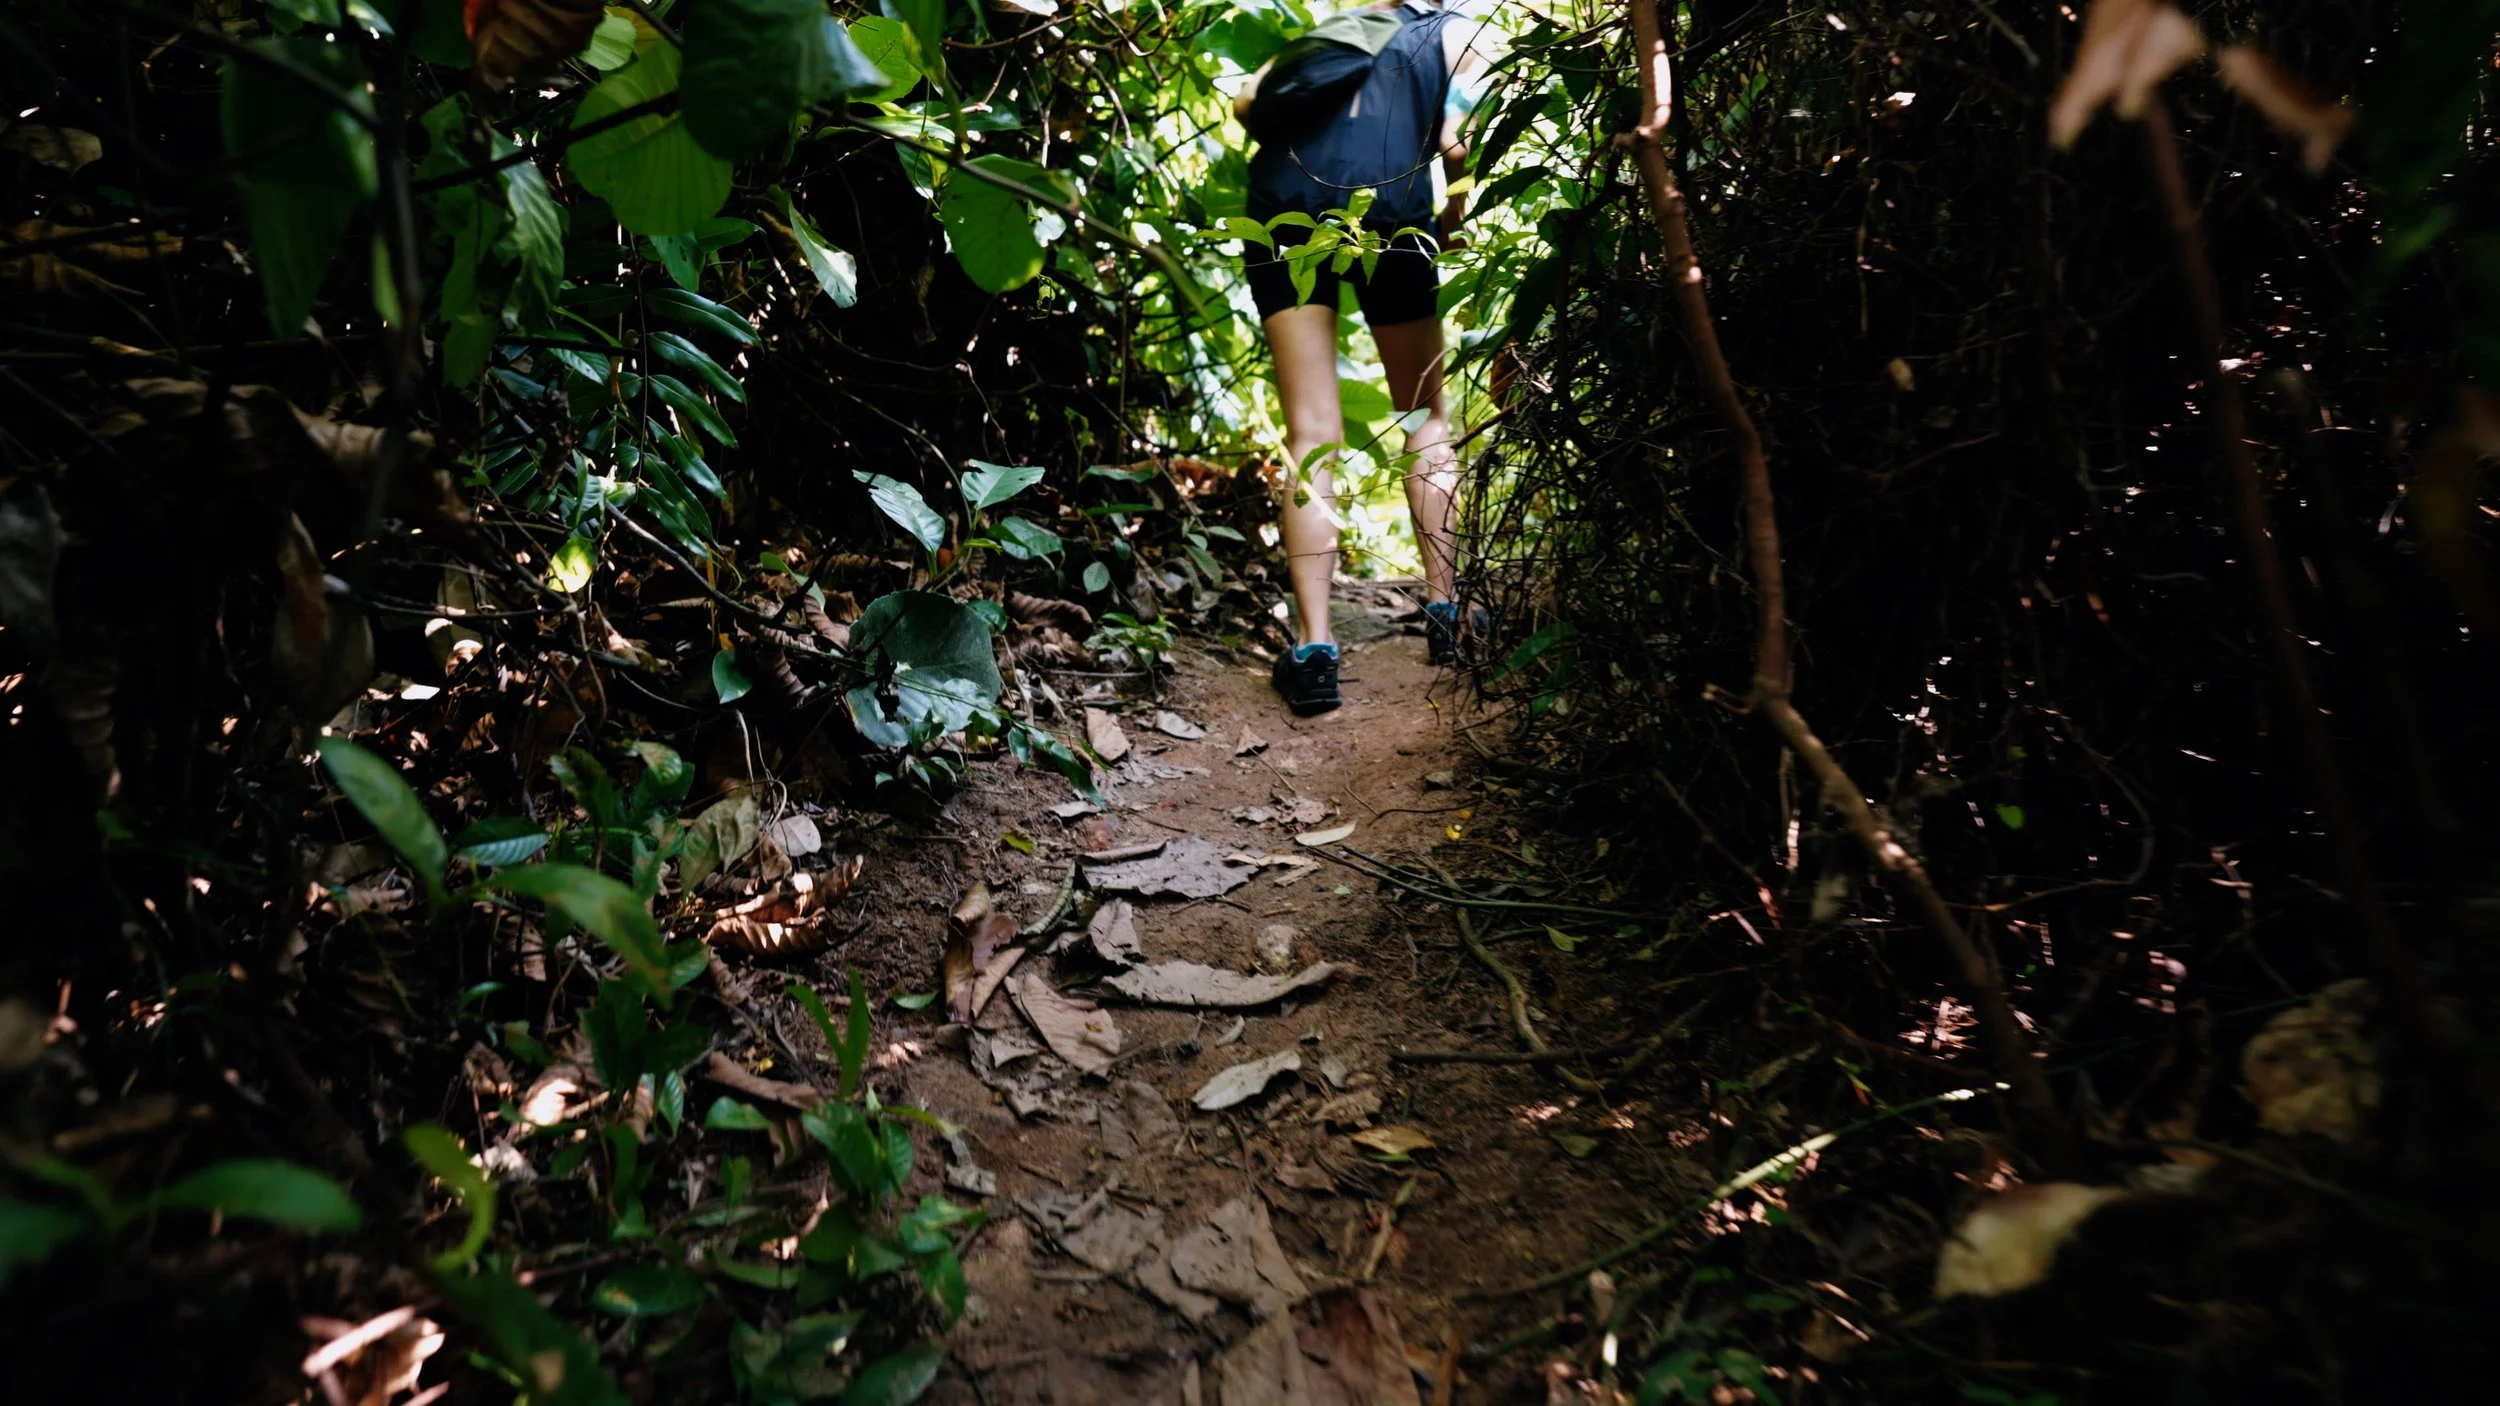
The yellow rope was surprisingly taut and helpful as we made our way up the trail. I was only using one hand (the other was holding my heavy vlogging setup) and I had no issues climbing up. You should have no problems going up there, especially if you use both hands.
At this point, you want to follow the beaten path until you come across a clearing with a random road.
At the top of the road (your right as you make it through the clearing) is a gated entrance which I vaguely remember, has a ‘no trespassing’ sign so you want to head left instead (down the road). You will notice a side path which is what you want to take next.
As you walk further along, you might come across an abandoned shopping cart. Head on the path to the right.
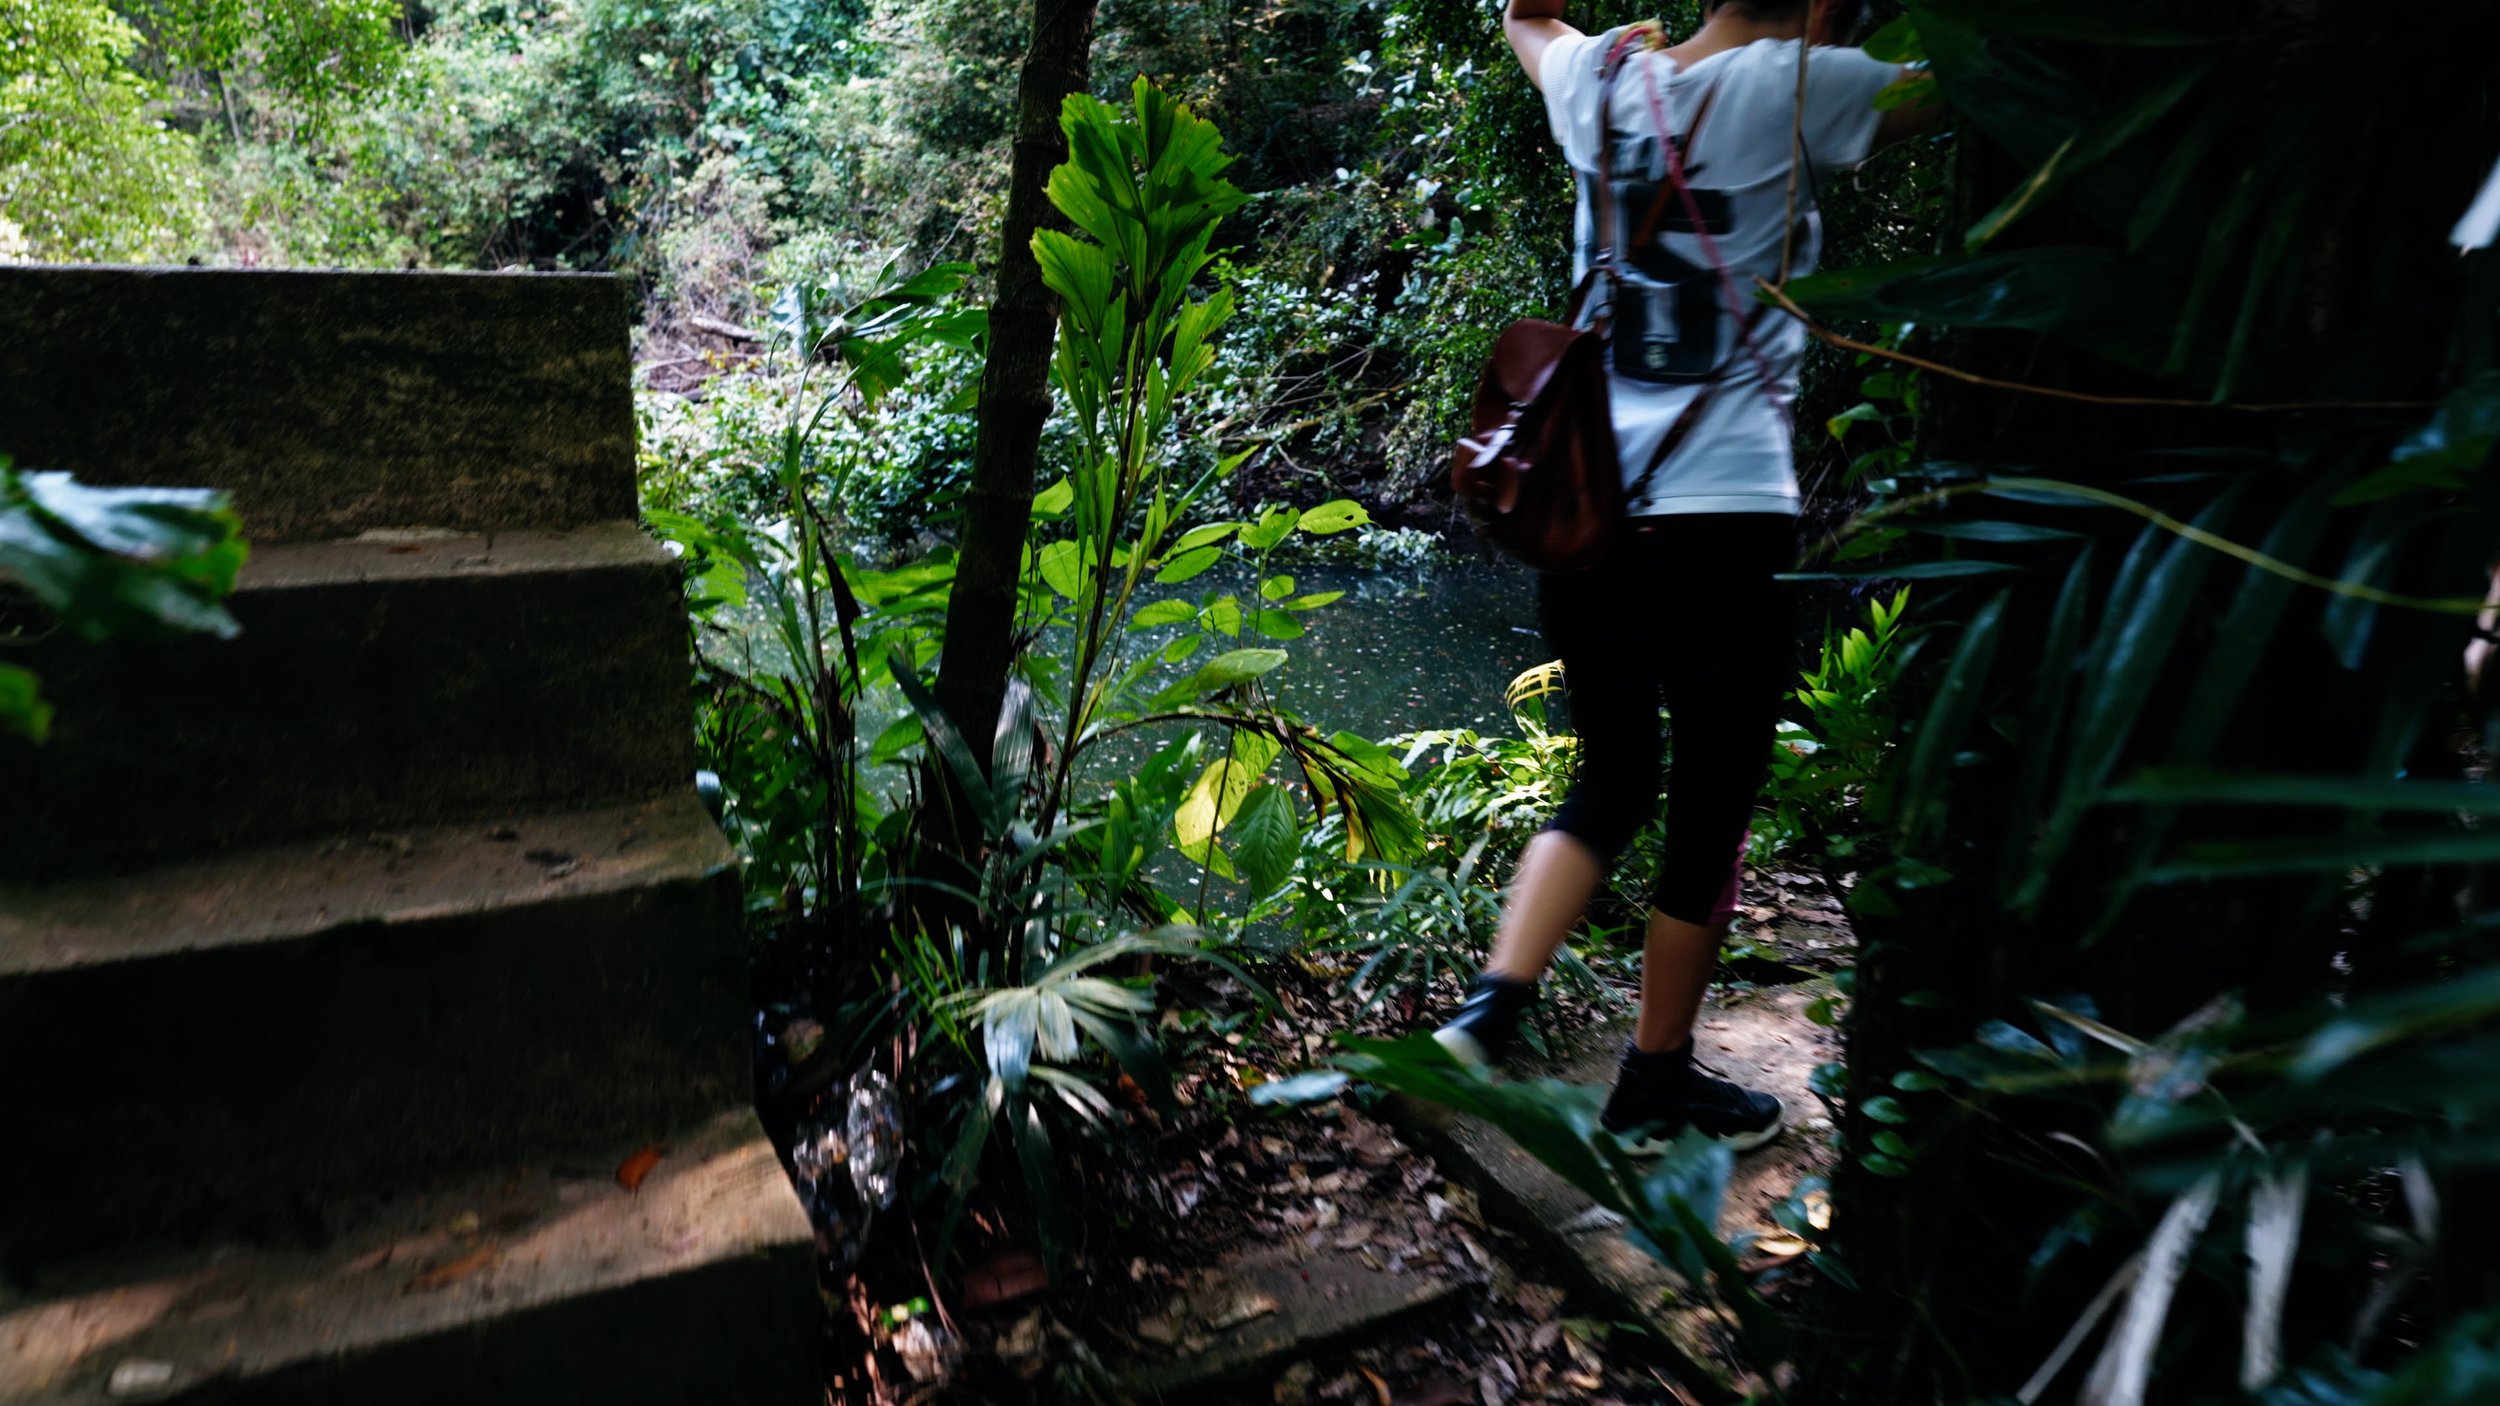
Continue along the beaten path until you come across this little stream crossing. You will be at the Keppel Hill reservoir within the next minute!
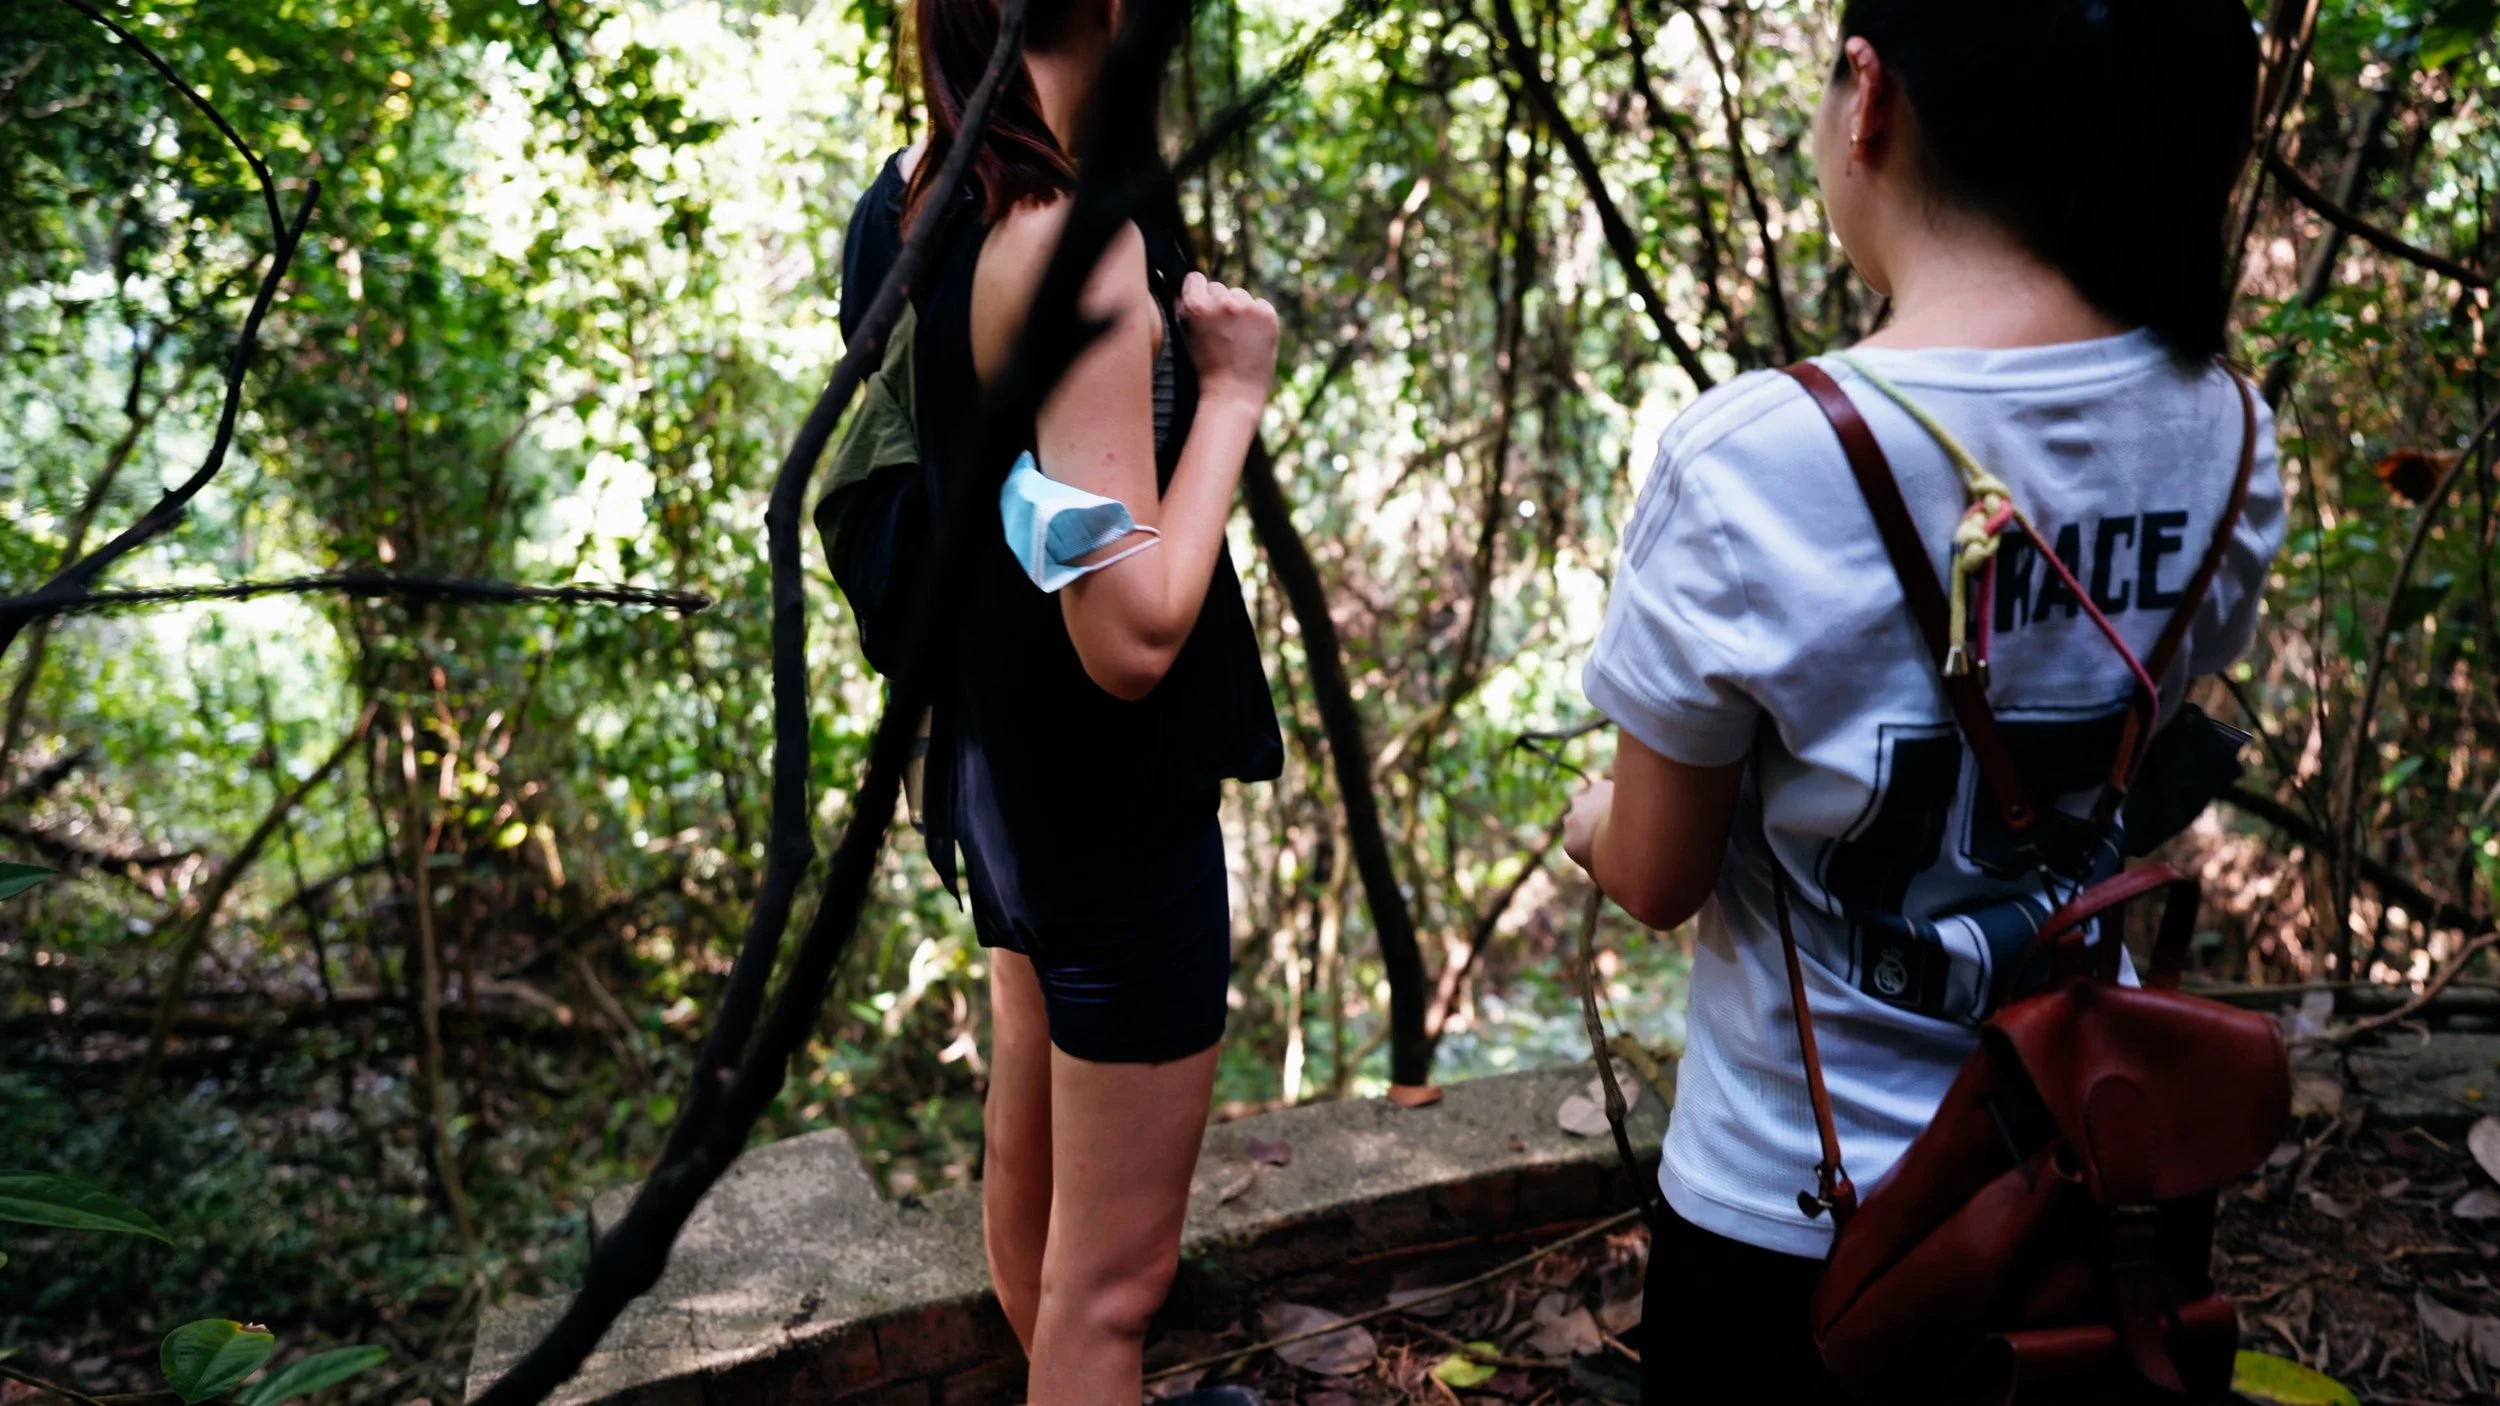
So apparently residents used to swim in this ‘olympic sized’ reservoir back in the day but you will come across a ‘no swimming, no fishing’ sign near the elevated concrete steps. The abandoned reservoir is quite the sight! Even though it is rather run down, there is still an enchanting feel to the place. Hopefully you would have doused yourself with mozzie/insect spray earlier because by now, the mosquitoes would be attacking!
After taking in all the sights, head to the right of the concrete steps, up a couple flights of brick stairs.
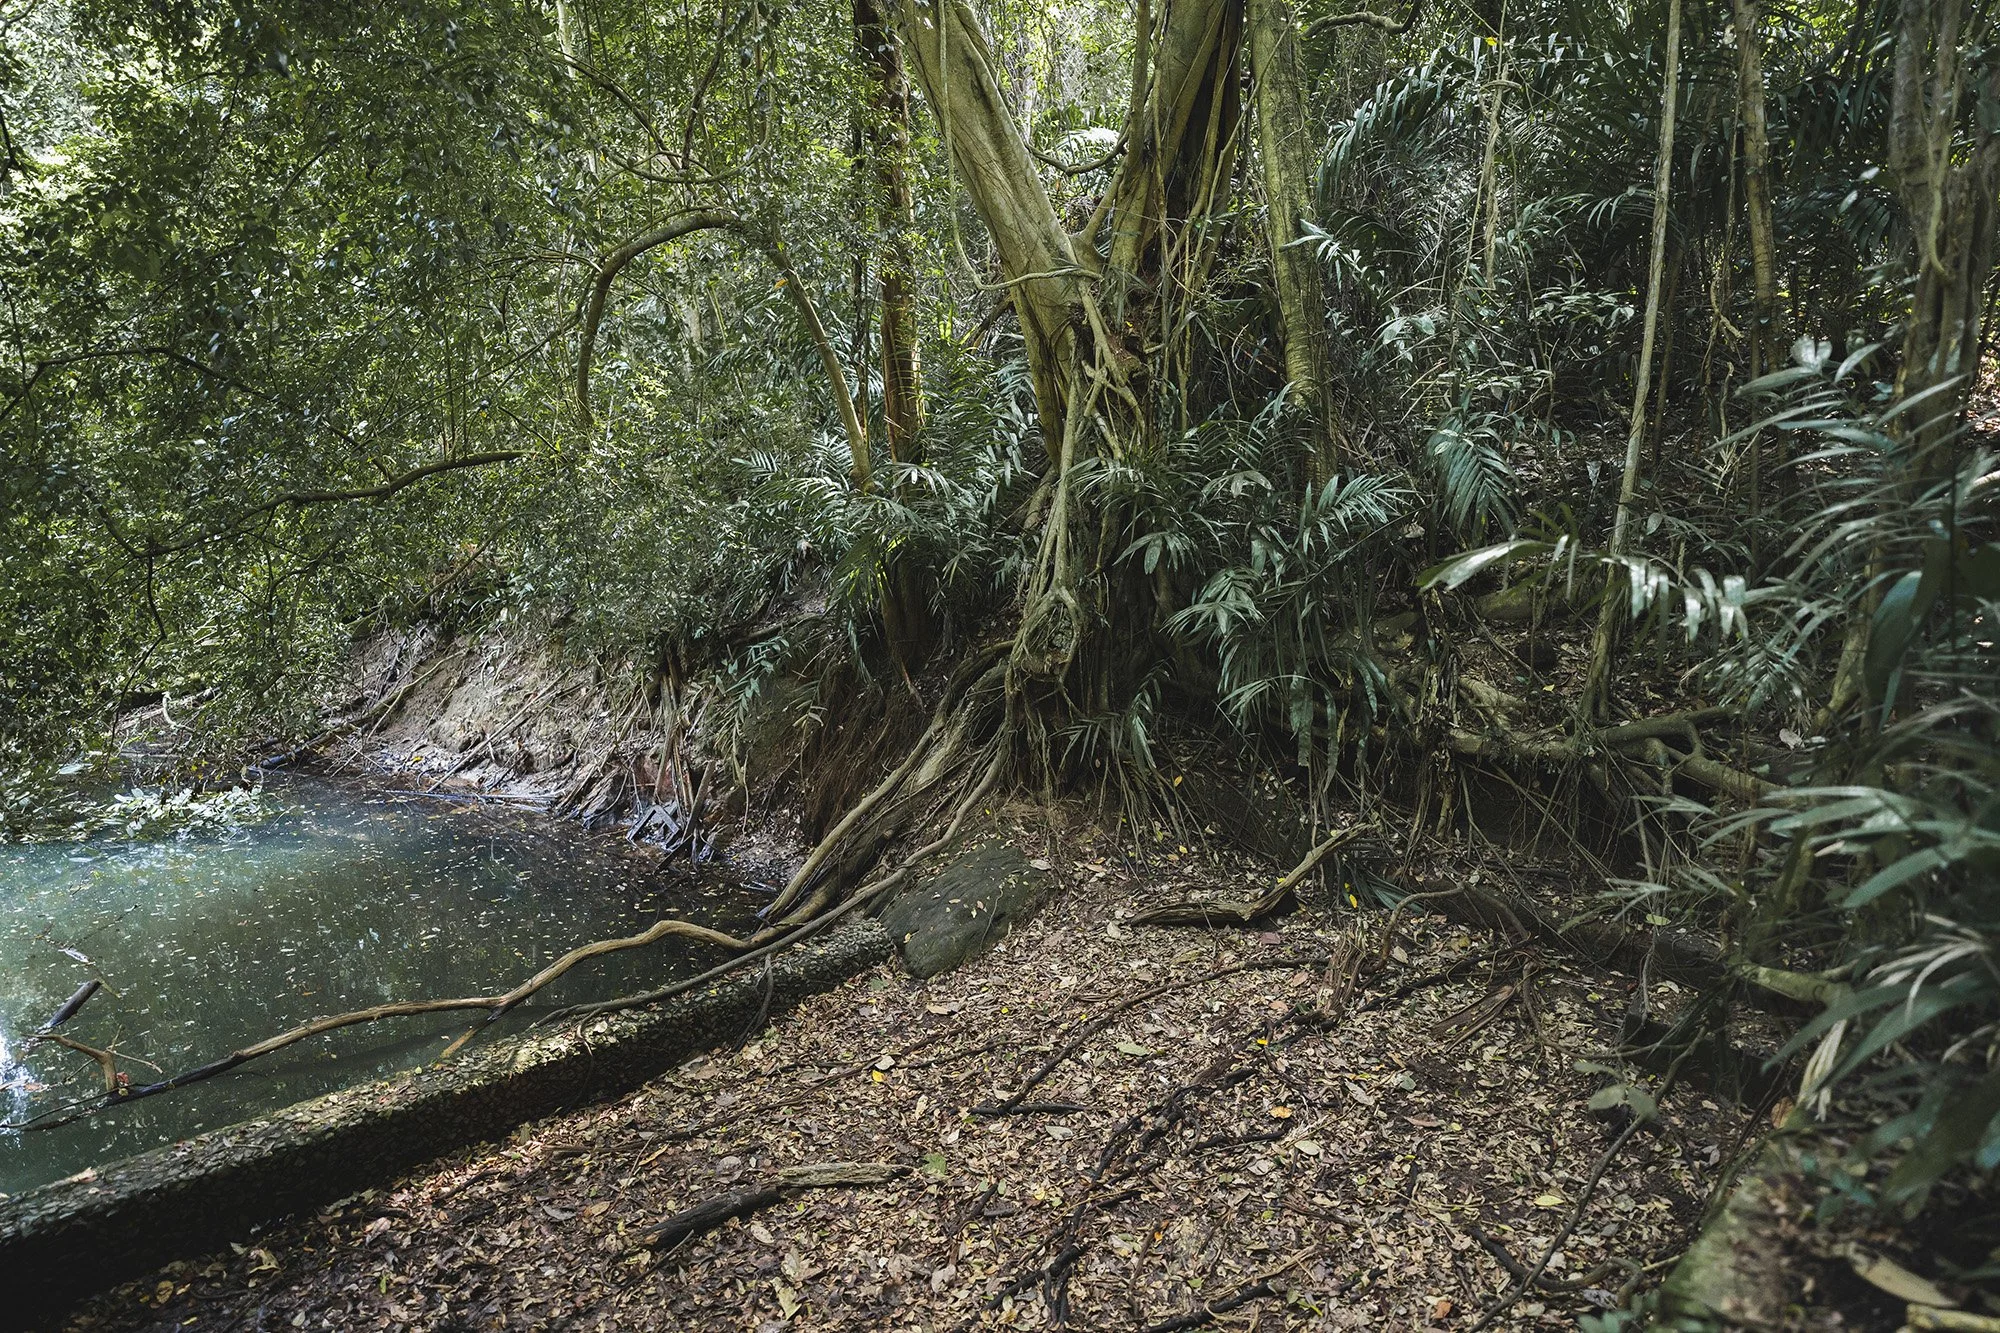
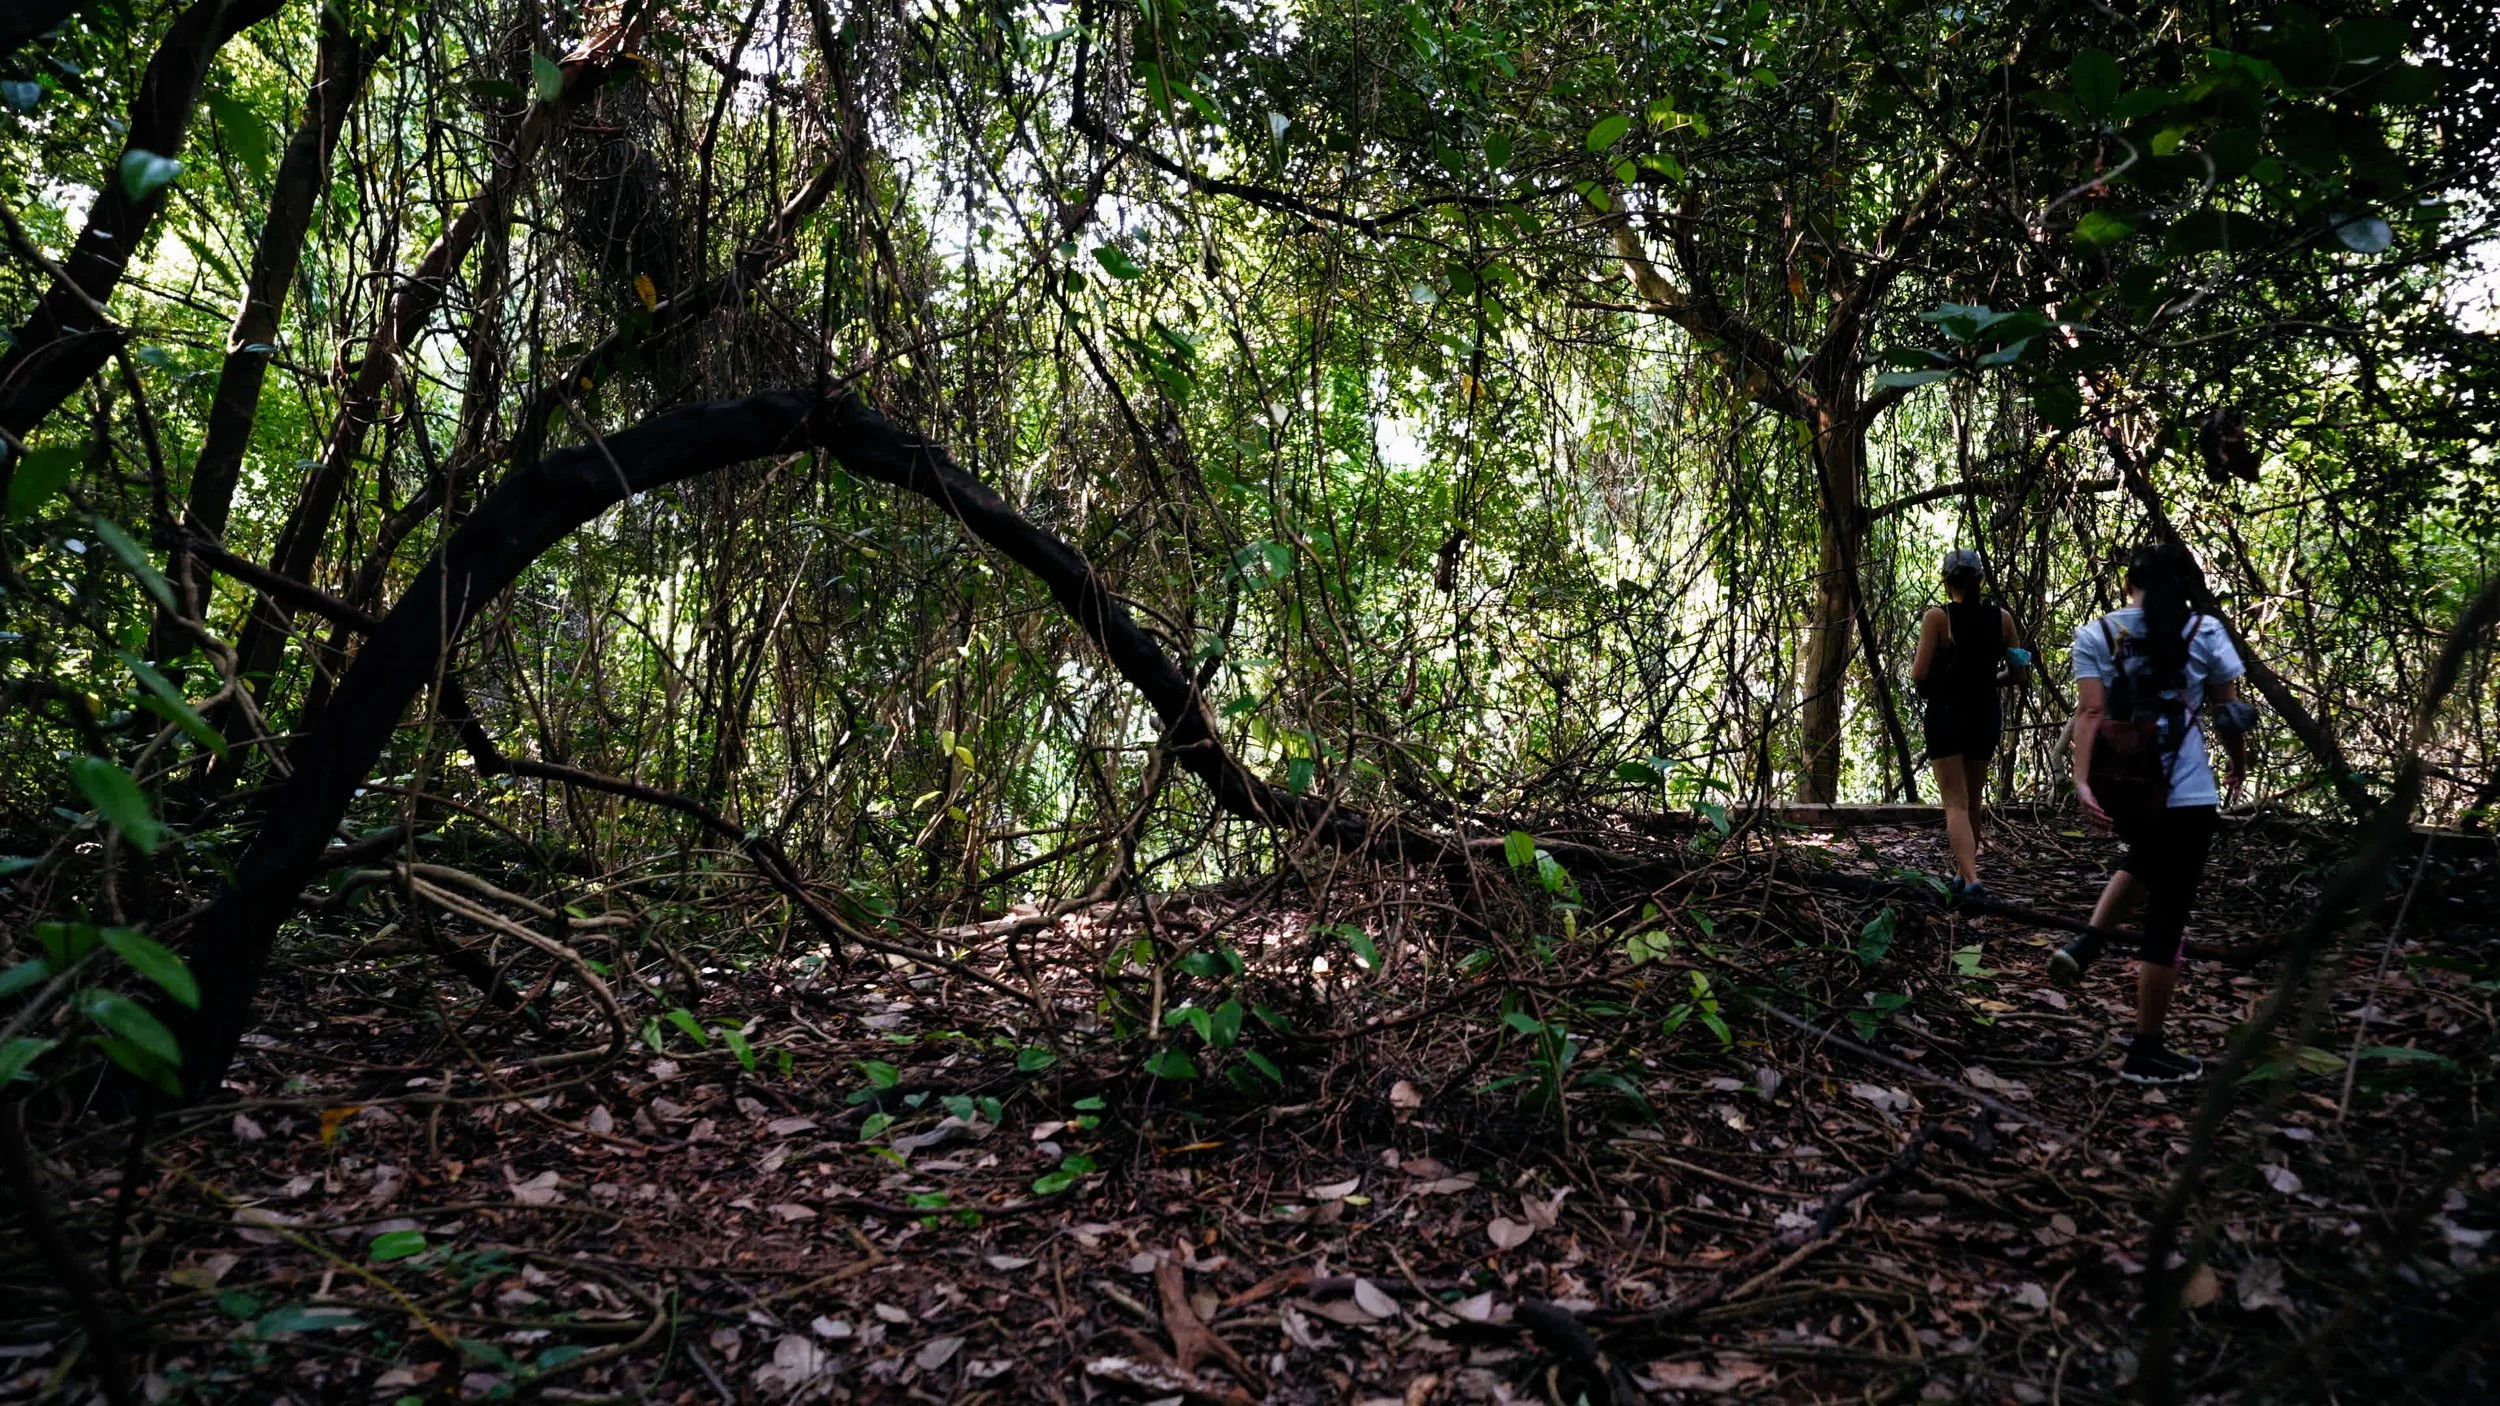
Continue on your hike up the beaten path. Just be careful as there are a couple of fallen trees and massive networks of tree roots. Eventually you will come across another set of brick stairs which leads to a pretty big tomb.
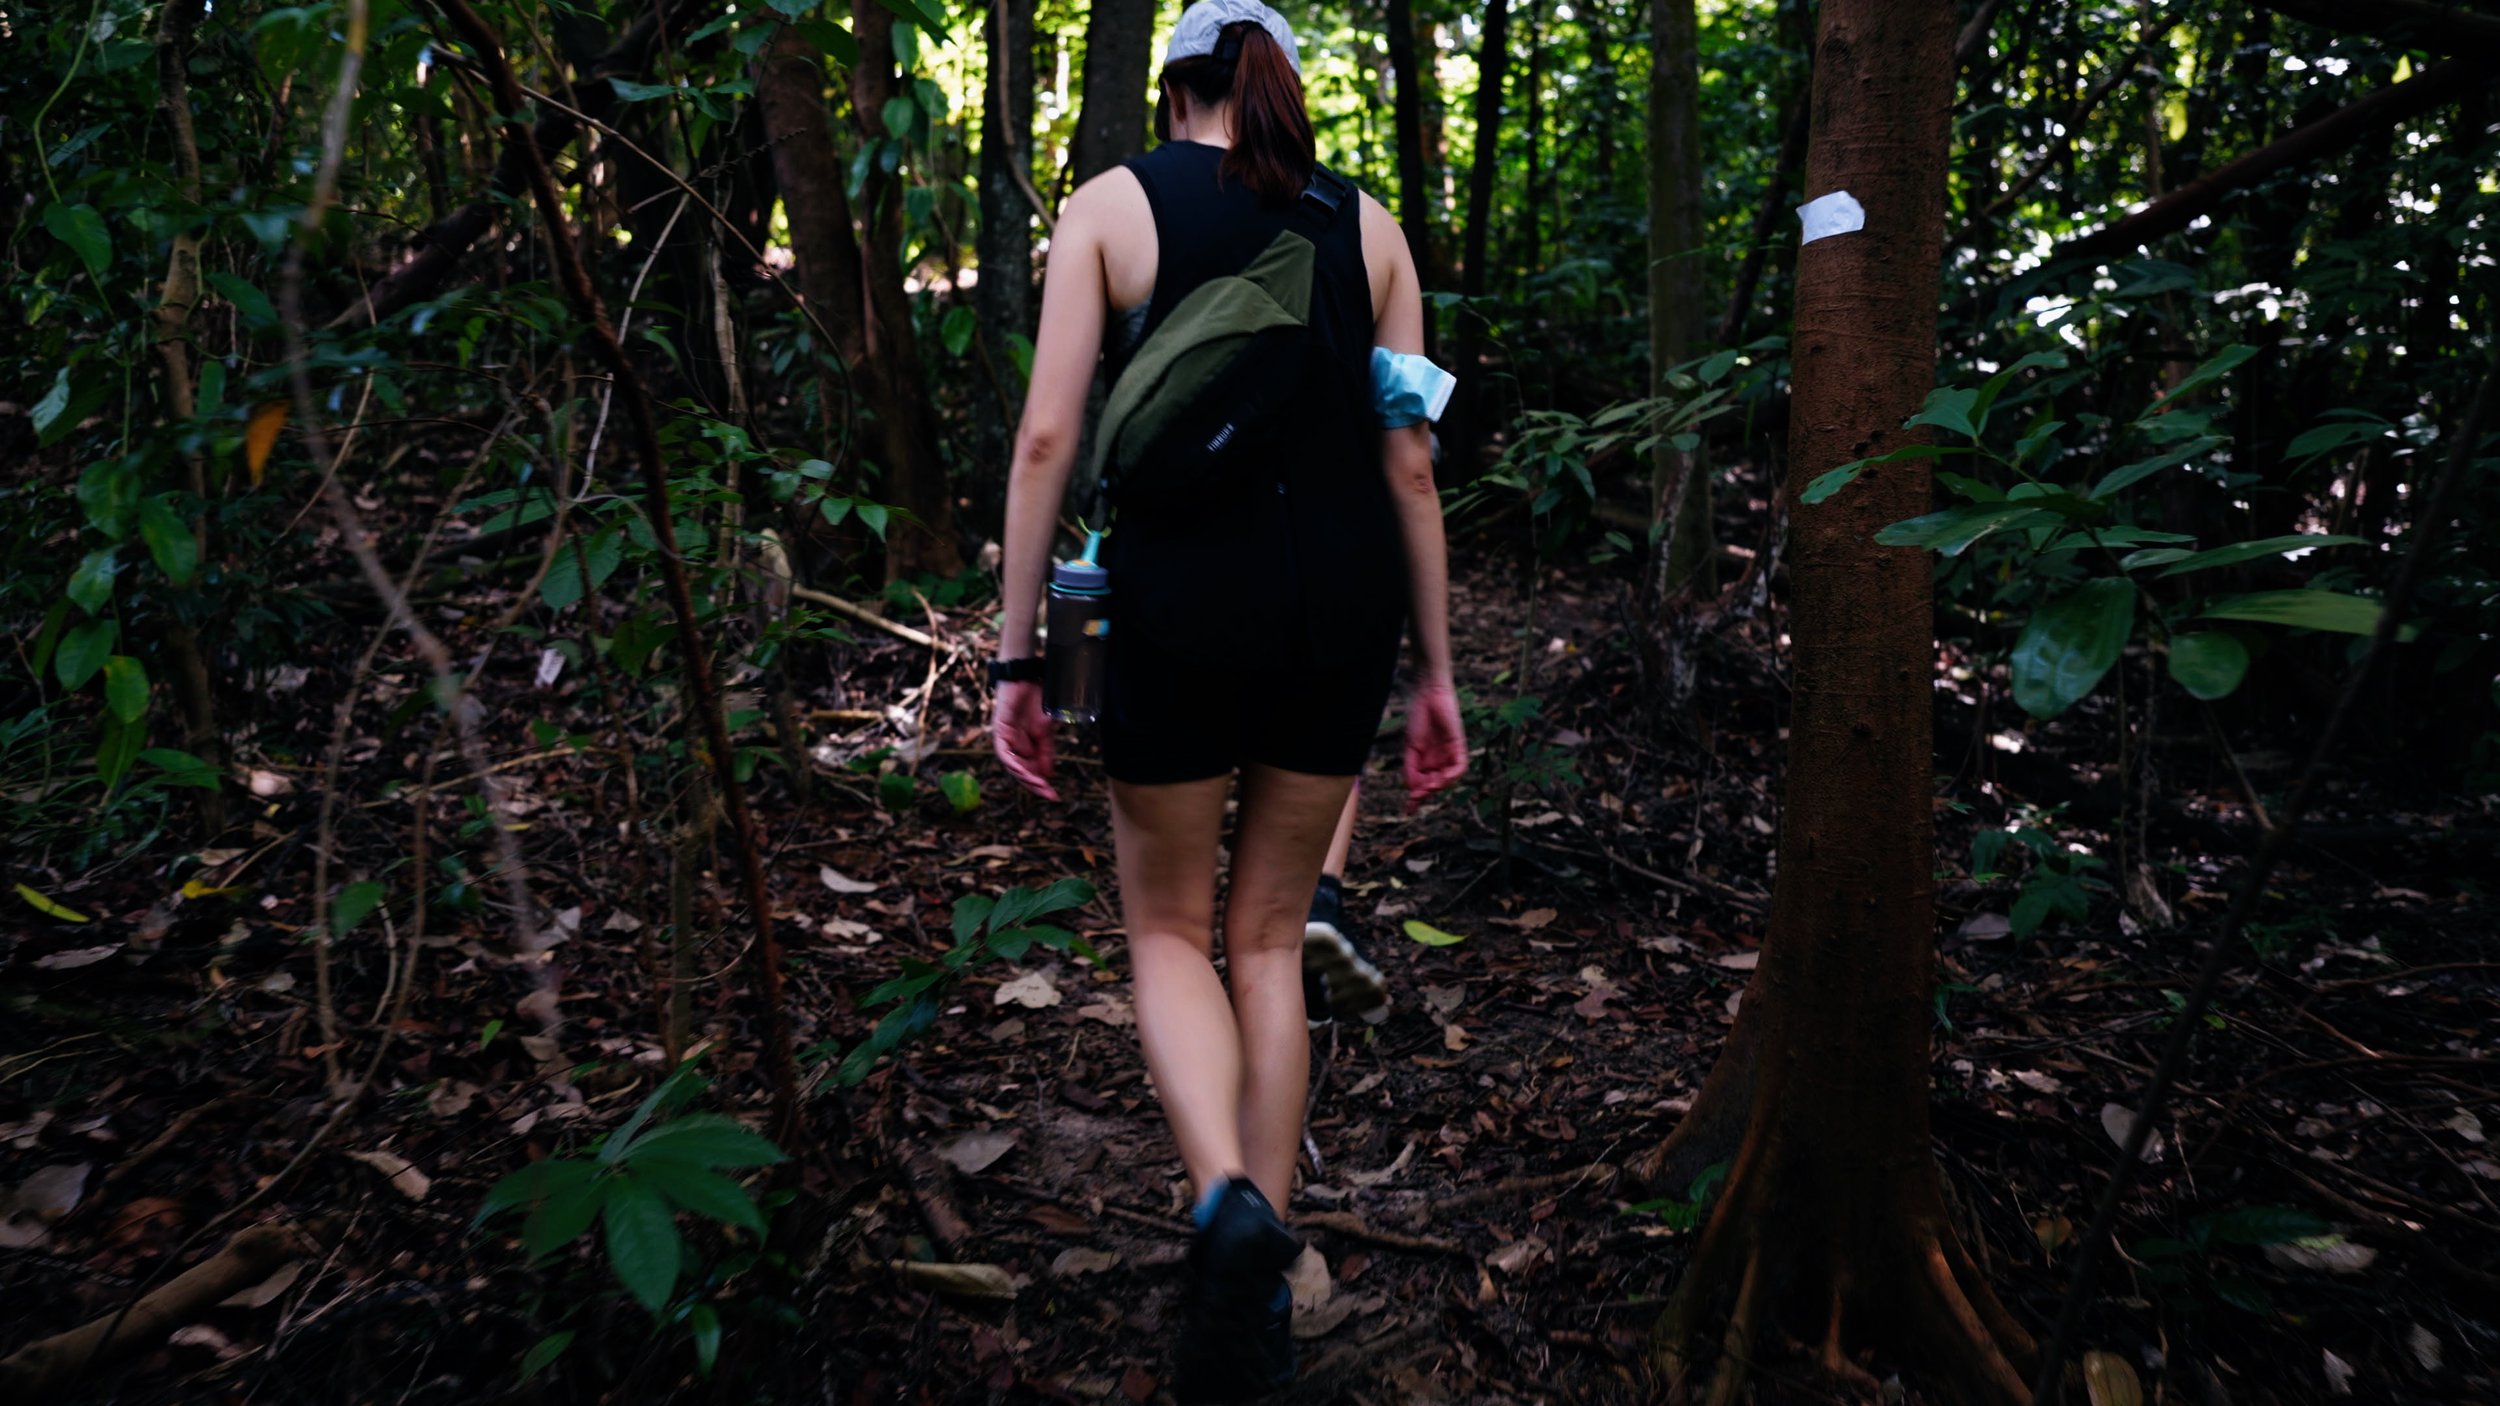
By now, you are well on your way to the peak of Mount Faber! From here on, just continue your ascent up the beaten path. You should be able to come across white or red markers that are tagged on trees along the way to help with the directions.
At some point, you will come across this arched branch and you might noticed a brick edge. We didn’t actually notice a brick wall on our way up but it was quite cool to stand at the edge of it.
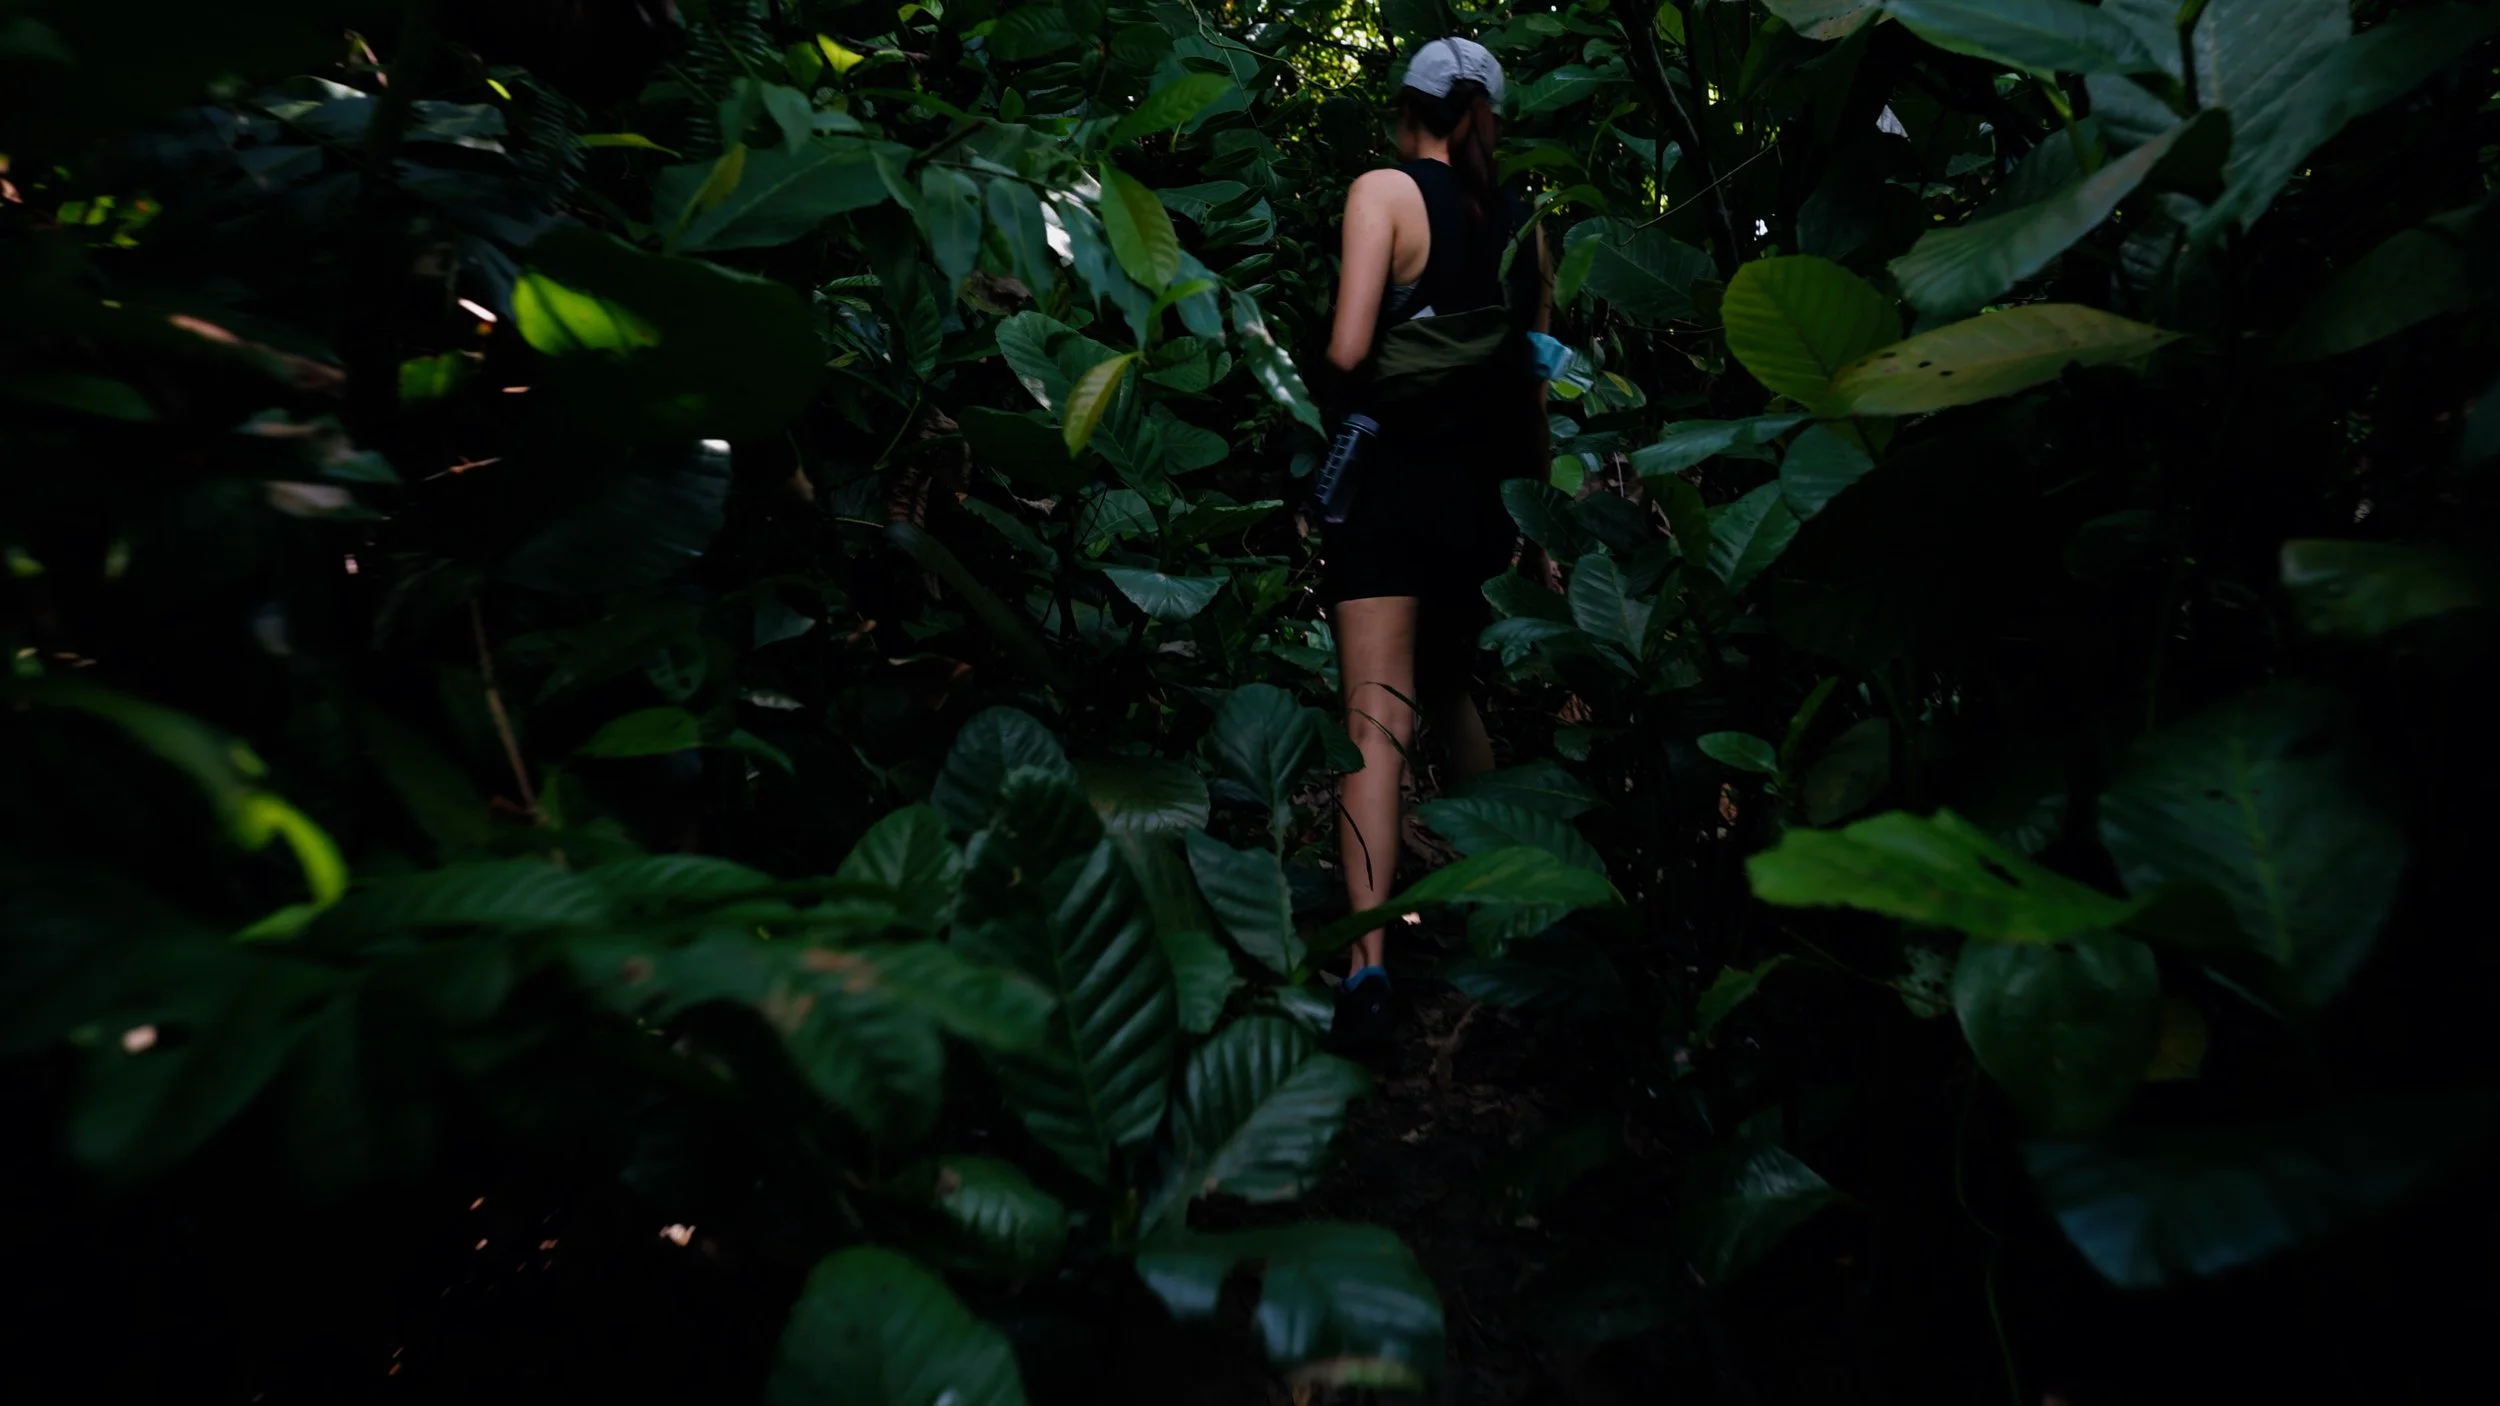
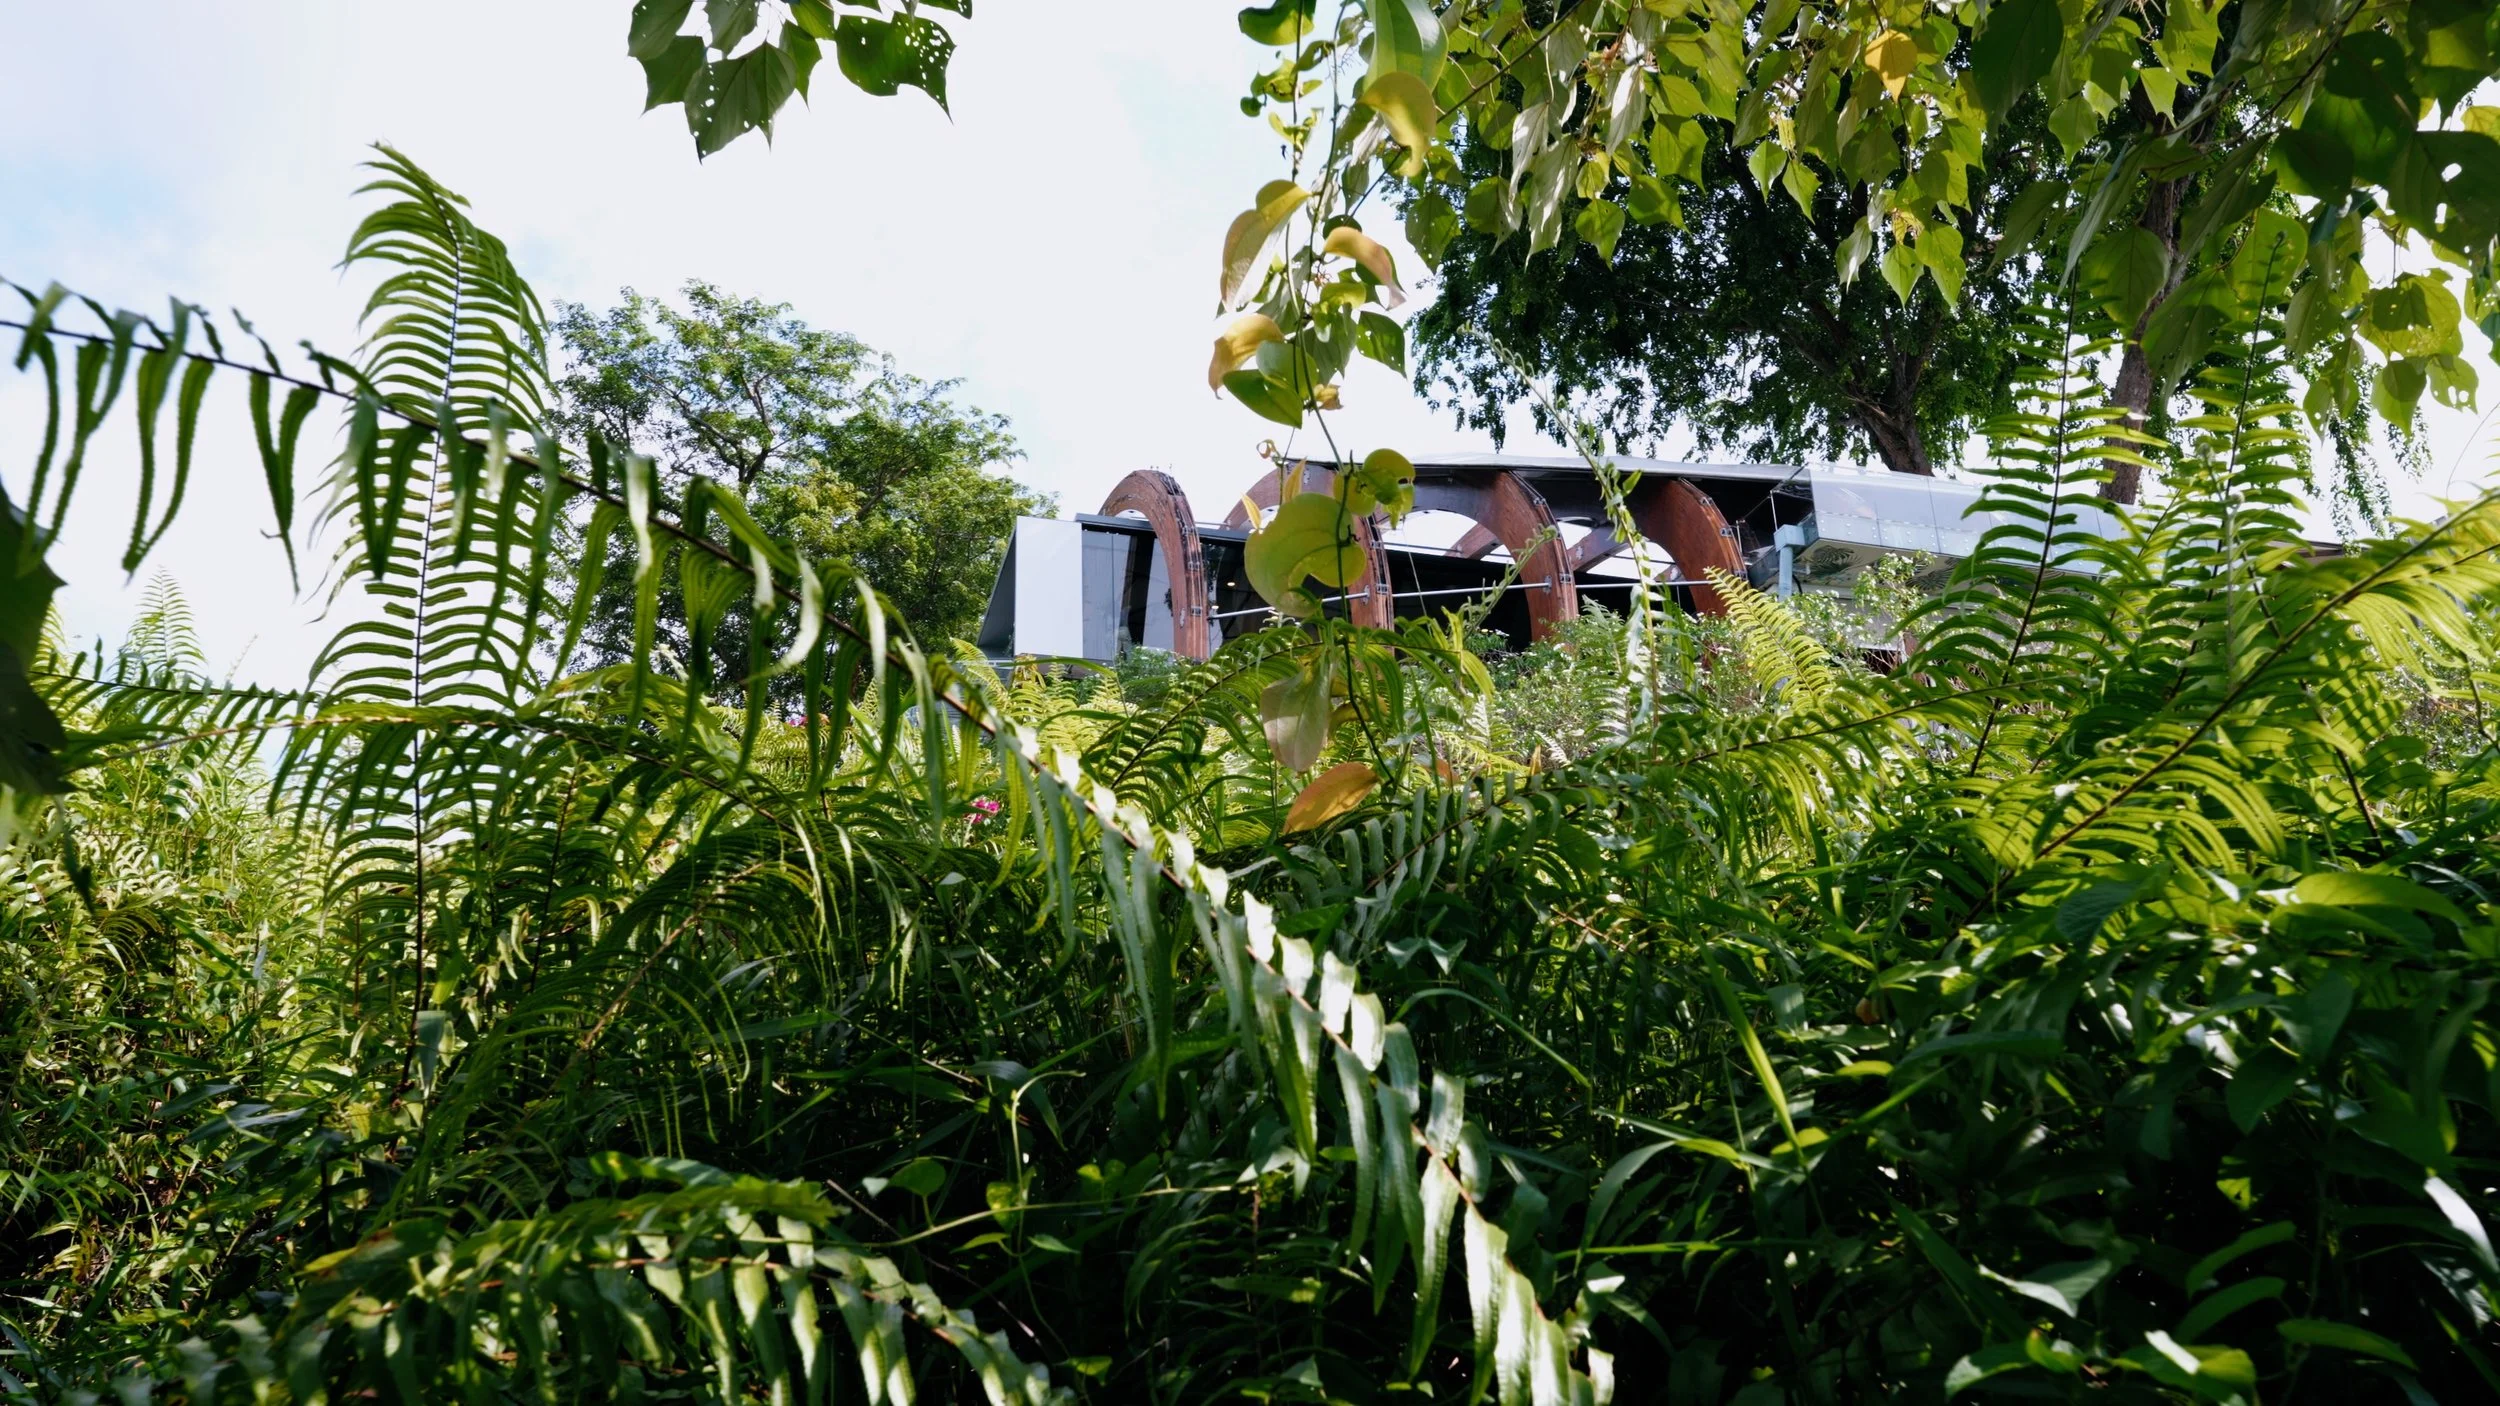
Make your way back and continue on up the beaten path on the right. Eventually you will have to pass through the lush bushes with big and beautiful leaves. That is when you know that the clearing to the peak of Mount Faber is round the corner!
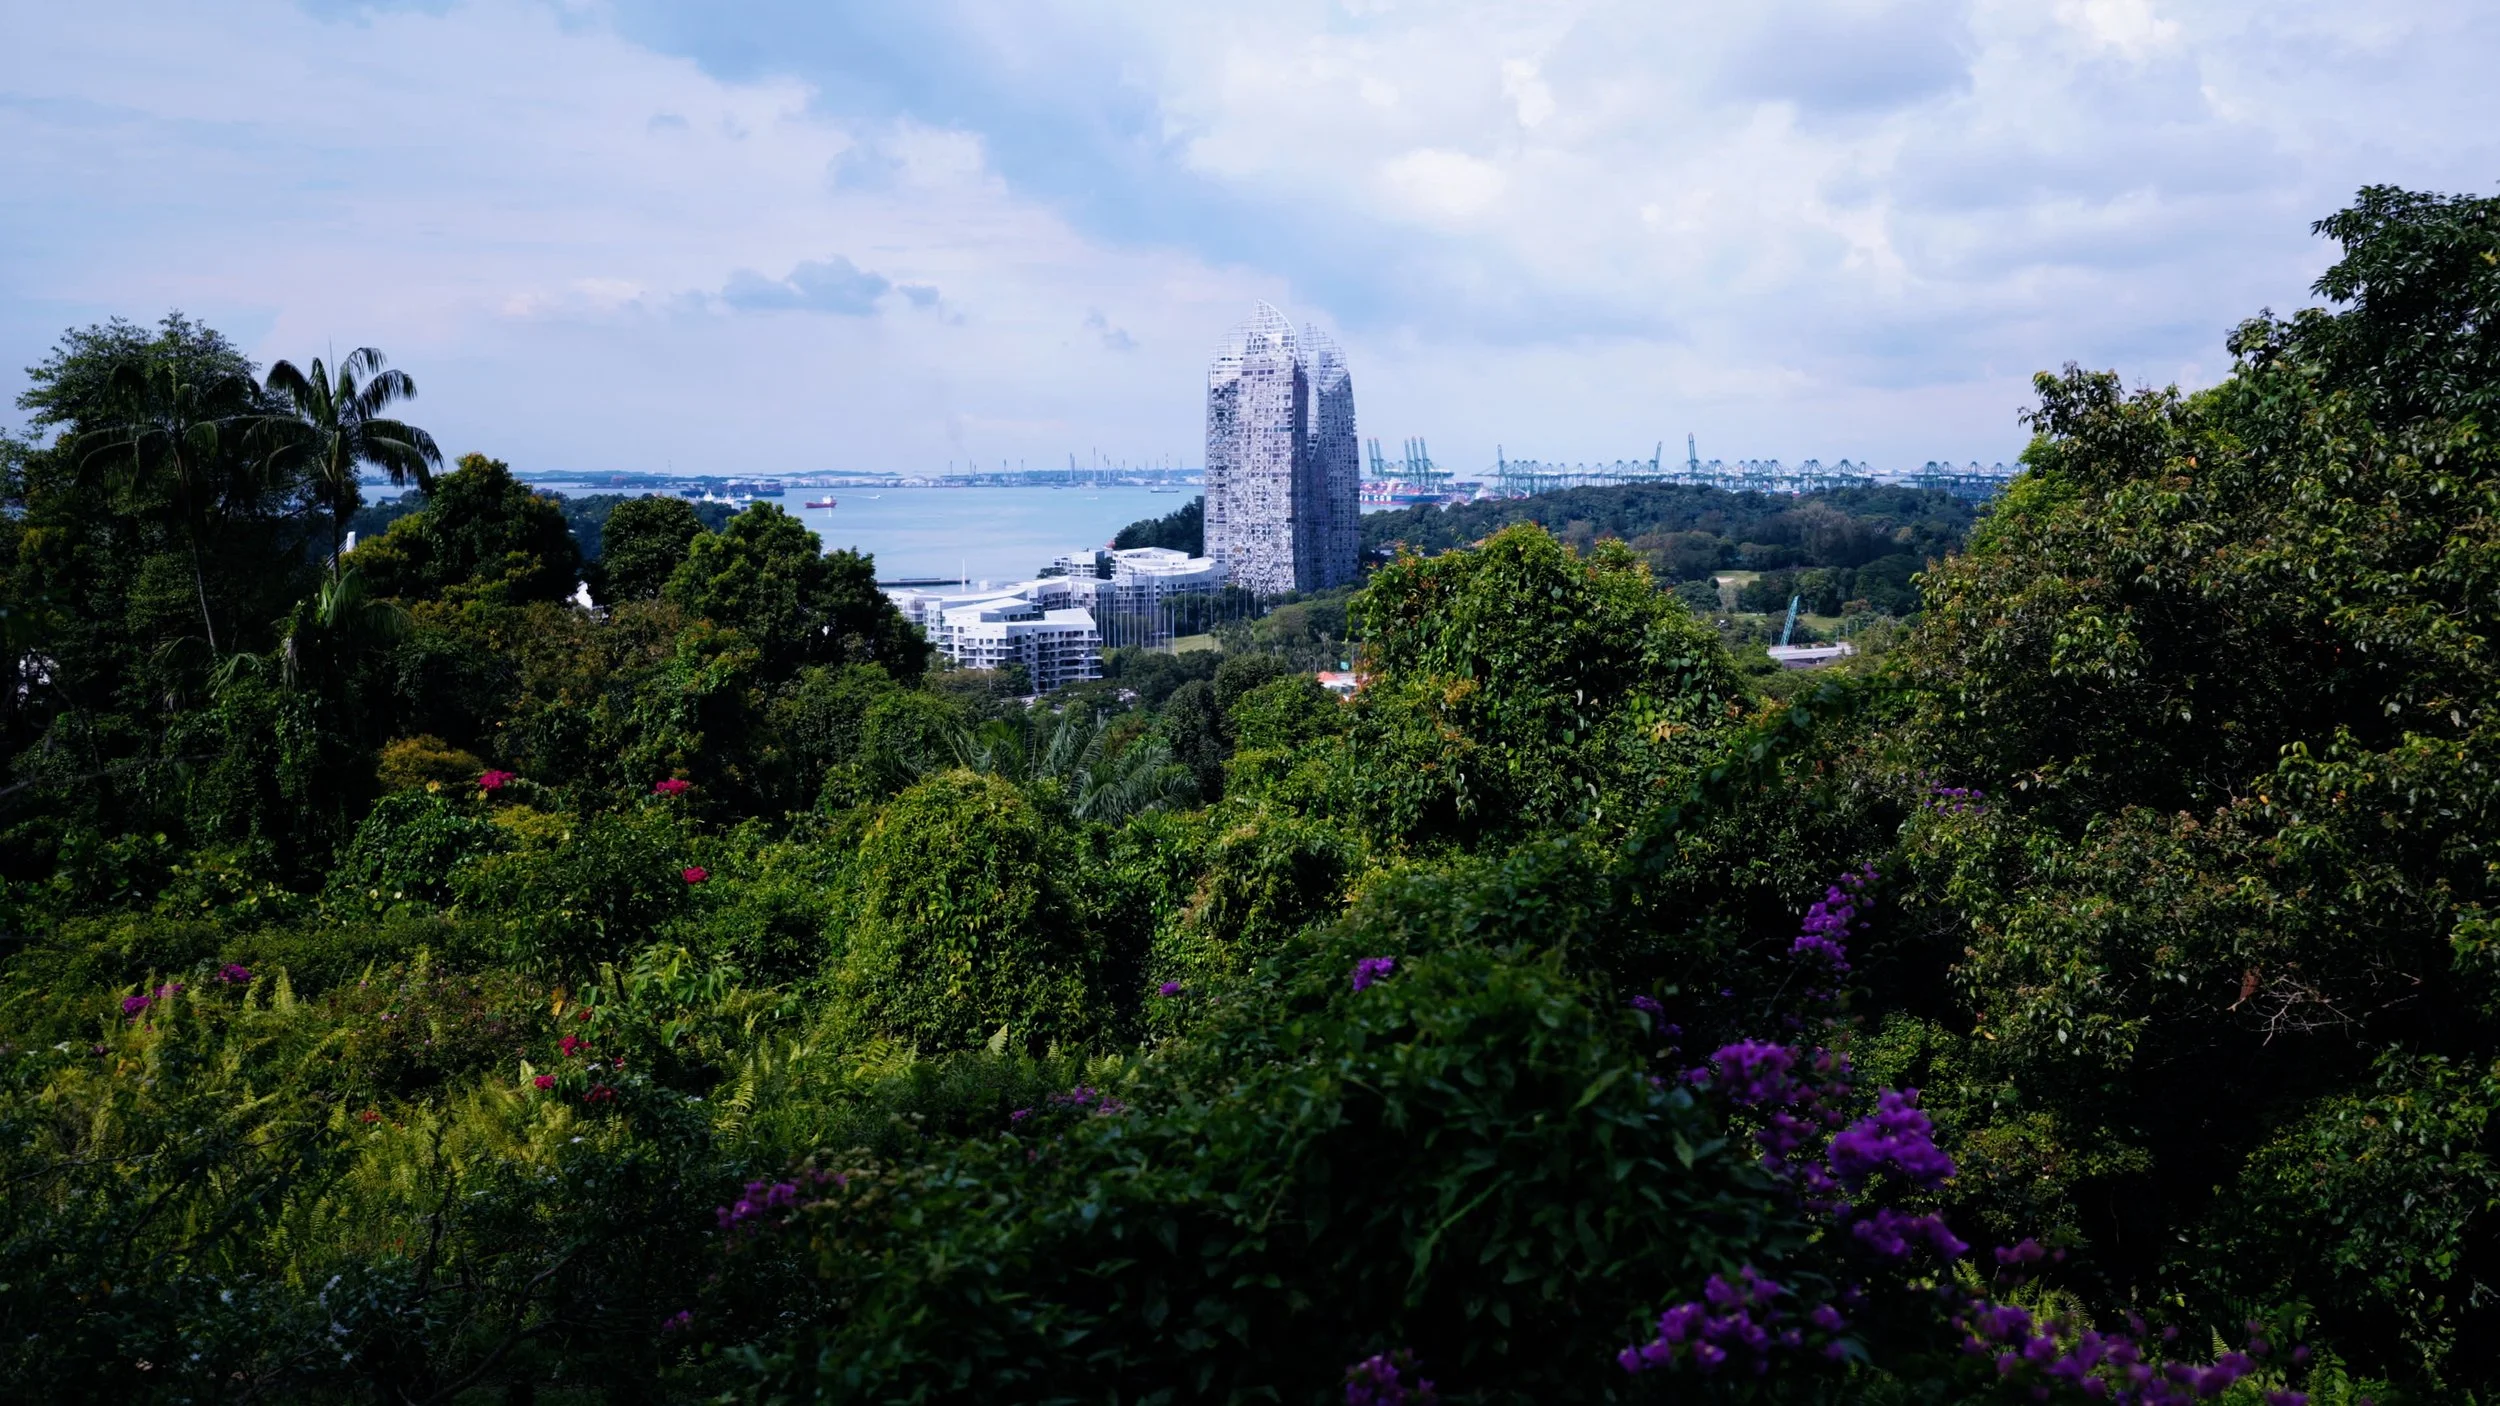
Head up the path and take in all the glorious views of the Keppel Bay area!
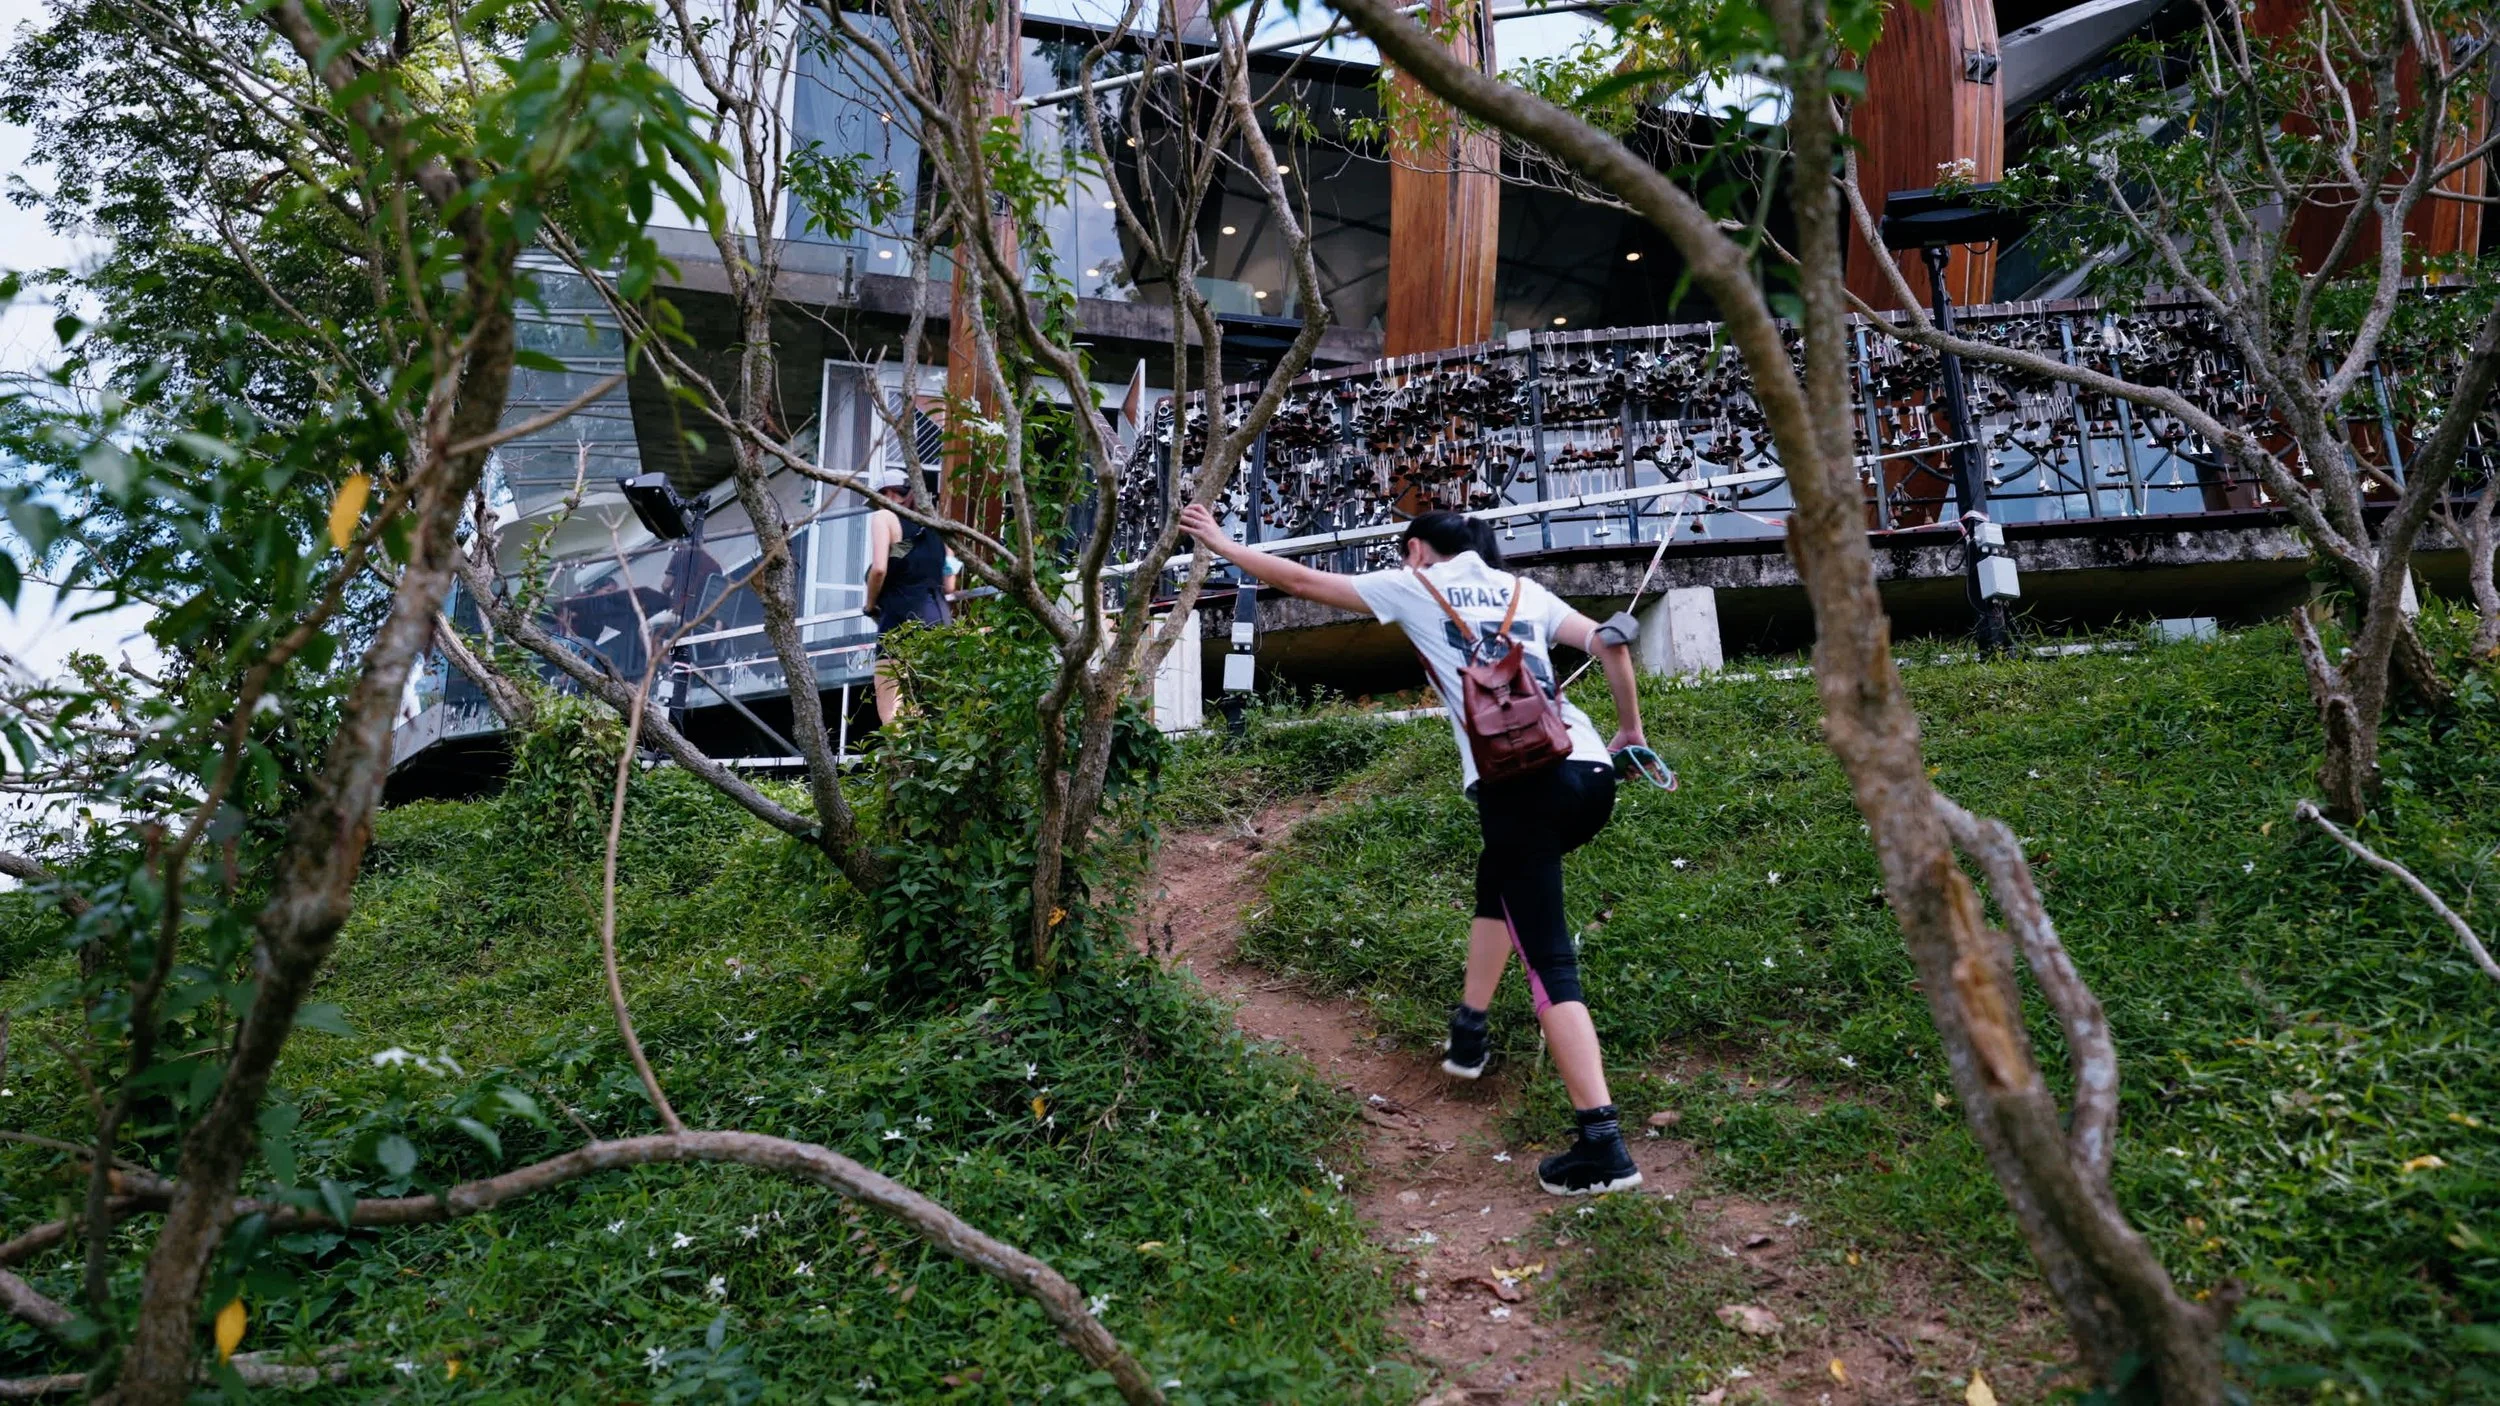
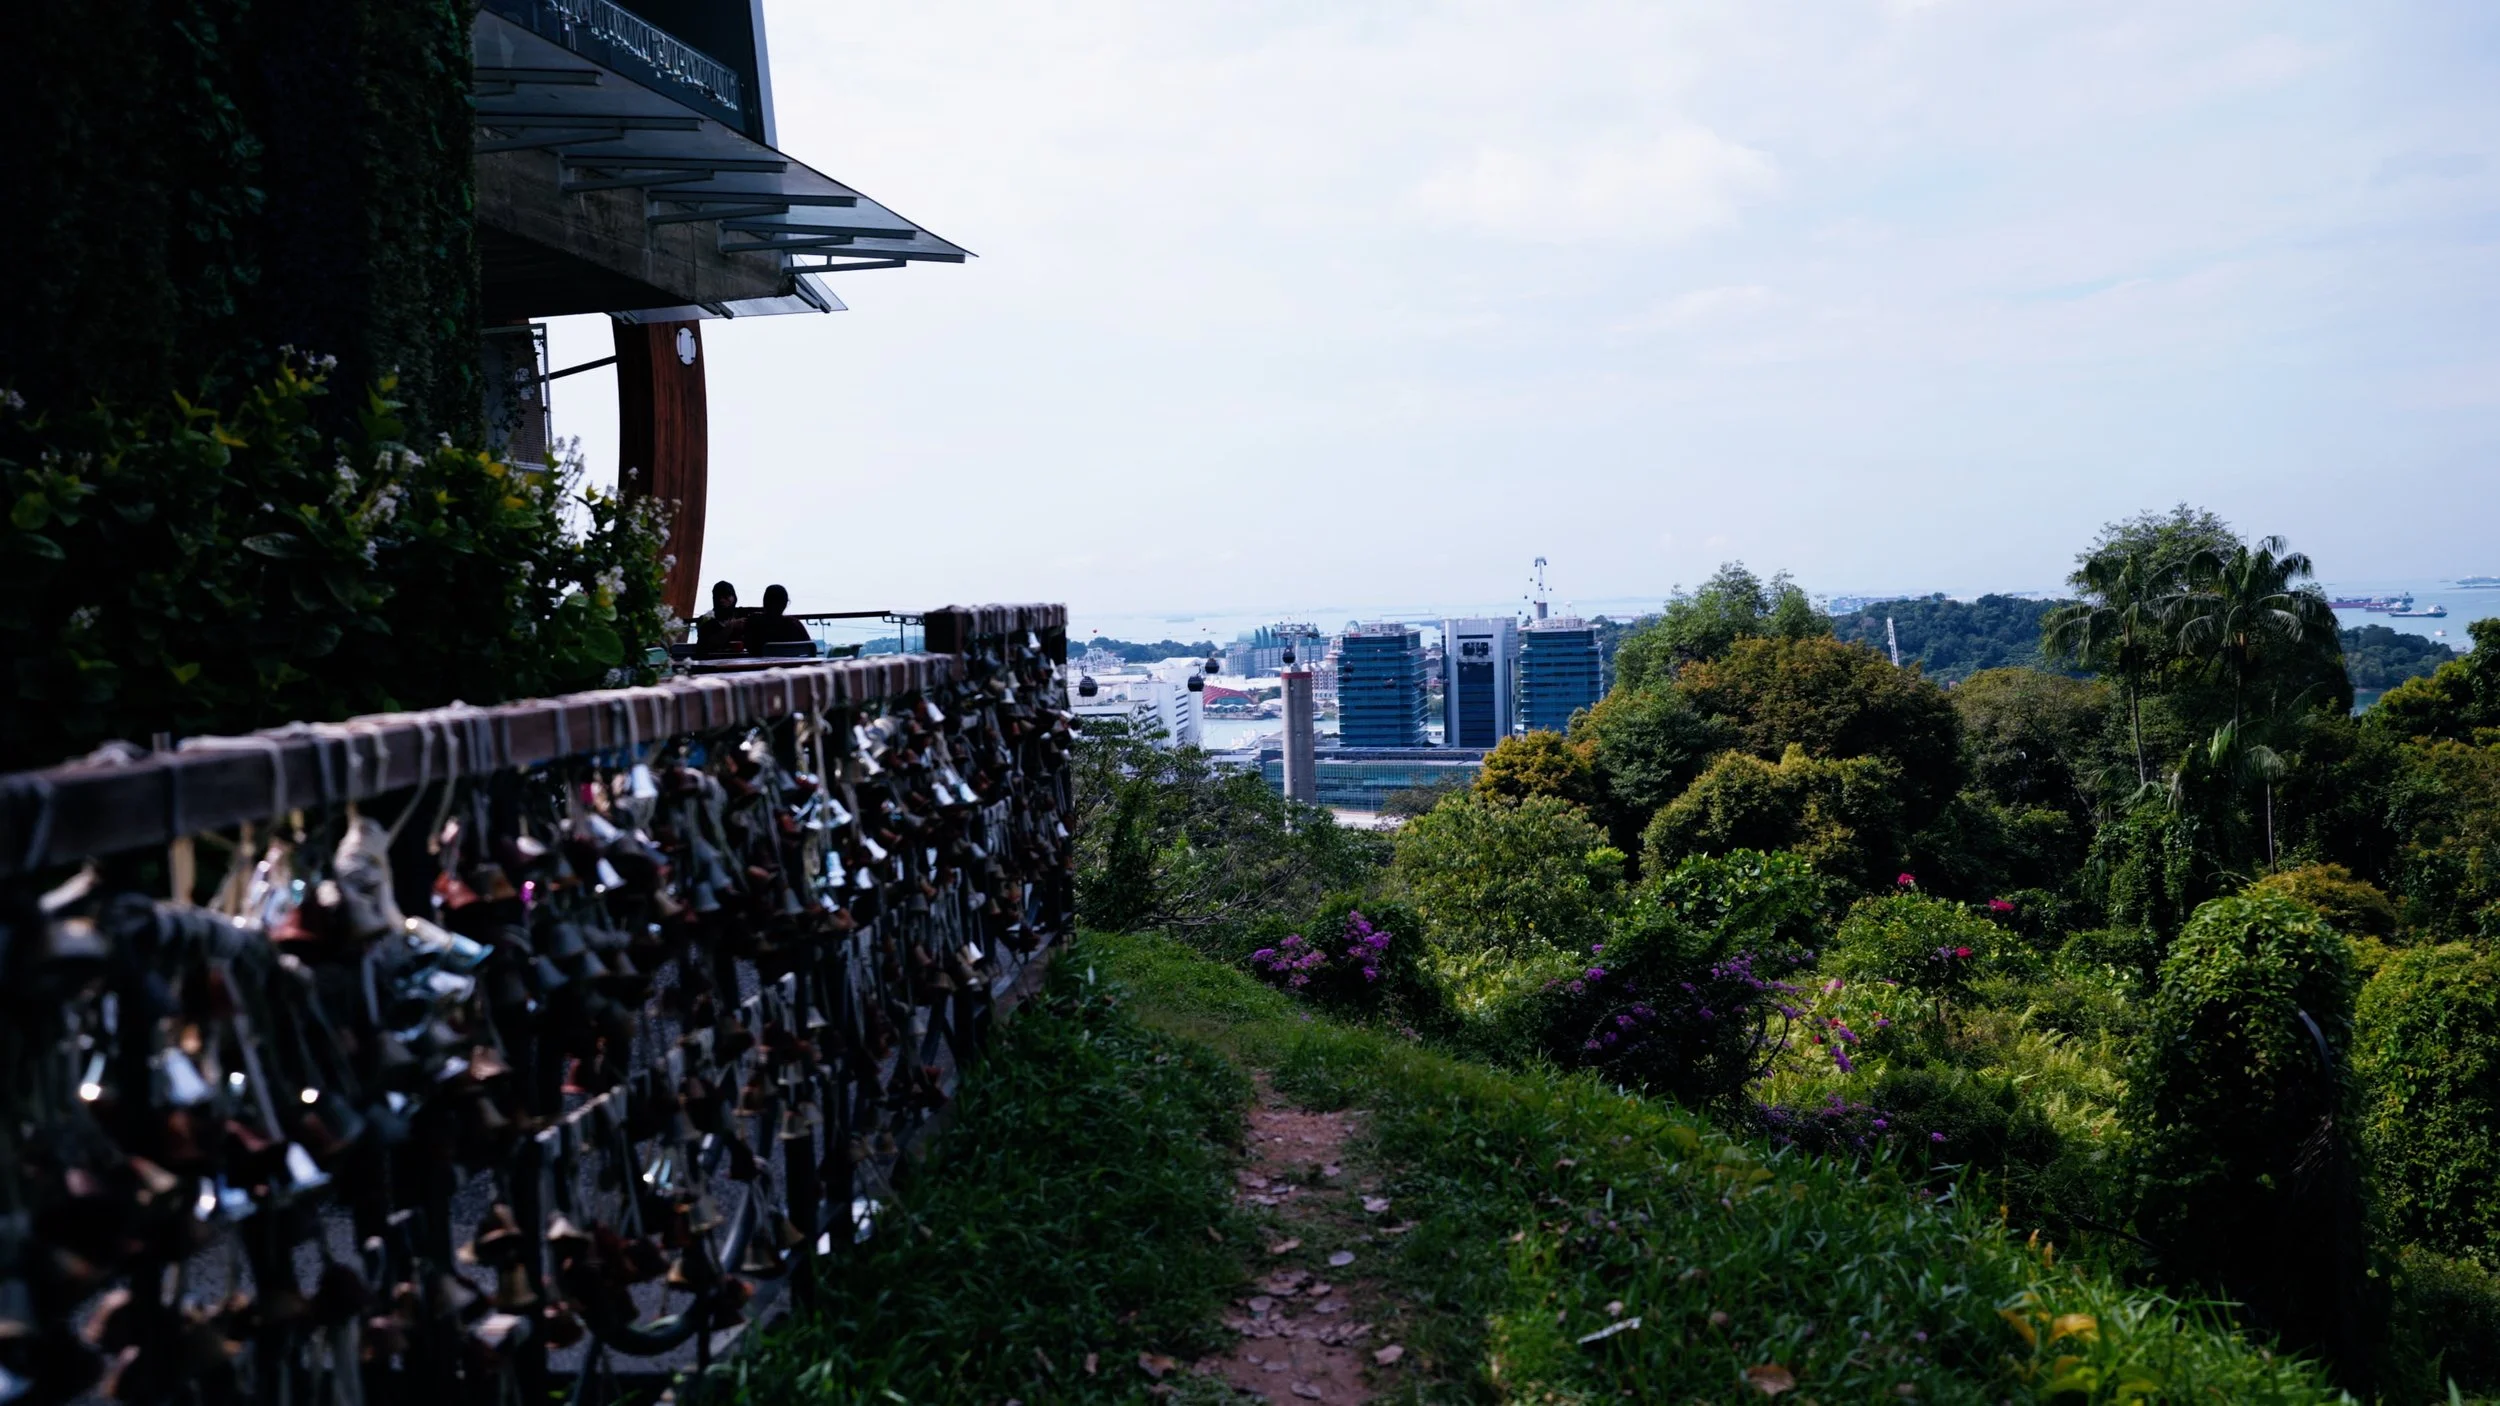
After taking your photos, you’d want to head up the path and walk along the perimeter of the building. It’s pretty sketchy so be careful!
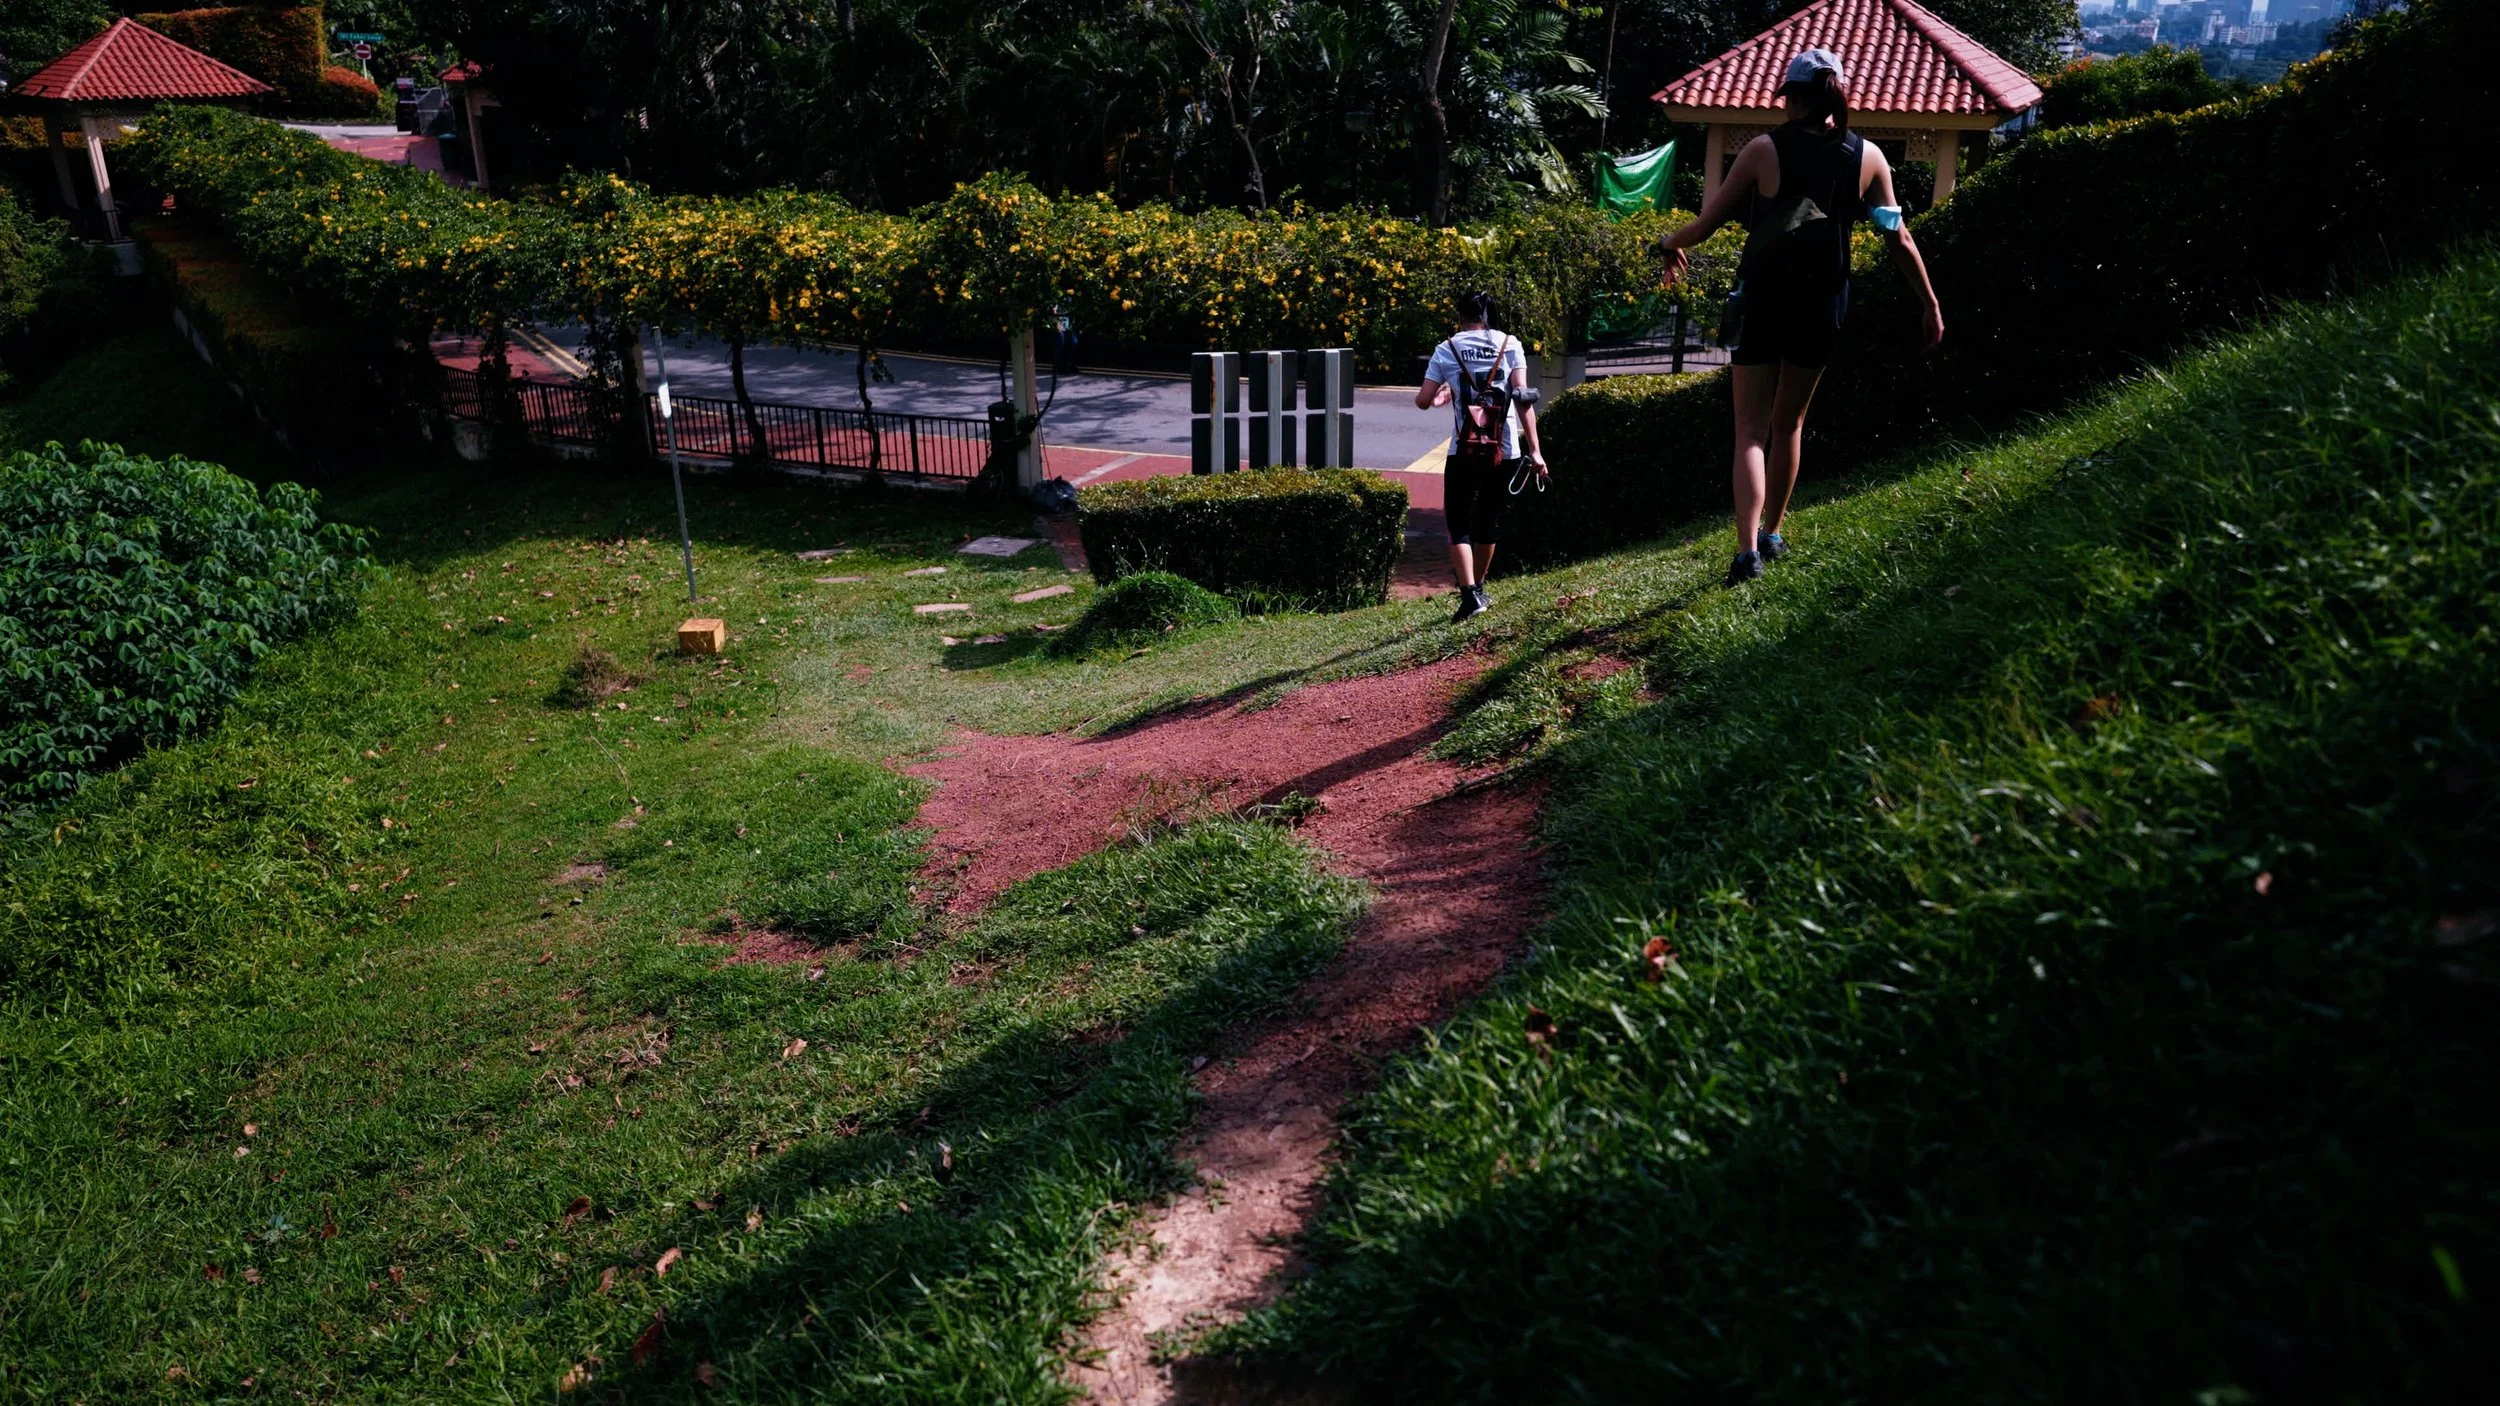
Try to avoid stepping on the red gravel as it would make your descent a lot more slippery.
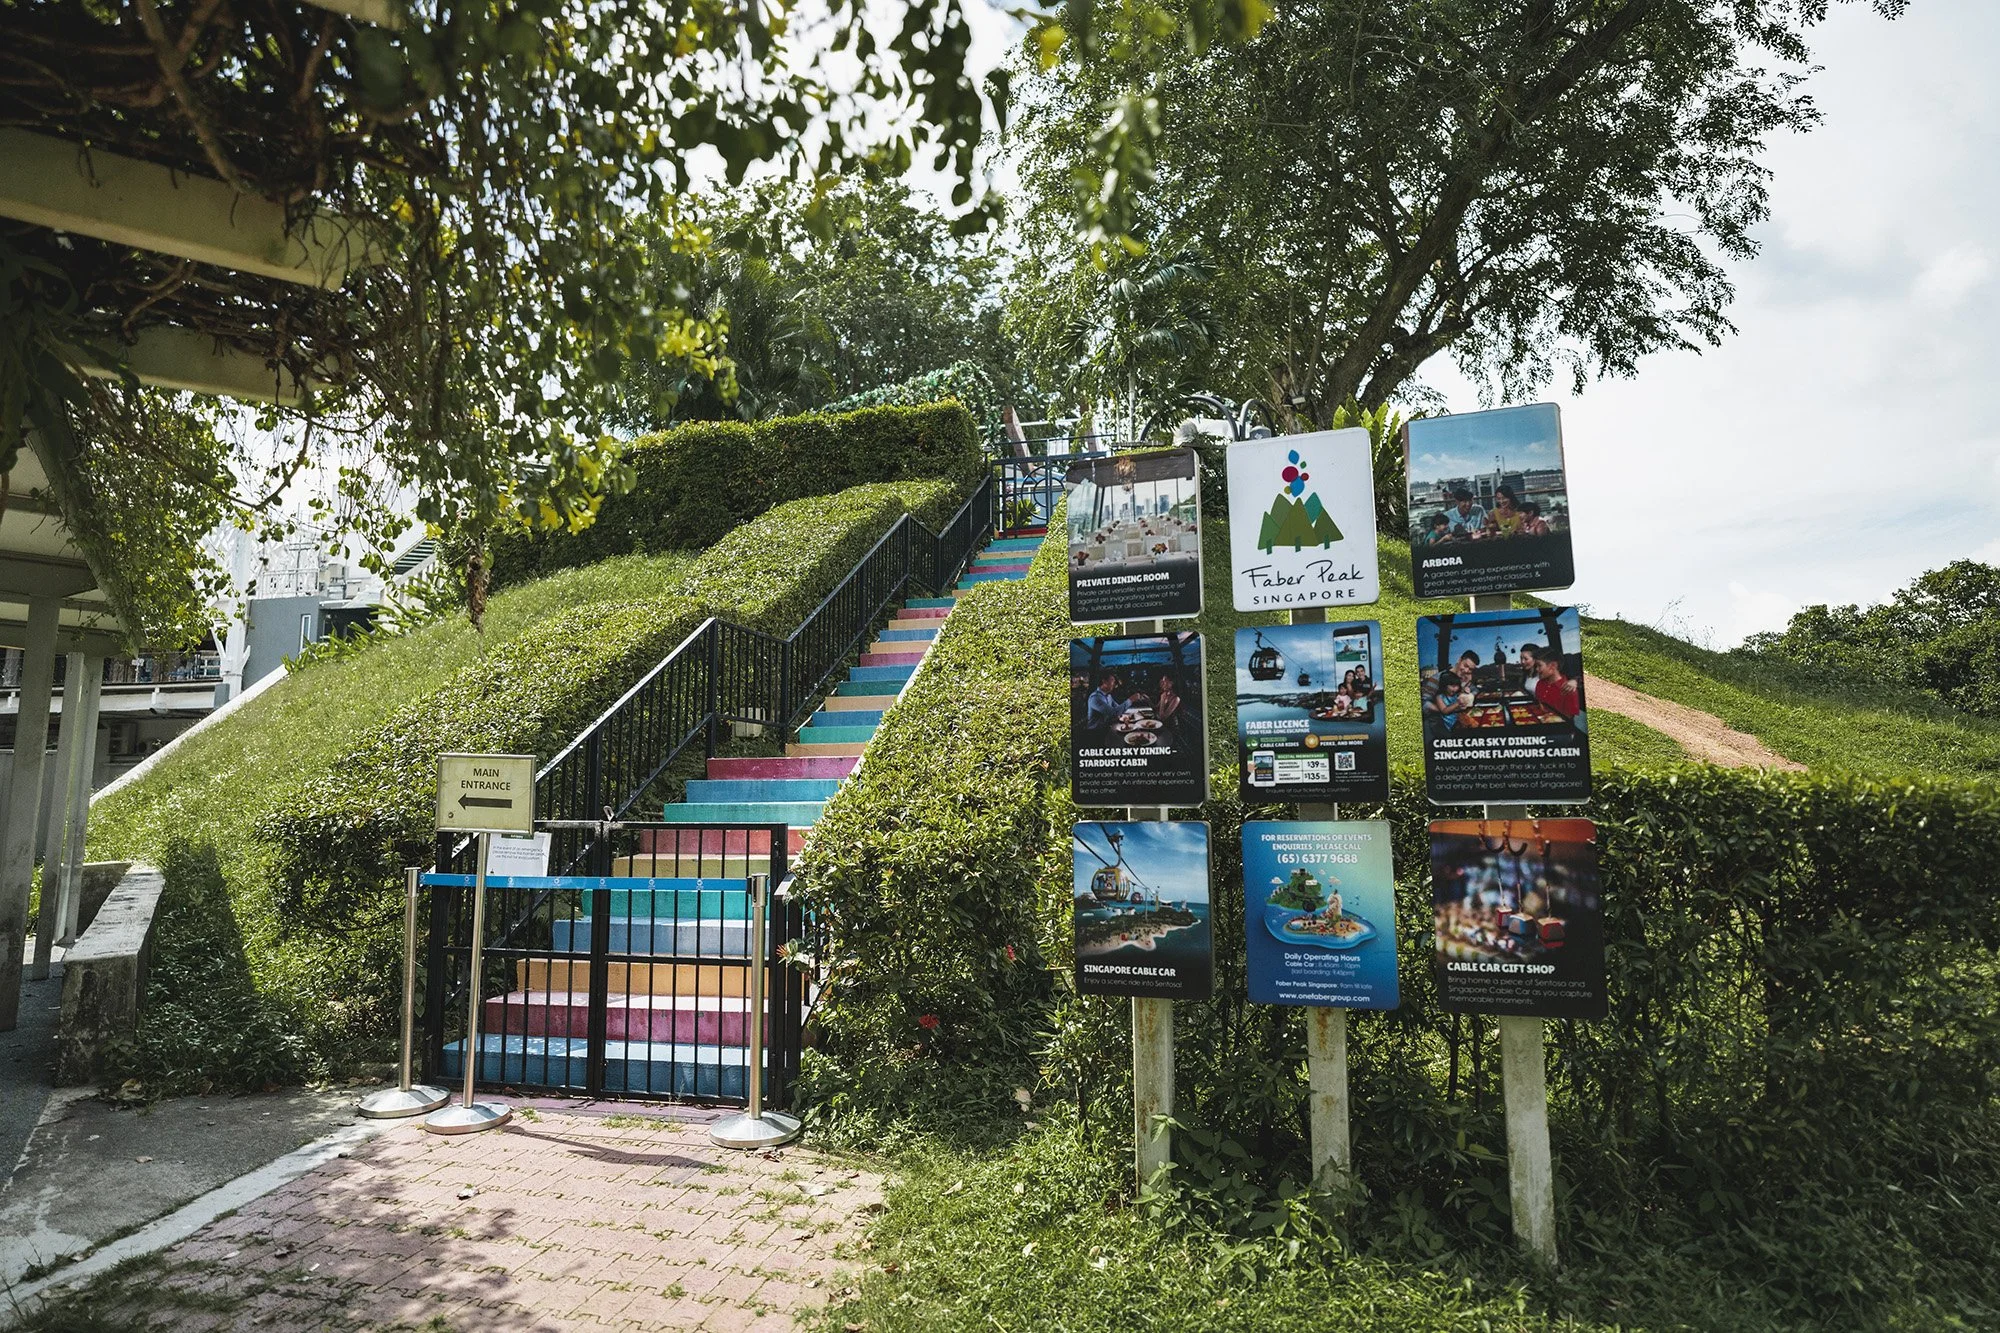
Beside the dirt path that we just descended from is the instagrammable rainbow stairs! Previously you were able to access past the gate but it seems to be barricaded this time round. I’m not sure if it is due to social distancing measures but hopefully that barricade will be eventually removed!
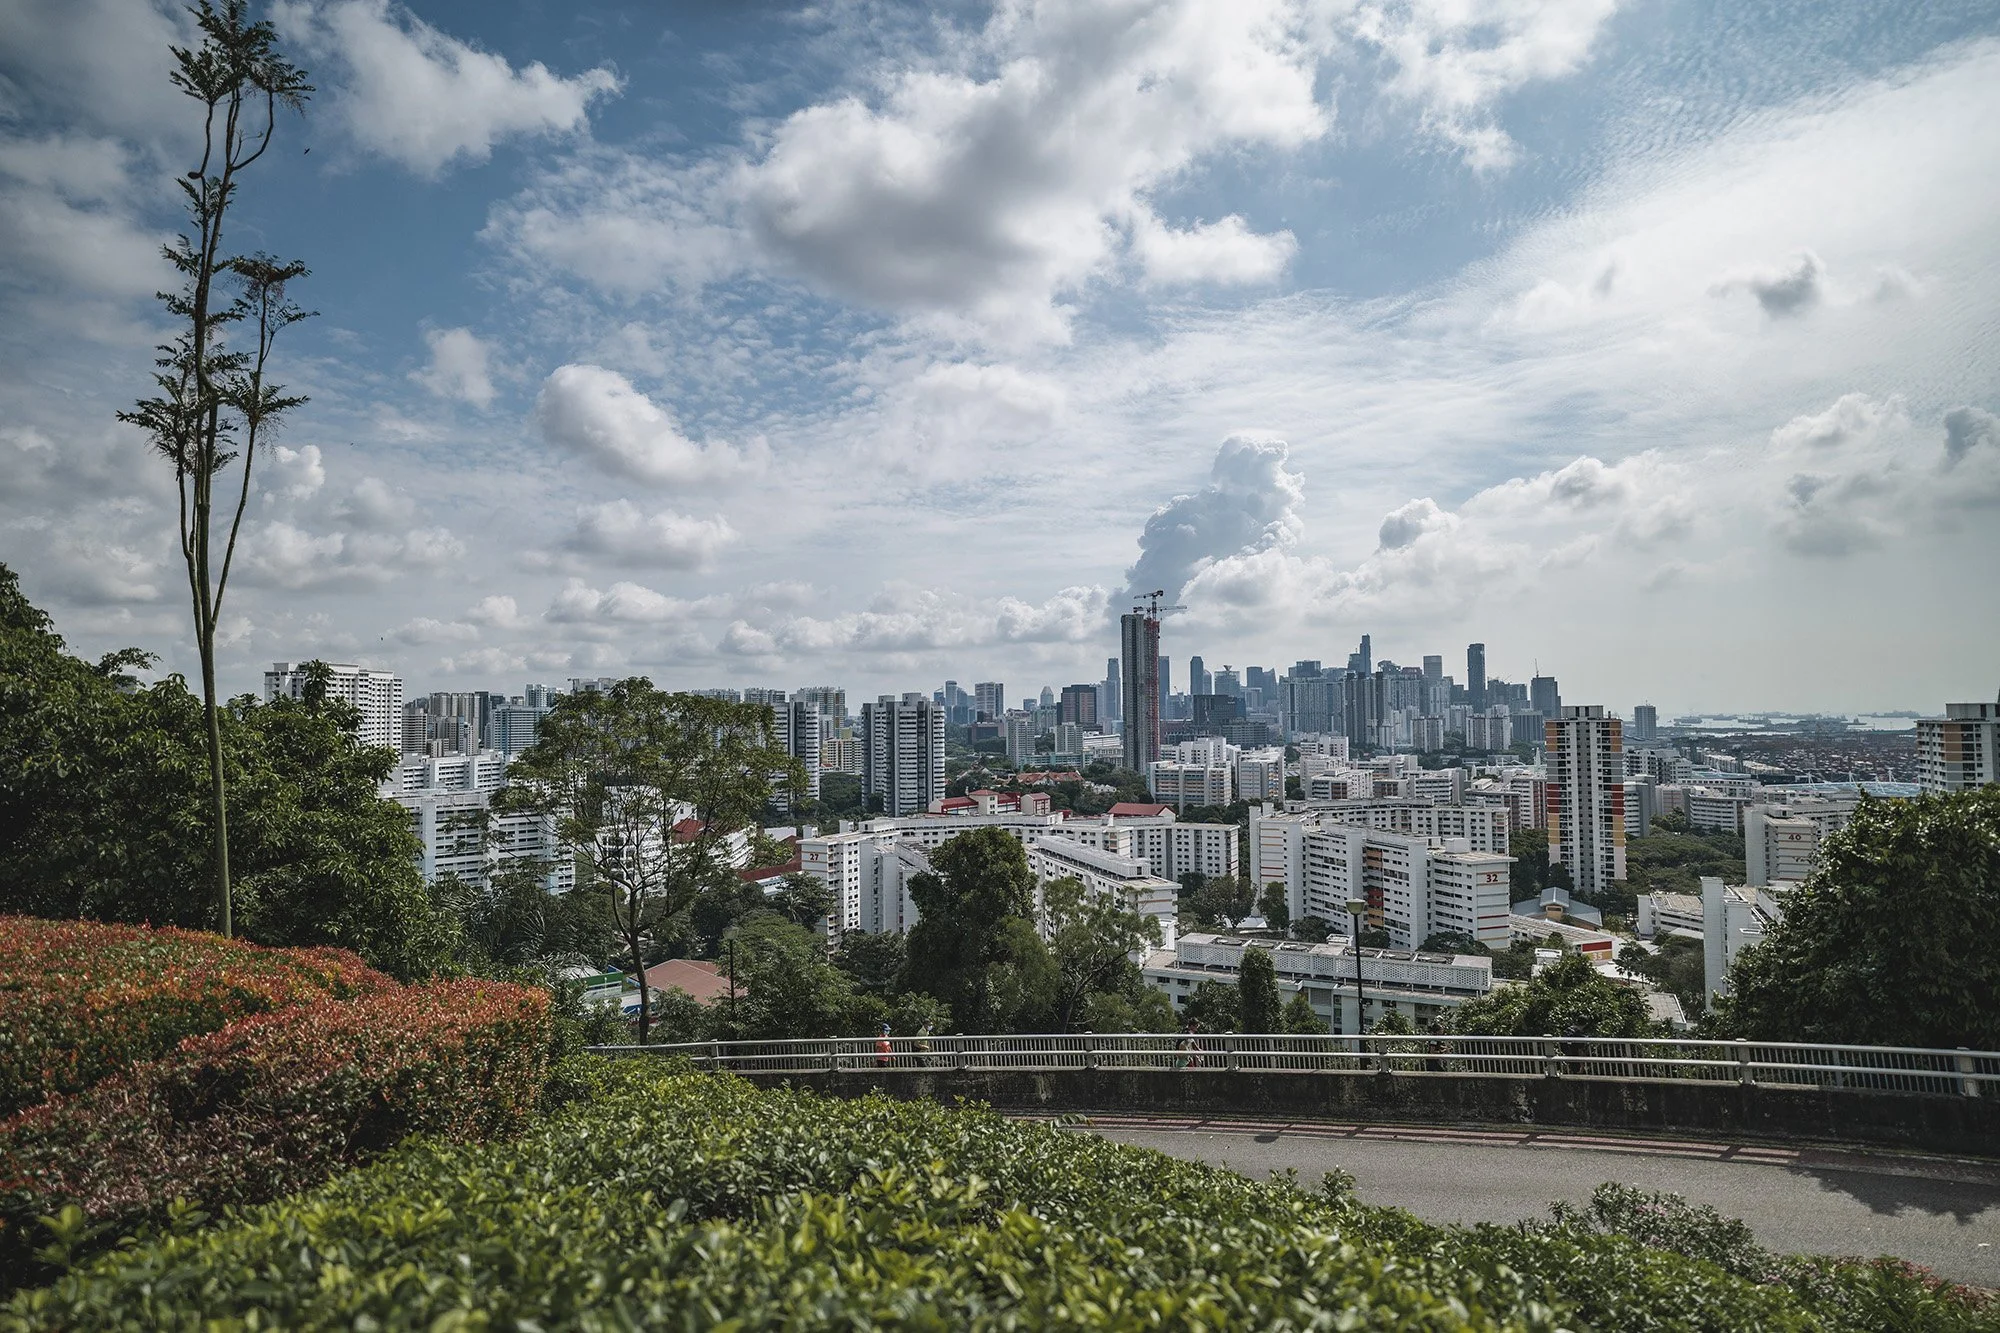
To cool off, you can head right (facing the rainbow stairs) and a short walk up the hill where you will notice a shaded lookout point with beautiful views of the city skyline. I think the public restrooms are there too (from memory). You can purchase drinks or even hot food from the vending machines under this shaded pavilion.
Side note, I shot one of my favourite photos here at sunrise 2 years back! You get the best light during this time as the sun rises behind the cityscape! It is absolutely breathtaking at golden hour!
I hope you enjoyed today’s post and feel inspired to head out to explore this hidden Singapore gem!
Catch you in the next one! :)
LIKE THIS POST? PIN IT FOR LATER AND SHARE IT WITH OTHERS!
